
Are you looking for a way to tighten up the sagging seats of your leather sofa? If so, you’ve come to the right place! In this blog post on how to tighten leather sofa seats, we’ll explain everything you need to know about how to restore your leather couch back to its former glory.

From diagnosing why the seat is loose in the first place, finding an experienced upholstery professional and specific tips on comfortable positioning during cleanup – we have it all covered. Read on for more information about how you can make even the most worn-out leather sofa look brand new again!
Needed Materials
Given below are some of the materials that may be needed to tighten leather sofa seats:
- Screwdriver
- Pliers
- Wrench
- Leather Patch Material
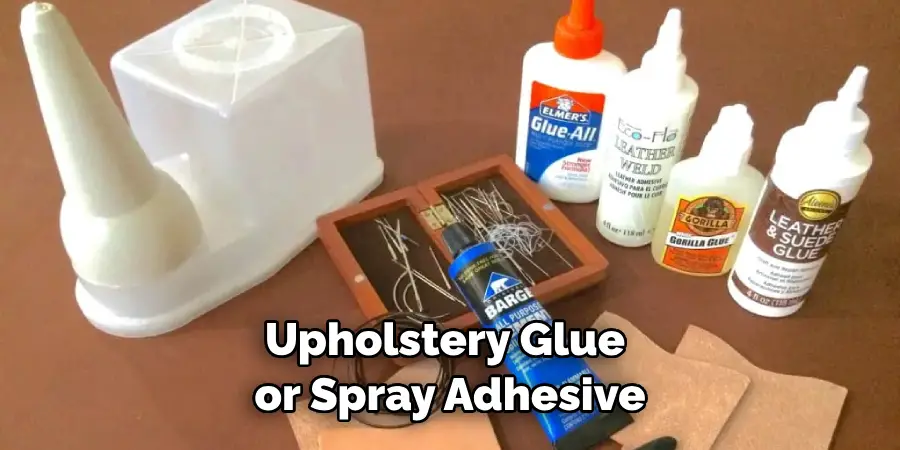
- Upholstery Glue or Spray Adhesive.
11 Step-by-step Guides on How to Tighten Leather Sofa Seats
Step 1: Inspect the Frame
Make sure the frame is in good condition and has no signs of damage or wear. Check for loose screws, bolts and other parts. If there are any damaged parts, replace them. Otherwise, you won’t be able to fix the problem. Carefully examine the frame to determine if it is still structurally sound. It is especially important to check the corners and joints of the frame as these are often weak spots.
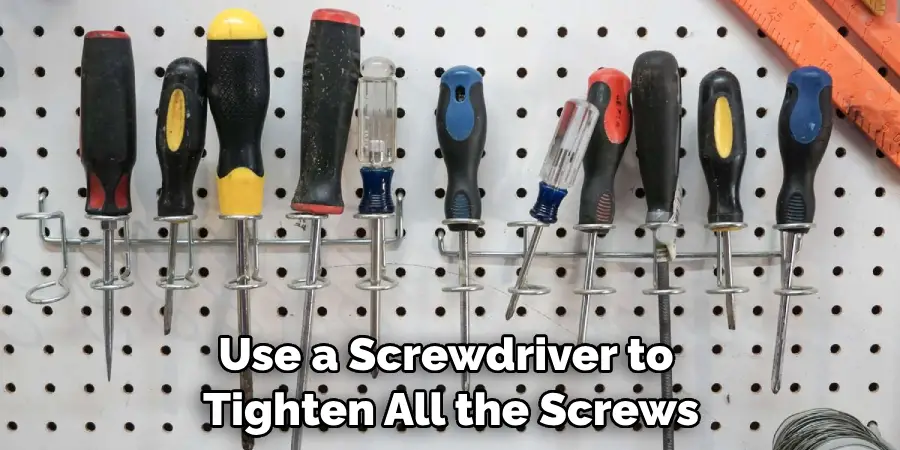
Step 2: Tighten Screws and Bolts
Use a screwdriver to tighten all the screws and bolts on the frame. Make sure they are tight enough that you can’t move them with your hands. It is important that they are all securely tightened so that the frame is stable and can support the weight of the sofa.
But be careful not to overtighten them as this could damage the frame. This step is essential for ensuring that the frame won’t collapse under the strain of people sitting on it.
Step 3: Apply Glue or Spray Adhesive
If there are any loose pieces of fabric, use upholstery glue or spray adhesive to reattach them to the frame. It is important to make sure all the pieces stay in place and don’t come loose again.
When applying glue or adhesive, make sure to use it sparingly and only on the area that needs it. You don’t want to use too much and end up with a sticky mess. You may need to use a brush or cloth to spread the glue evenly.
Step 4: Check for Loose Filling Materials
Check underneath the cushions and around the arms and back of the sofa for any loose filling materials such as foam, cotton batting, feathers or horsehair. If any of these have come loose, carefully remove them and replace them with new material.
It is important to use the same type of filling material as was originally used for the sofa. This will ensure that the cushions stay firm and supportive. This step is especially important if the sofa has been in use for a long time and the filling materials have started to degrade.
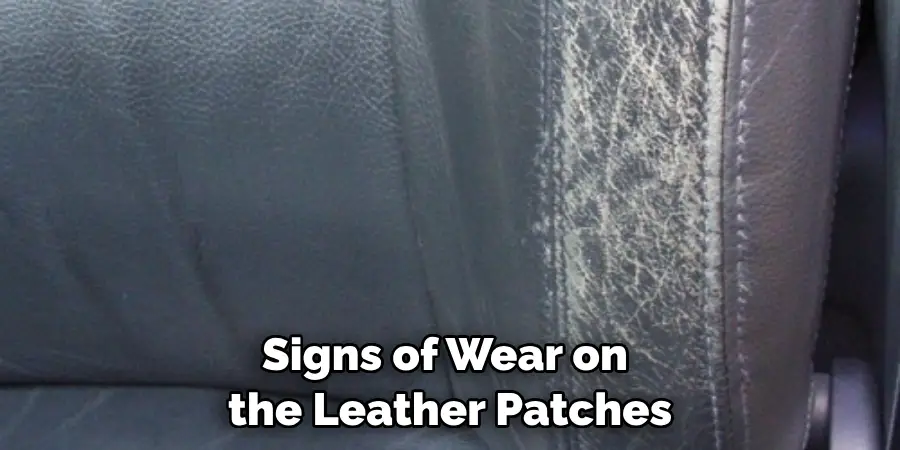
Step 5: Replace Worn Out Leather Patches
Look for signs of wear on the leather patches. If any are worn out or missing, you can replace them with new leather patches. It is important to make sure the new patches match the existing ones in color, size and texture.
But if you can’t find a match, you can also dye the leather to make it look like the original. You will need to use a leather patch kit for this. However, make sure to test the dye on a small patch of leather first before using it on the entire sofa.
Step 6: Sew New Seams
If the seams on your sofa’s cushions have come loose, it is important to sew them back together again. Use a heavy-duty thread and needle to ensure that the seams are secure. When sewing the seams, make sure to keep them as close together as possible to ensure that they don’t come apart again. Also, be careful not to pierce the leather with the needle.
Step 7: Replace Springs and Webbing
Check the springs and webbing underneath the cushion seats for signs of wear or breakage. If either needs replacing, take the sofa to an experienced upholstery professional who will be able to do this job correctly. It’s best to leave this job to the experts as it can be difficult and time-consuming.
Step 8: Reattach Strips and Clips
Make sure that all the strips and clips holding the leather to the sofa frame are in place. If any of them have come loose, reattach them with a screwdriver or pliers. But make sure not to overtighten them as this could damage the leather. It is also important to check for any other signs of wear or damage on the leather and if necessary, repair them with glue or a patch.
Step 9: Replace Foam Cushions
If your foam cushions have become flat or worn out, replace them with new ones. Make sure they fit snugly into the cushion covers without being too tight. This will ensure that the cushions are comfortable and supportive. Replace the foam cushions every few years to ensure that they stay supportive and comfortable.
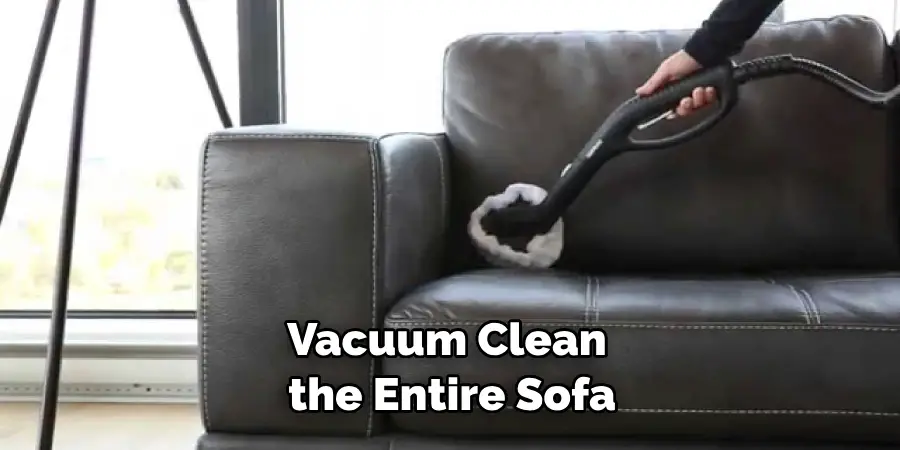
Step 10: Vacuum Clean the Sofa
Vacuum clean the entire sofa using a brush attachment to remove dust and dirt from crevices and seams. This will help improve the look of your leather sofa by removing built-up grime and restoring its natural shine. When cleaning, make sure to avoid harsh chemicals as these can damage the leather.
Otherwise, you can also use a leather conditioner to keep the leather looking its best. Although it is not absolutely necessary, conditioner can help protect the leather from wear and tear.
Step 11: Position Yourself Comfortably
To prevent back and neck strain, position yourself in a comfortable position while cleaning the sofa. This will ensure that you can reach every corner of the sofa without hurting your back or neck. This step is especially important if you are cleaning an older sofa as it may be heavier than normal. Always make sure to take regular breaks during the process to avoid fatigue and soreness.
Following these steps should help you to successfully tighten leather sofa seats and make them look as good as new again! Be sure to use quality materials and follow all instructions carefully for best results. If you have any questions about how to do this job properly, consult an experienced upholstery professional who can provide advice and guidance on how to achieve optimal results. Good luck!
Do You Need to Use Professionals?
While it is possible to tighten leather sofa seats yourself, it is always best to contact and use a professional upholsterer for jobs like this. They will have the necessary experience, tools and supplies needed to ensure that the job is done properly and that your couch looks as good as new!
It can save you time, money, effort and stress in the long run. If you don’t feel comfortable doing the job yourself, it’s worth considering getting a professional upholstery service.
Frequently Asked Questions
Q: What Materials Do I Need to Tighten Leather Sofa Seats?
A: You will need a screwdriver, pliers, wrench, leather patch material, and upholstery glue or spray adhesive.
Q: How Can I Make Sure the Job Is Done Right?
A: It is best to contact a professional upholsterer for advice on how to tighten leather sofa seats. They will have all the necessary tools and supplies needed to do the job correctly, as well as be able to provide you with valuable tips and guidance.
Q: What Should I Do If the Frame Is Damaged?
A: If there is any damage to the frame or joints, it is important that you replace them before attempting to fix the sofa. Otherwise, your repairs may not last for very long.
Q: How Often Should I Clean My Leather Sofa?
A: It is recommended that you vacuum the sofa regularly to remove dust and dirt. However, for deep cleaning, it is best to contact a professional upholsterer who will be able to properly clean and condition the leather.
Conclusion
It is important to take the time to tighten your leather sofa seats if you are having any issues with sagging cushions. Not only will it make your furniture look like new, but also provide more support and comfort.
Keeping your leather sofa in good repair can prevent costly repairs down the road, so it is definitely worthwhile to make sure that the cushions remain as firm as possible. When in doubt, contact a professional for help in tightening your couch seats or replacing them if necessary.
Overall, following these steps on how to tighten leather sofa seats will allow you to enjoy your leather sofa and ensure that it remains comfortable and beautiful for years to come! If you are looking for more information on how to care for your furniture, check out our blog post about How to Install Steel Door in Wood Frame – a helpful guide for DIY-ers who want to improve their homes!
