Are you looking for a way to breathe life into dull leather or take something old and make it look brand new? Angelus Leather Paint is the perfect solution to help spruce up your favorite pair of shoes, saddle, or another item made from leather. This high-quality paint won’t just give you a vibrant finish – it will also keep its color over time as well as withstand water and cracking.
Whether you’re applying lower amounts of coverage or creating intricate designs on the surface, once you’ve used this paint, your object will look beautiful and be protected too!
In this blog post, we’ll walk through exactly how to use angelus leather paint so that even if you don’t have any previous experience with this medium, you can confidently tackle any project in no time!

What Will You Need?
Before you can start painting your leather, there are a few essential items that you’ll need to ensure long-lasting results:
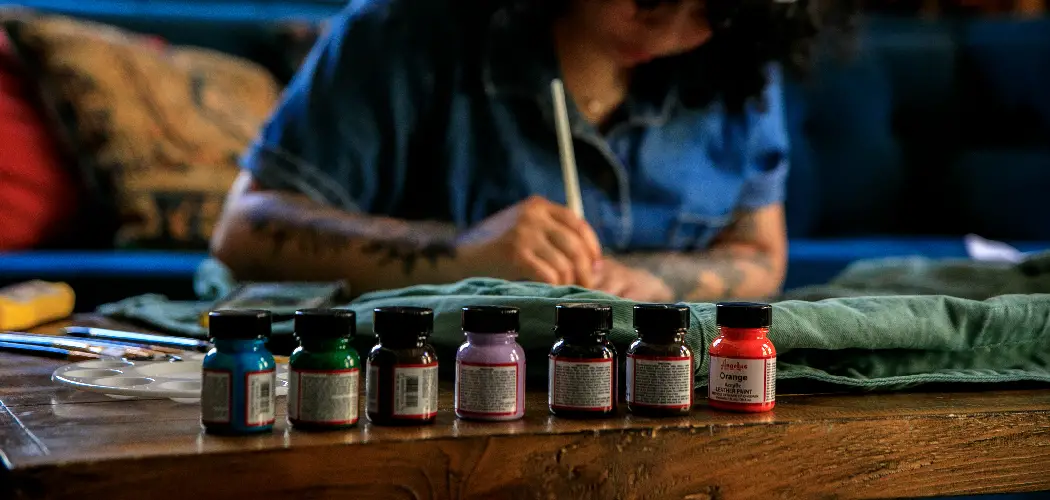
- Angelus Leather Paint
- Angelus Preparer and Deglazer
- Leather Conditioner
- Cotton Swabs or Rags
- Masking Tape (Optional)
- Soft Bristled Brush for Detail Work (Optional)
Once you have everything assembled, it’s time to start painting!
10 Easy Steps on How to Use Angelus Leather Paint
Step 1: Prepare the Leather
The first step is to prepare the leather so that your paint will adhere properly. Start by cleaning off any dirt or debris from the surface with a cloth or cotton swab. Once complete, apply Angelus Preparer and Deglazer to the surface with a rag. This will help ensure that the paint adheres properly.
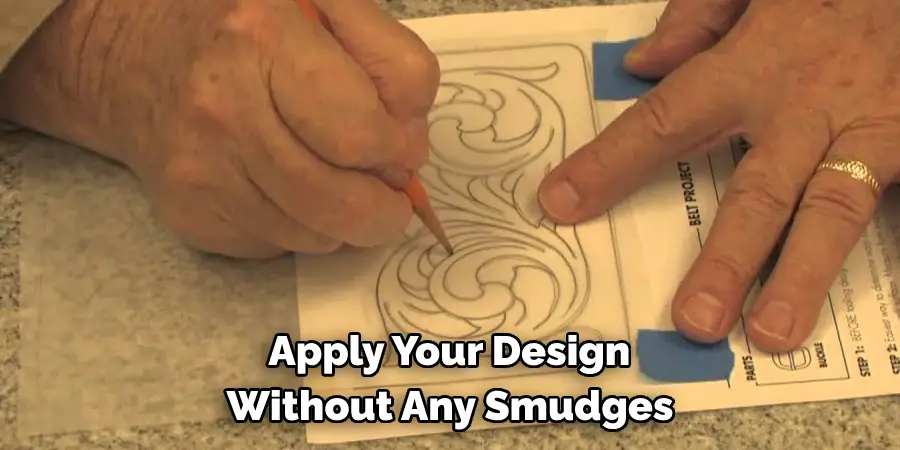
Step 2: Apply Masking Tape (Optional)
If you’re looking for a clean, crisp line between two colors or want to cover only part of the leather item, use masking tape around the edges before you start painting. This will make it easier to apply your design without any smudges or overlapping areas. Be careful when removing the tape after painting, as it could pull off some of the paint if you’re not gentle enough.
Step 3: Apply Leather Conditioner
It is important to condition leather before applying paint in order to keep it from drying out too quickly and cracking over time. Use an Angelus Leather Conditioner and gently massage it into the material until completely absorbed. Make sure to coat the entire surface evenly.
Step 4: Let Dry
Once you have applied the conditioner, let it dry completely before continuing with any painting. The length of time will vary depending on the type of leather and how thickly you applied the conditioner. You can use a hairdryer to speed up the process if desired.
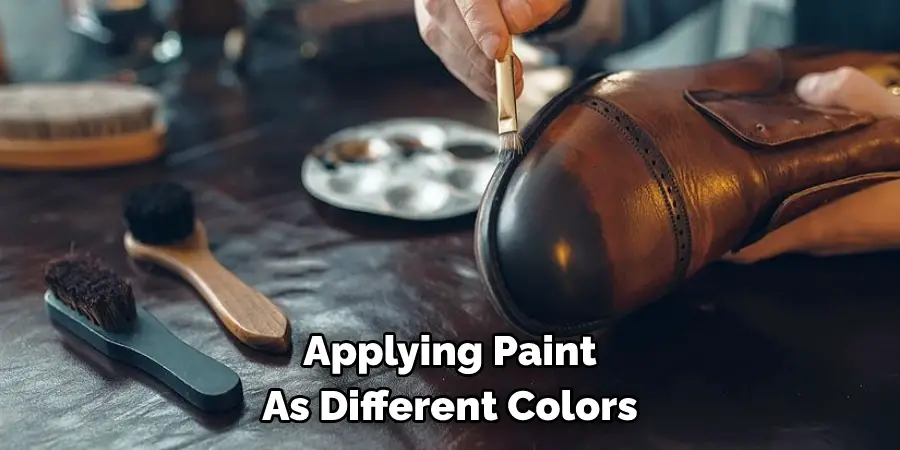
Step 5: Apply Paint
Using a soft-bristled brush, apply your Angelus Leather Paint to the surface in thin, even layers until you’ve achieved the desired coverage. You can also use an airbrush for detailed work or larger areas that need to be filled in quickly. Allow each layer to dry before applying additional coats as needed.
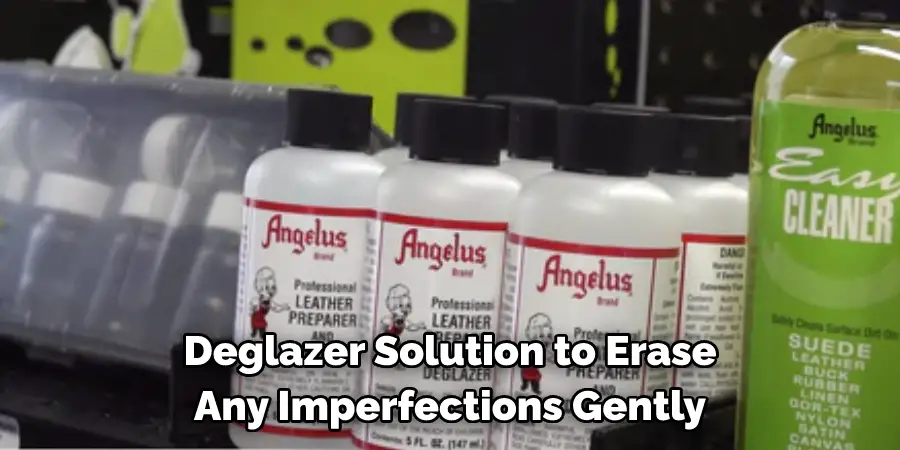
Step 6: Clean Up Edges (Optional)
If you used masking tape, carefully remove it to reveal the crisp edges of your design. If you find any areas that need additional clean-up, use a cotton swab or rag and some deglazer solution to erase any imperfections gently. Don’t use too much pressure as this could remove some of the paint, and let everything dry completely before proceeding.
Step 7: Let Dry Completely
Once you have finished painting, let the leather dry completely before proceeding with any other steps. This could take several hours or overnight, depending on the type of paint used and how thickly it was applied.
Step 8: Apply Finishing Coat (Optional)
If desired, you can apply a finishing coat of Angelus Leather Paint Sealer to help protect against water and cracking for years to come. Simply follow the instructions on the bottle and apply an even layer to the surface. As with any type of sealer, be sure to let it dry completely before using or touching the leather. Let the sealer dry completely before handling or using your leather item.
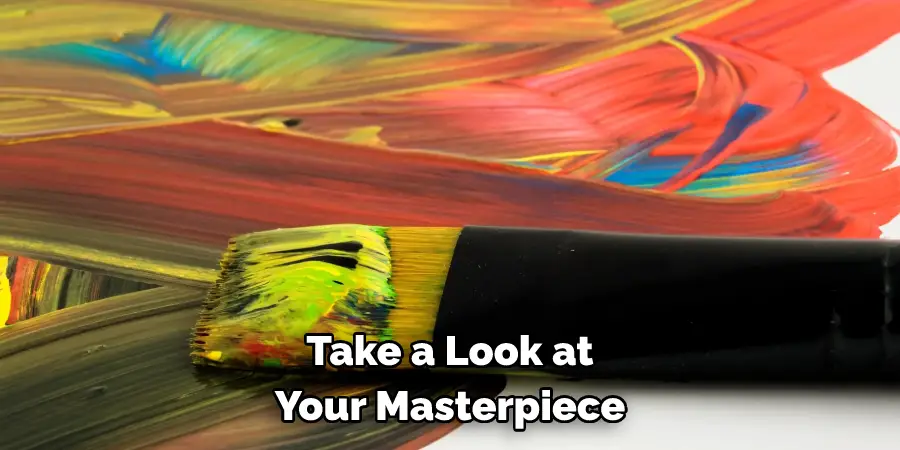
Step 9. Check the Results
Once everything is dry, take a look at your masterpiece and admire your work! If you’re pleased with how it looks, you can move on to the next step. Always make sure to wait for everything to dry completely before handling or using the leather item. Otherwise, you may end up smudging the paint or causing other damage.
Step 10: Enjoy Your Creation!
Congratulations! Now that you know use Angelus Leather Paint, and enjoy your newly painted and protected leather item for years to come. Remember to read and follow the instructions on the bottle before you begin, and keep your leather item safe, away from direct sunlight or extreme temperatures.
With this easy-to-follow guide, you can confidently start painting any leather item with beautiful results every time. So go ahead and give it a try – we guarantee you’ll love what you create!
5 Additional Tips and Tricks
1. Before you paint the leather, clean it and condition it with a leather cleaner and conditioner. This will ensure that there is no dirt on the surface of the leather when you begin painting.
2. use Angelus Leather Paint in several thin coats rather than one thick coat for best results. Applying multiple thinner coats allows for more even coverage and will give your item a richer color.
3. Be mindful of how quickly you are applying paint as different colors dry at different rates – some may require more time between each new layer. It’s always better to take your time when painting than rush through it!
4. If you are looking for a “distressed” look, wait until the paint is almost completely dry before sanding it down. This will give you a unique, rustic look for your item.
5. After the paint is completely dry, finish off by sealing the leather with Angelus Finisher or another sealer of your choice. This will protect the color and make sure that it stays looking great for longer!
Using Angelus Leather Paint is a great way to give your items a unique, stylish look. With these tips in mind, you’ll be able to get the best results when painting leather!
5 Things You Should Avoid
1. Don’t add too much water when mixing the paint – this can cause the color to be uneven or streaky.
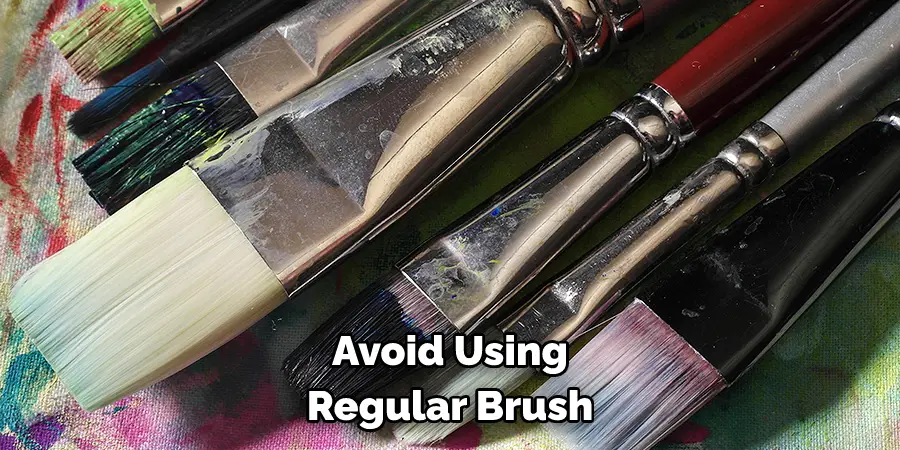
2. Avoid using a regular brush – instead, use an Angelus Paint Brush specifically designed for painting leather.
3. Don’t rush through applying the paint – take your time and apply it in multiple thin layers for better coverage and more even color.
4. Don’t forget to condition the leather before you start painting, otherwise, dirt may affect the final result of the piece.
5. Steer clear using solvent-based sealers on your finished item, as these can cause discoloration or fading over time!
By following these tips and tricks, you can ensure that your leather painting projects come out looking great. With the right technique and a bit of practice, you’ll be able to create unique pieces with Angelus Leather Paint!
Can You Mix Angelus Paint With Water?
You can mix Angelus Leather Paint with water to thin out the paint. However, it’s important to note that adding too much water may affect the color of the paint and cause inconsistencies in coverage. We recommend adding just a few drops of water at a time until you reach your desired consistency. Additionally, make sure to mix the paint thoroughly before use and apply it in multiple thin coats for the best results. You should also check the instructions on the bottle for any specific mixing ratios or recommendations.
By following these guidelines, you’ll be able to get great results when using Angelus Leather Paint! With a bit of practice and patience, you can create beautiful pieces that will last for years to come.
What’s Better, Oil or Water Based Paint?
When it comes to painting leather, oil-based paints are generally better than water-based. Oil-based paints provide a smoother finish and longer-lasting color that is more resistant to scratches and fading. Additionally, they usually dry quicker, which makes them ideal for busy crafters.
However, oil based paints can also be more difficult to use as they require special solvents or thinners in order to mix and apply them correctly. Water based paints may be easier and take less time, but they won’t give you the same level of performance as oil based paint.
When choosing between oil and water based paints for your leather projects, consider what type of finish you want for your item and how much time you have available. If you’re looking for a longer-lasting finish and don’t mind putting in the extra effort, oil based paints are generally the better choice. However, if you’re looking for an easier project, then water based paints will be your best option.
Conclusion
All in all, using Angelus Leather Paint can open up a world of new options for your next craft project. You can create something unique and special with just a few bottles and a little effort. Furthermore, showing off your own work can be an incredibly rewarding experience. Don’t let the fear of mistakes or inexperience stop you from trying out Angelus Leather Paint. Remember—practice makes perfect!
Once you’ve mastered the technique, you’ll be able to apply it again and again as needed. As long as you take the time to prepare the leather correctly, use the right supplies, and follow our step-by-step instructions, you’re guaranteed to create an amazing item with Angelus Leather Paint.
Hopefully, the article on how to use angelus leather paint has been helpful in increasing your knowledge and understanding on the subject. Now you can confidently start your leather painting projects without worrying about mistakes or imperfections! So go ahead—grab those paints and get crafting today!