Are you interested in wrapping a walking stick with leather? It’s a great way to add a personal touch and improve the grip on your walking stick.
Wrapping a walking stick with leather enhances its appearance, grip, and durability. This process combines functionality and style, providing a personalized touch to your walking stick, whether for hiking or daily use.
In this guide on how to wrap a walking stick with leather, we’ll walk you through the steps needed to achieve a professional-looking finish. Whether you’re a seasoned craftsperson or a complete beginner, you’ll find this project rewarding and straightforward, turning an ordinary stick into a unique, handcrafted accessory with the warmth and resilience of high-quality leather.
What Will You Need?
Before diving into the wrapping process, gathering all the necessary materials and tools is essential. Here’s a list of items you’ll need:
- A walking Stick: Choose one that has a smooth surface and is comfortable to hold.
- Leather Strips or Lace: Traditional leather strips are ideal for this project, but you can also use leather laces or even cut your own from a larger piece of leather.
- Leather Glue: This will place the ends of the leather strips.
- Sharp Scissors or Utility Knife: These will come in handy for cutting the leather strips to size.
- Metal Ruler: This tool helps measure and cut precise lengths of leather strips.
- Rubber Bands: These will hold the leather strips in place while the glue dries.
With these materials ready, let’s begin wrapping your walking stick with leather!
10 Easy Steps on How to Wrap a Walking Stick With Leather
Step 1: Prepare Your Walking Stick
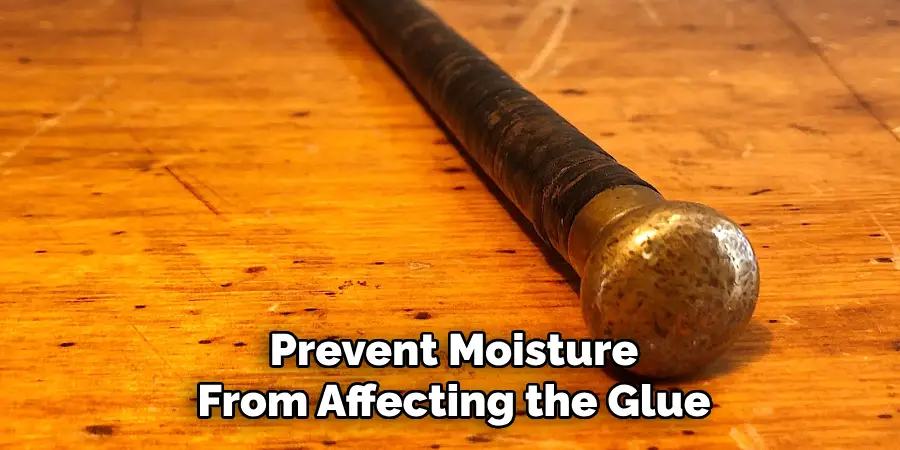
Before starting the wrapping process, ensure your walking stick is clean and free of any dust or debris. Use a damp cloth to wipe down the stick, removing any particles that might interfere with the adhesion of the leather. If your walking stick has a rough texture or any protruding splinters, lightly sand these areas to create a smooth surface. This will not only help the leather adhere better but will also provide a uniform appearance when finished. Once the stick is soft and clean, allow it to dry completely to prevent moisture from affecting the glue or leather.
Step 2: Cut the Leather Strips to Size
Measure the length of the walking stick section you plan to wrap, and cut your leather strips accordingly. If you prefer more comprehensive wraps, cut the strips slightly longer than the wrapped section to account for overlap. Use a metal ruler, sharp scissors, or a utility knife to ensure straight and precise cuts. The width of the leather strips can vary depending on personal preference or the design you envision. The strips should be wide enough to cover the stick without leaving gaps but narrow enough to handle easily during wrapping. Having the right size strips ready will facilitate a smoother wrapping process.
Step 3: Apply Leather Glue to the Starting Point
Begin wrapping by applying a small amount of leather glue to the starting point of the walking stick, where you plan to attach the leather strip. Allow the glue to become tacky before positioning the leather, ensuring a more secure bond. Start by pressing the end of the leather strip onto the glued area, ensuring it adheres firmly. This initial adhesion point is essential for keeping the leather strip in place while wrapping it around the stick.
Adjust the angle of the strip to match your desired wrapping pattern, and check that it sits flush against the stick’s surface. Properly securing the starting end will help maintain tension and orderliness as you proceed with the wrap.
Step 4: Begin Wrapping the Leather Strip
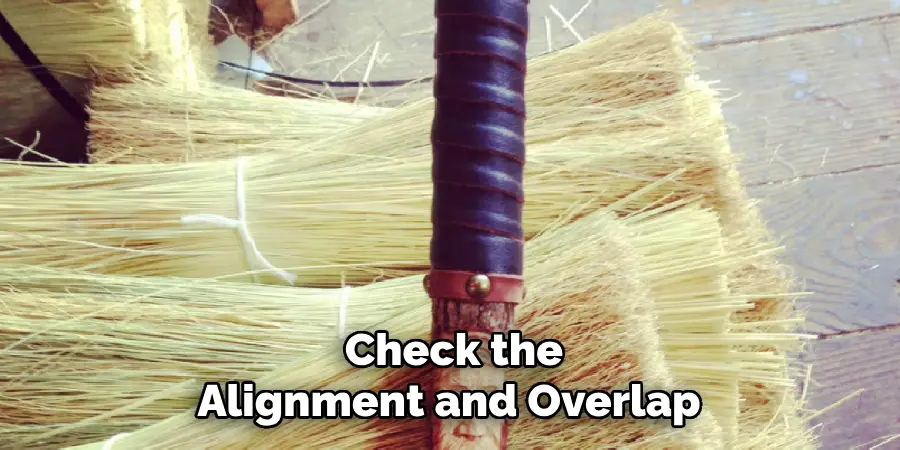
Once the starting point is secured, wrap the leather strip around the walking stick in a spiral pattern. Maintain consistent tension as you wrap to ensure a snug and even fit. Overlap the edges of the leather strip slightly or position them edge-to-edge, depending on your preferred appearance.
If you notice any bunching or gaps, adjust the strip by carefully repositioning it without stretching or buckling the leather. As you continue down the shaft of the stick, periodically check the alignment and overlap to keep the wrapping uniform and visually appealing. This careful attention to detail will contribute to a polished and professional result.
Step 5: Secure the End of the First Leather Strip
When you reach the end of the leather strip or the desired stopping point on the walking stick, apply a small amount of leather glue to secure the finishing end. Press the end of the leather strip firmly against the stick, ensuring it sits flush without any gaps or lifting. Rubber bands can hold this section in place while the glue dries gently.
If you plan to add more strips further down the stick, make sure the end of the first strip transitions smoothly into the uncovered section, ready to begin the next piece. Allow sufficient drying time for the glue to set before proceeding with any additional wrapping or handling. Properly securing the end ensures a clean and durable wrap that will last with use.
Step 6: Add Additional Leather Strips if Needed
If the entire desired section of the walking stick still needs to be covered, repeat the process with additional leather strips. Begin each new strip slightly overlapping the ending of the previous one to maintain a continuous appearance. Apply leather glue to the starting end of the new strip, allow it to become tacky, and press it securely against the stick.
Continue wrapping the new strip in the same spiral pattern, keeping the tension and consistency as with the earlier steps and smoothing any transitions between strips to ensure a cohesive and seamless look. Adjust any overlaps or tension as needed to achieve a uniform appearance. This methodical layering of strips will not only cover the full length but also enhance the design and durability of your wrapped walking stick.
Step 7: Finish the Last Leather Strip Securely
Finish it securely as you approach the end of the final leather strip or reach the preferred stopping point on your walking stick. Apply a small amount of leather glue to the end of the strip and press it firmly against the stick, aligning it smoothly with the previously wrapped section. Inspect the entire wrap for any loose ends, gaps, or irregularities, and adjust them if necessary to maintain a neat appearance. Rubber bands hold the end while the glue sets, ensuring it adheres firmly to prevent unraveling.
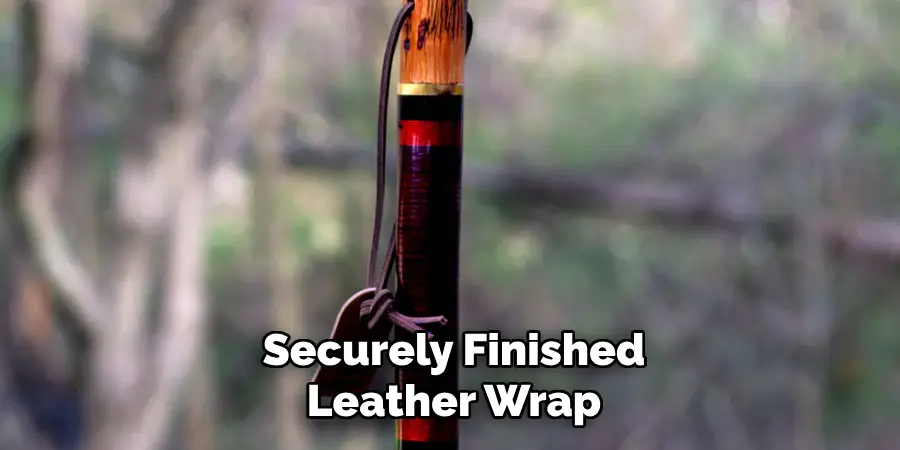
Allow the glue to dry completely before removing the rubber bands or using the walking stick. A securely finished leather wrap will ensure longevity and provide the final touch to your expertly crafted walking stick.
Step 8: Apply a Finish or Sealant
Once the leather wrap is securely attached and the glue has dried completely, consider applying a finish or sealant to protect the leather and enhance its appearance. Choose a leather finish or sealant for outdoor use to ensure durability and longevity. Apply the finish evenly across the leather surface using a clean, soft cloth or a brush, following the product instructions for best results. This will help preserve the leather and give the walking stick a polished and professional look. Allow the finish to dry thoroughly before handling the stick to prevent smudging or damage. Applying a proper finish is the final step in ensuring your wrapped walking stick remains aesthetically pleasing and functional for years.
Step 9: Inspect the Final Product
After the finish or sealant has dried, thoroughly inspect your newly wrapped walking stick. Begin by examining the entire stick length, ensuring the leather wrapping is secure and free from any gaps, bubbles, or irregularities. Check each joint where the leather strips were joined or overlapped to provide a seamless appearance and confirm that all ends are adequately glued down and not lifting. Test the durability by gently flexing the walking stick to ensure no slipping or loosening of the leather wrap. Address any areas of concern by adding more glue or adjusting the wrapping as necessary. Once satisfied with the quality and appearance, your walking stick is ready.
Step 10: Enjoy Your Custom Walking Stick
Now that your walking stick has a securely wrapped leather handle and a protective finish, it’s time to enjoy the fruits of your labor. Take your walking stick on a stroll and experience the comfort and style it adds to your outdoor adventures. The grip will provide you with support and stability and serve as a testament to your craftsmanship. Whether you’re using it for hiking, leisurely walks, or as a decorative piece, your custom walking stick will undoubtedly attract admiration for its unique and polished design.
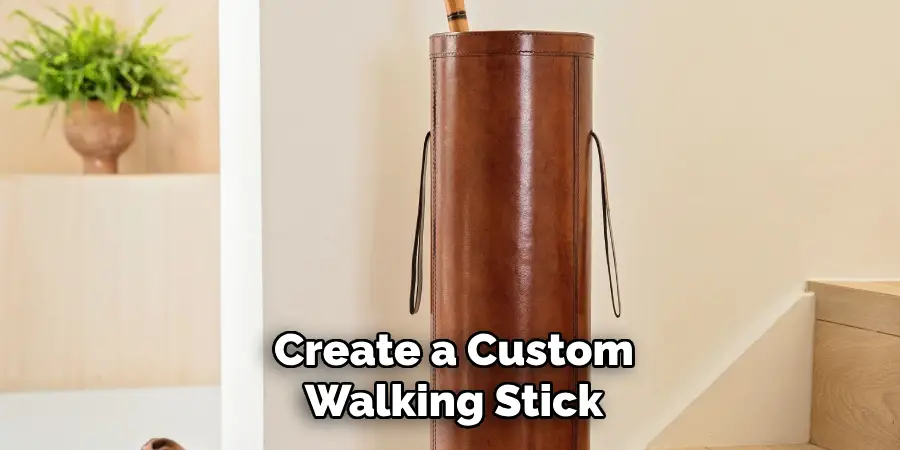
By following these steps, you can create a custom walking stick that not only serves as a functional tool but also showcases your creativity and attention to detail.
Conclusion
How to wrap a walking stick with leather is a rewarding and creative endeavor that combines functionality with aesthetic appeal.
Following the outlined steps, anyone can transform an ordinary walking stick into a personalized masterpiece. The process involves carefully selecting and applying leather strips, ensuring each one is securely glued and wrapped in a consistent pattern for a seamless finish. Adding a protective sealant enhances the natural beauty of the leather and ensures longevity and resilience against outdoor elements. This project highlights one’s craftsmanship and attention to detail, resulting in a walking stick that is both practical and visually striking.
Whether for personal adventures or as a unique gift, a custom-wrapped walking stick will surely become a cherished and admired item.