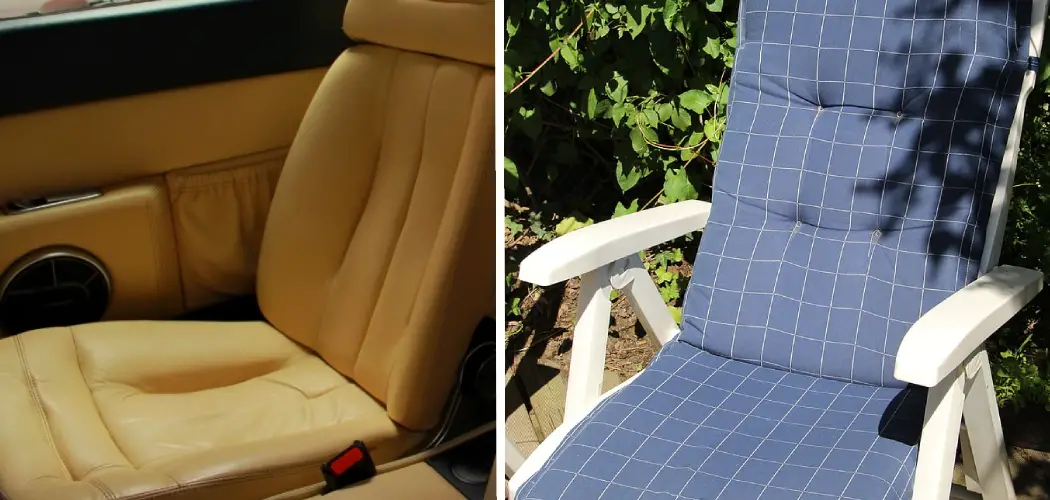
Are you tired of the worn out, stained leather on your favorite chair? Reupholstering a leather chair can be intimidating, but with a little patience and knowledge, you can have it look like new in no time.
If your old leather chair is starting to look a little tired, don’t worry – you can give it new life with a simple reupholstery project. All you need is some basic upholstery supplies and a little patience.

Summary: Reupholstering a leather chair is a great way to give it a new look and feel, and it’s not as difficult as you may think. In this article, we will discuss how to reupholster a leather chair. We will cover everything from removing the old fabric to attaching the new fabric. So, keep reading if you’re ready to give your leather chair a fresh start!
What is Reupholster a Leather Chair?
Reupholstering a leather chair means replacing the old, worn out leather on the chair with new leather. It is often done to give an older piece of furniture a fresh and updated look, but it can also be necessary when the old leather is damaged or stained beyond repair.
What You Will Need
- Leather fabric
- Upholstery foam
- Leather adhesive
- Staple gun and staples
- Scissors or rotary cutter
- Measuring tape
- Tack strip (optional)
- Leather dye (optional)
- Leather conditioner
With these supplies on hand, you are ready to begin reupholstering your leather chair.
10 Easy Steps on How to Reupholster a Leather Chair
Step 1: Remove the Old Leather
Before starting your reupholstery project, remove all cushions and hardware from the chair. Then, use a staple remover or pliers to remove any staples holding the old leather in place. Use caution when removing staples to avoid damaging the chair’s frame.
Step 2: Cut New Leather
Using your old leather as a template, cut the new leather fabric to fit the chair using scissors or a rotary cutter. It is important to leave about 1-2 inches of excess fabric for stretching and attaching later on. Make sure also to cut out any necessary holes for buttons or tufting.
Step 3: Attach New Leather Fabric
Begin by stretching the fabric over one chair section and using a staple gun to attach it to the frame securely. Continue stretching and stapling the fabric to the rest of the chair, smoothing out any wrinkles as you go. If desired, attach a tack strip along the edges of the chair frame to ensure a secure and smooth attachment of the new leather.
Step 4: Cut Foam
Using your old foam as a template, cut new upholstery foam to fit the seat and back cushions of the chair. Try to make the foam slightly smaller than the cushion to allow for a more comfortable fit. Be careful not to make the foam too small, as it may not provide enough support. Choose foam thickness based on your desired level of cushioning and comfort.
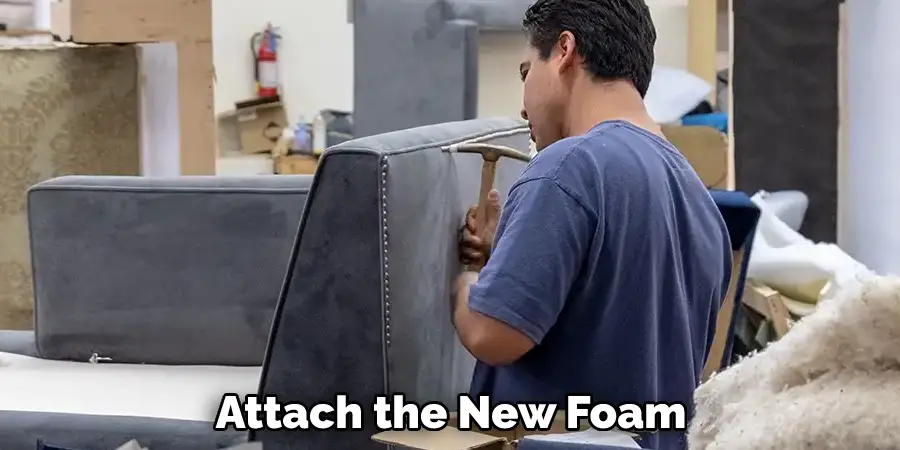
Step 5: Attach Foam
Attach the new foam to the chair using leather adhesive to smooth out any wrinkles or bumps. Allow the adhesive to dry before moving on to the next step. Because leather is a more delicate material, it is important to use an adhesive specifically made for leather.
Step 6: Cut and Attach Cushion Covers
Cut new cushion covers from the same leather fabric used on the chair. Use a zipper or velcro closure to securely attach the covers to the cushions, ensuring no wrinkles or bunching. You can use leather adhesive to secure any loose edges. Reattach any hardware or cushion ties that were removed in step one. Make sure all hardware is securely attached to avoid any accidents or damage.
Step 7: Use Leather Dye and Conditioner
To ensure the longevity of your newly reupholstered leather chair, use a leather dye to touch up any areas that may have been damaged during the reupholstery process. Follow up with a leather conditioner to keep the leather soft and prevent cracking over time. Carefully reattach the cushions to the chair, ensuring they are securely in place and do not shift when sitting on them.
Step 8: Take Time to Admire Your Work
Step back and admire the new look of your leather chair! Enjoy the updated style and comfort it brings to your space. Sit back, relax, and enjoy your beautifully updated leather chair!
Step 9: Keep Maintaining Your Chair
To keep your leather chair in good shape, regularly clean and condition the leather. Avoid placing the chair in direct sunlight or near heating vents to prevent fading and cracking. Make sure to regularly check and tighten any hardware to avoid accidents or damage.
Step 10: Consider Reupholstering Again
Leather can last for many years with proper care and maintenance, but the fabric may eventually need to be reupholstered. Be sure to save any extra fabric or supplies for future reupholstery projects. You now have the skills and knowledge to tackle any leather reupholstery project confidently!
And there you have it- a step by step guide on How to Reupholster Leather Chairs. Reupholstering leather furniture can be a time consuming task, but the end result is worth it for a refreshed and updated look. With proper care and maintenance, your freshly reupholstered chair will last for years to come.

5 Additional Tips and Tricks
- Make sure to choose high quality leather for your new upholstery fabric.
- Take extra care when cutting and attaching the new leather fabric to avoid any tears or damage.
- Use a leather specific adhesive to ensure secure attachment of the foam and cushion covers.
- Touch up any damage with leather dye before conditioning the material.
- Save any extra fabric or supplies for future reupholstery projects.
These tips will help make sure your leather chair reupholstery project turns out smoothly and professionally. Happy reupholstering!
5 Precautions You Can Take
- Take measurements multiple times to ensure proper fitting of the cushions and cushion covers.
- Avoid using any adhesives or dyes not specifically made for leather to prevent damage to the material.
- Ensure all hardware is securely attached to avoid accidents or damage.
- Place the chair away from direct sunlight or heating vents to prevent fading and cracking.
- Regularly clean and condition the leather to maintain its quality and longevity.
Following these precautions will help ensure the success of your leather chair reupholstery project and the long-term durability of the chair.
How to Reupholster a Chair That Doesn’t Come Apart?
Reupholstering a chair that doesn’t come apart can be a challenging task, but not an impossible one. Gather the necessary materials, including scissors, a staple gun and staples, batting (thick foam padding), enough fabric to cover the entire chair plus four extra inches, and stuffing for pillows or cushions if applicable.
Remove any existing fabric from the chair, trace around the frame’s edges, and add four inches for seam allowance before cutting out the shape you traced, along with an additional piece for covering each armrest if applicable. Place firm batting over the frame of your chair and secure it with staples all around.
Take one-half of your cut fabric, place wrong-side up over half of your padded chair frame, tuck the edges between each side of its backing board –sides first, then arms if applicable–and secure them in place using staples.
How Can a Leather Chair Be Reupholstered in Fabric?
First, remove the old upholstery and cushion covers to reupholster a leather chair in fabric. Cut and attach the new fabric to the cushions using a suitable adhesive. Securely attach the new fabric covers to the cushions with closure or adhesive, ensuring no wrinkles or bunching. Reattach any hardware or cushion covers, and enjoy your updated chair!
Additionally, a leather chair can be reupholstered multiple times as long as the material is in good condition and properly maintained. Each reupholstery project may require additional cuts and adhesive, so it is important to use high quality materials and take extra care during the process to ensure the chair’s longevity.
How Do You Get Nail Polish Off A Couch Without A Remover?
Removing nail polish from a couch without a remover can be done with just a few simple steps and household items. Begin by scraping away as much of the stain as possible with a spoon or knife, and then absorb any remaining liquid with a clean, dry cloth.
Create a soapy mixture of one part dish soap to two parts warm water, and Dip a rag into this mixture, wringing out any excess liquid before scrubbing away at the stain until it begins to lift away from the fabric.
What is the Difference Between Upholstery and Reupholstery?
Upholstery refers to the process of initially covering furniture with padding, springs, webbing, and fabric or leather. Reupholstery is the process of replacing or repairing the existing upholstery on a piece of furniture. Both processes involve cutting and attaching fabric or leather to the cushions and frame of the furniture, but reupholstery may also involve repairing or replacing the padding, springs, and webbing.
Reupholstering can extend the life of furniture and give it a refreshed appearance, while upholstering is typically done when first purchasing or creating a piece of furniture. Both processes require skill and attention to detail to ensure proper fitting and secure attachment of the fabric or leather.
Overall, upholstery is typically done before using a piece of furniture, while reupholstery is done to update and refurbish existing furniture. However, some furniture may be able to go through both processes multiple times as long as it is maintained and kept in good condition.
Does Nail Polish Remover Damage Leather?
Many people believe that using nail polish remover is an effective solution when it comes to removing nail polish from leather. However, this is not recommended as it can cause serious damage to the material.
Nail polish remover contains various ingredients, including acetone and other harsh chemicals. These substances can break down the fibers in leather, leading to discoloration, cracking, and even permanent staining for lighter colors. Therefore, if you must remove nail polish from leather, it is best to do so with care and caution.
The best way to avoid damage is by using soap and water or a leather cleaner for this purpose. Cleaners such as these are available in most stores and can help remove the polish without damaging the item.
If they don’t work, you may want to take the item to a professional cleaner who has experience with nails or leather items so they can determine the best solution for removing the polish without causing any lasting damage.
Frequently Asked Questions
Is It Possible to Reupholster a Leather Chair?
Yes, it is possible to reupholster a leather chair.
Leather is a natural material that can be damaged over time. It can become dry, cracked, and even torn. If you’re looking to restore your antique or vintage leather chair to its former glory, or if your new leather chair is showing signs of wear and tear, reupholstery is the perfect solution.
There are a few things you’ll need in order to reupholster a leather chair:
-Leather fabric- This will be the fabric that covers the chair’s surface.
-Fabric glue- This will help the fabric stick to the chair’s surface.
-Stiff brush or roller- This will be used to apply the glue onto the fabric.
-Paint or dye- This can be used to change the color of the fabric.
-Scissors- This will be used to cut the fabric.
Once you have all of the necessary materials, follow these steps to reupholster a leather chair:
1) Determine where you want to place the new fabric. Make sure to keep in mind how stretched out the original fabric was and how much room you want to leave around the edges of the new fabric.
2) Apply a layer of glue onto the back of the original fabric. Place the new fabric on top of this, making sure that it’s evenly spread out and covers all of the adhesive. Press down firmly so that the glue bonds the two fabrics together. Allow this to dry completely.
3) Cut out any excess fabric using scissors. Be careful not to cut into the original leather surface too deeply; just trim off any extra material around the edge of the new piece of fabric.
4) Once everything has dried, paint or dye your new piece of fabric according to your preference. Let it dry completely before putting your furniture back together!
How Much Does It Cost to Reupholster a Leather Office Chair?
The cost of reupholstering a leather office chair will vary depending on the size, style, and materials of the chair. However, a ballpark estimate might be between $200 and $500, depending on the complexity of the job and the particular specifications of the chair.
Can I Reupholster a Chair Myself?
Yes, you can reupholster a chair yourself. Follow the instructions provided with the chair and use the correct fabrics and threads to achieve a high-quality finish. There are also many online resources available that can help you learn how to reupholster a chair correctly, including tutorials and video demonstrations. By following these guidelines and using quality materials, you can create a chair that looks great and is comfortable to use.
What is the Best Tool to Reupholster a Chair?
Different people have different preferences and opinions. Ultimately, the best tool to reupholster a chair depends on the specific needs of the project and the skills of the person carrying out the reupholstery. Some possible tools and techniques that might be used in reupholstery projects include:
1. A needle and thread
2. A sewing machine
3. A spray gun
4. Glue and clamps
5. Dye or paint
6. Acrylic or vinyl fabric
7. Polyester fiberfill
8. Wool batting
9. Seams tape
10. Cotton yarn
11. Polyester thread
12. Spare needles and threads
13. Furniture protectors (such as clear acrylic sheets)
14. Furniture polish
Conclusion
Though it might seem daunting, reupholstering a leather chair is well within the realm of most do-it-yourselfers. You can save a lot of money by completing this project yourself, and you’ll end up with a piece that looks new. With these tips in mind, you’ll be able to successfully reupholster your leather chair and give it a fresh, updated look.
Now that you know how to reupholster a leather chair, you can confidently take on this project. With a little time and effort, you can have a brand-new piece of furniture that will last for years to come.
Hopefully, you now feel ready to tackle your own leather chair reupholstery project with confidence. Thanks for reading! We hope you found this article helpful. So what are you waiting for? Start shopping for some new fabric and get started on your next project!