Leather enthusiasts and craftsmen know that maintaining the beauty and longevity of their cherished leather goods requires more than just occasional cleaning. To truly protect and enhance the natural luster of leather, one essential product stands out: Resolene. Whether you’re a seasoned leatherworker or simply looking to revive your favorite leather items, learning how to apply Resolene effectively is a skill that can make a world of difference.

In this comprehensive guide, we will delve into the intricacies of using Resolene to bring new life to your leather possessions. From selecting the right tools and preparing your leather surface to applying Resolene evenly, we’ll cover it all, ensuring that you can preserve the elegance of your leather items for years to come. Whether you’re an amateur or a pro, this article will equip you with the knowledge and techniques needed to apply Resolene like a seasoned artisan, transforming your leather treasures into timeless classics.
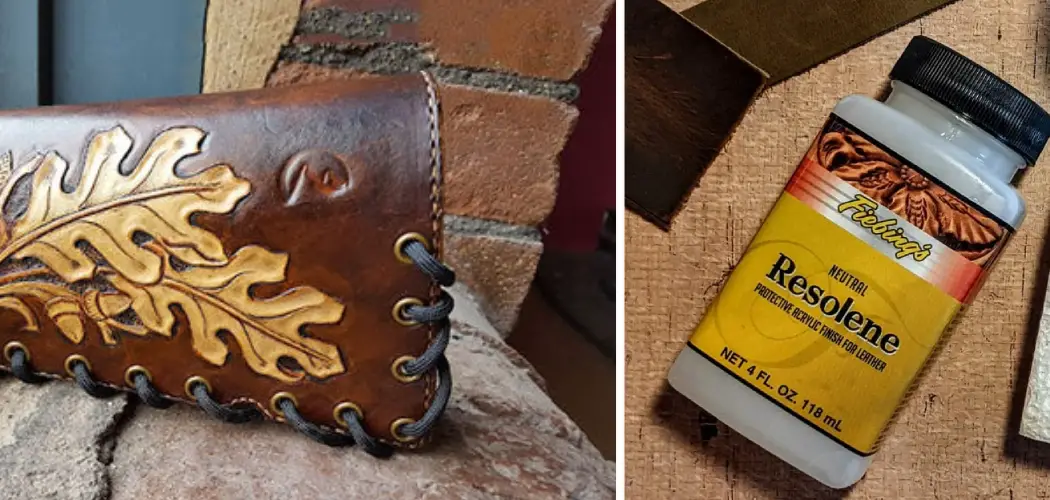
Brief Explanation of Resolene
Resolene is a brand that offers top-quality paint solutions for interior and exterior projects. It brings a unique set of features to the market, such as superior coverage, better adhesion, excellent durability and easy application. To ensure you get the best results when using Resolene, it’s important to follow these simple instructions.
First and foremost, make sure your surface is clean and free from any debris, dirt or dust. Then, use a brush to apply the paint evenly over the surface area. You should work in small sections for best results, taking care to ensure that all areas are adequately covered. When you have finished applying Resolene to one section, allow it time to dry before moving on to the next.
You can also use a roller for a smoother finish. Apply the paint in small sections, overlapping each one to ensure coverage is even and consistent. As with brush application, allow for the appropriate drying time before moving to another area. To achieve an even better result, additional coats may be necessary. However, make sure the previous coat has completely dried before applying any further layers.
Importance of Using Resolene in Leathercraft
Leathercraft can benefit greatly from the use of Resolene. A leather finish applied with Resolene provides the highest degree of protection and gives the leather a luxurious, glossy appearance. It is perfect for items that will be used frequently or subjected to heavy wear and tear.
When applying Resolene, it is important to make sure the leather is clean and free of dirt or oil. Resolene should be applied in a thin, even layer with a brush or cloth. It is best to apply several light layers to build up an even finish rather than one thick coat. After applying Resolene, it must be allowed to dry before use.
Resolene also provides excellent protection against water and other liquids, making it ideal for items like bags or shoes that are exposed to the elements. It is important to note that Resolene should not be used on unfinished leather as it may discolor the leather.
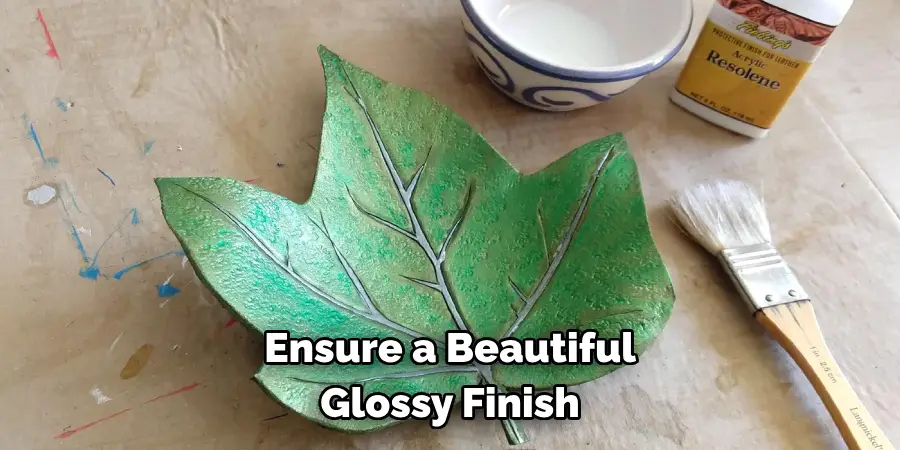
By following these simple steps, you can ensure a beautiful, glossy finish on your leathercraft projects! With Resolene applied correctly, you can be sure that your leathercraft projects will hold up to the test of time.
10 Steps How to Apply Resolene
Clean the Surface
Before applying Resolene, it is important to ensure that the surface you are working on is clean and free from dirt, dust, and debris. Use a mild detergent and warm water to scrub the surface before rinsing with clean water. Allow the surface to dry completely before applying Resolene.
Prepare the Resolene
Once the surface has been cleaned and dried, mix up a batch of Resolene according to the manufacturer’s instructions. It is important to use the correct ratio of resin to hardener in order for Resolene to cure properly.
Apply Primer
Once the Resolene has been mixed, apply a thin coat of primer to the surface using a brush or roller. This will help ensure that the Resolene adheres properly and also helps prevent air bubbles from forming during application. Allow the primer to dry completely before proceeding with the next step.
Apply the First Layer of Resolene
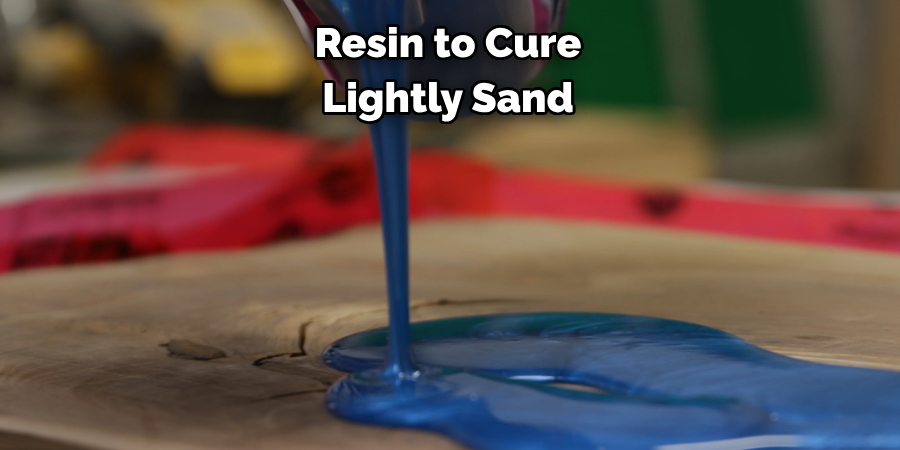
Using a brush or roller, apply a thin layer of Resolene over the entire surface area that needs protection from abrasion and wear and tear. Be sure to spread out any puddles or pools of resin as these can cause air bubbles when curing, which can weaken the bond between layers of resin and lead to failure in high-stress areas such as corners or edges. Allow this first layer of resin to cure for 24 hours before moving on to step five.
Sand Surface
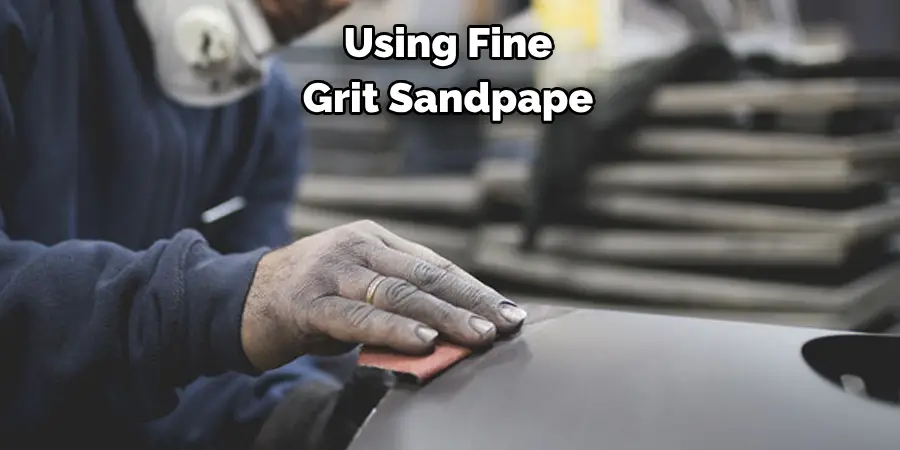
After allowing 24 hours for your first layer of resin to cure, lightly sand down any bumps or ridges that may have formed during application using fine-grit sandpaper (between 180-220). This will help create an even base for your subsequent layers of resin and ensure that they adhere properly without any air bubbles forming during the curing process.
Clean Dust From Sanding
Once you have finished sanding down any bumps or ridges created during the application, use a damp cloth or rag to wipe away any dust created by the sanding process from both sides of your project piece (front and back). Make sure all dust particles have been removed from the surface before continuing on with the next steps in the application process as this will help ensure proper adhesion between layers of resin going forward in the project piece construction process.
Apply Second Layer Of Resolene
Once you have ensured that all dust particles have been removed from your project piece’s surfaces, it is now time to apply your second layer of Resolene over the top first layer already applied earlier in the process (step four). Again be sure not to leave behind any puddles or pools as these can cause air bubbles when curing, which can weaken the bond between layers of resin, leading to potential failure in high-stress areas such as corners/edges etc. Allow this second layer of resin to cure for at least 24 hours before moving onto the final step eight.
Sand & Polish Final Layer Of Resin
After allowing 24 hours for your second layer of resin cure, lightly sand down any bumps/ridges that may have formed during application using fine grit sandpaper (between 180-220). Once finished with sanding, use a polishing compound along with a soft cloth/rag to go over the entire project piece and buff out any imperfections left behind after sanding. Finally, use a damp cloth/rag to wipe away excess residue created by the polishing compound ensuring all dust particles have been removed from surfaces.
Inspect Final Product
Once you have completed all the steps above, it is time to inspect the final product and make sure everything looks good before moving on to the next phase. If satisfied with the results, then move on to next step ten.
Apply Clear Coat Protection
Finally, once satisfied with the results achieved so far, it is now time apply clear coat protection over top entire project piece to help protect against future wear & tear/abrasion, etc. Use a brush/roller to apply thin, even clear coat protection over the entire project piece allowing it to dry completely before handling/using the final product.
Some Common Mistakes to Avoid
When it comes to applying Resolene, there are a few mistakes that you should look out for. First and foremost, make sure you’re using the correct amount of product. Too much can lead to over-saturation and an uneven finish. Additionally, be aware of the sequence in which you apply Resolene – it’s important to go from lightest to darkest.
In addition, be mindful of the direction in which you spread Resolene. Make sure that you’re going with the grain of the wood and not against it, as this can lead to an uneven finish as well. Finally, make sure that you don’t leave any pooled areas, and take care to avoid streaks or puddles when applying Resolene.
Once you’ve applied the correct amount of product in the right direction with the desired finish, allow it to dry for a few hours before re-coating or recoating any area where necessary. This will ensure that you get long-lasting and even results from your application. By following these simple steps, applying Resolene can be a breeze.

Conclusion
We hope this has been a helpful blog article to learn the importance of applying Resolene and how to do it properly. As you can tell, there are a number of steps that you need to take in order to make sure the job is done right. It’s important that you closely follow the instructions for application and avoid shortcuts, as they could damage your furniture or leave unsightly blemishes in your finish.
Remember, the preparation and application process is one of the most important aspects of achieving a beautiful finish on your project; so follow these steps for successful results. Now that you know how to apply Resolene correctly, go out and give it a go! With some practice, experience and knowledge – you can achieve perfect results every time!
