Crafting your own leather wrap bracelet can be a delightful journey into the world of DIY jewelry, where creativity knows no bounds. These versatile accessories are not only stylish but also incredibly customizable, allowing you to express your unique personality and fashion sense. If you’ve ever wanted to learn how to make a leather wrap bracelet that perfectly complements your style, you’ve come to the right place.

Creating a leather wrap bracelet involves a blend of artistry and technique. From selecting the right type of leather and choosing your preferred colors and textures to mastering the art of braiding or beading, there’s a world of possibilities awaiting your exploration.
Whether you’re a seasoned jewelry maker or a complete beginner, this guide will walk you through the step-by-step process of how to make leather wrap bracelet. Get ready to embark on a creative journey that will result in a one-of-a-kind accessory you’ll be proud to wear and show off to friends and family.
Appeal and Versatility of Leather Wrap Bracelets
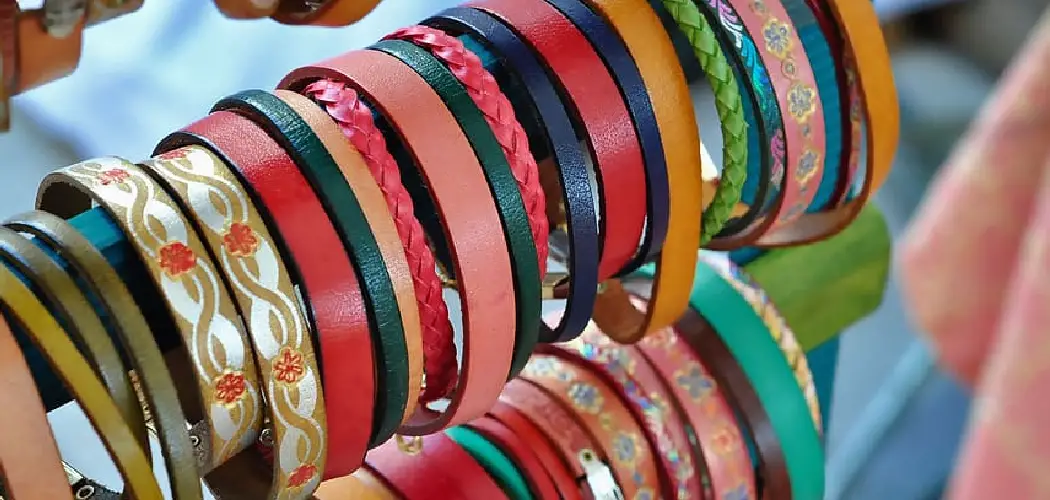
Leather wrap bracelets offer both visual appeal and versatility. Not only are they the perfect accessory to add some flare to any outfit, but they can also be used in a variety of creative ways. Whether you’re looking for something whimsical to wear with a fun night out, or just wanting an everyday piece that will easily transition from day-to-night looks, leather wrap bracelets fit the bill. The best part about these pieces is that they can be customized to your personal style with different colors and textures of leather, as well as other materials such as beads, charms, or stones.
Creating a leather wrap bracelet is easy and won’t take much time–it’s an ideal project for someone just starting out on their jewelry-making journey. All you’ll need are some basic tools and materials, such as a scissors, measuring tape, length of leather cord or strips of leather, and some embellishments if desired. Once you have your supplies gathered up, it’s time to get started!
Start by deciding on the size of your bracelet. You will want to measure your wrist and then add a few extra inches for overlapping, as this is how the wrap bracelet will be secured. Next, cut two pieces of leather cord or strips that are equal in length to your wrist measurement.

Choosing a Bracelet Style
Once you have gathered the supplies needed to make your leather wrap bracelet, it is time to select a style that suits your taste. Do you want a classic braid design or an intricate knot? Perhaps a simple string of beads will be enough to make your statement. Regardless of which style you choose, there are several ways to spice up your creation and add unique flair.
Add Color: Adding colorful beads can help bring out the subtle details of any style. Consider adding different colors along the length of the bracelet or pick a single shade for an elegant look. You could even combine two tones to create a unique design.
Switch Up Textures: Incorporating different textures into your bracelet will make it stand out and add some texture. Try adding some twine, hemp or suede to the bracelet for a unique look and feel.
Add Embellishments: Little extras are a great way to make any bracelet truly your own. Embellishments like charms, buttons, lacing and rivets can take an ordinary bracelet and turn it into something extraordinary.
Leather wrap bracelets are a great way to add a unique and personal touch to any wardrobe. With just a few basic materials and some simple instructions, you can easily make one of your own. Whether you choose to go with the classic braid or an intricate knot, adding color, texture and embellishments will help create something truly special.
10 Steps How to Make Leather Wrap Bracelet
Step 1: Gather Your Materials
To start your leather wrap bracelet project, you’ll need a few essential materials:
- Leather cord or strips
- Beads (optional)
- Clasp or button
- Scissors
- Ruler
- Tape measure
- E-6000 adhesive or leather glue
- Needle and thread (matching the leather color)
- Clamps (optional)
Step 2: Measure Your Wrist
Before you cut your leather cord, measure your wrist to determine the desired bracelet length. You can use a tape measure or a piece of string to wrap around your wrist, ensuring a comfortable fit. Add an extra inch or two to accommodate the clasp and the wrap-around design.
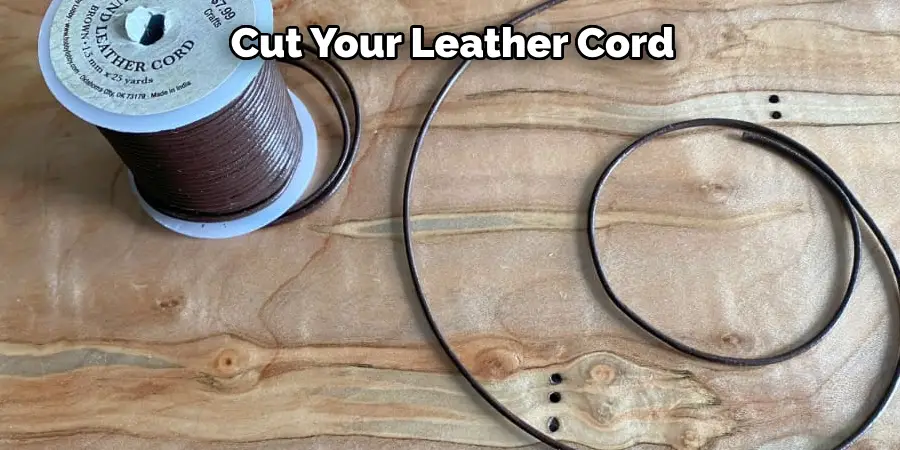
Step 3: Cut the Leather
Using sharp scissors, cut the leather cord or strips according to the measurement you took in step 2. Make sure the ends are clean and straight.
Step 4: Add Beads (Optional)
If you want to incorporate beads into your bracelet, now is the time to do so. Thread the beads onto your leather cord, spacing them out evenly along the length. You can create a pattern or go for a random arrangement, depending on your design preference.
Step 5: Create a Loop for the Button
At one end of the leather cord, create a loop that will accommodate the button or clasp. Fold the cord back on itself, leaving enough space for the button to fit comfortably. The loop should be large enough to allow the button to pass through easily but snug enough to secure the bracelet when worn.
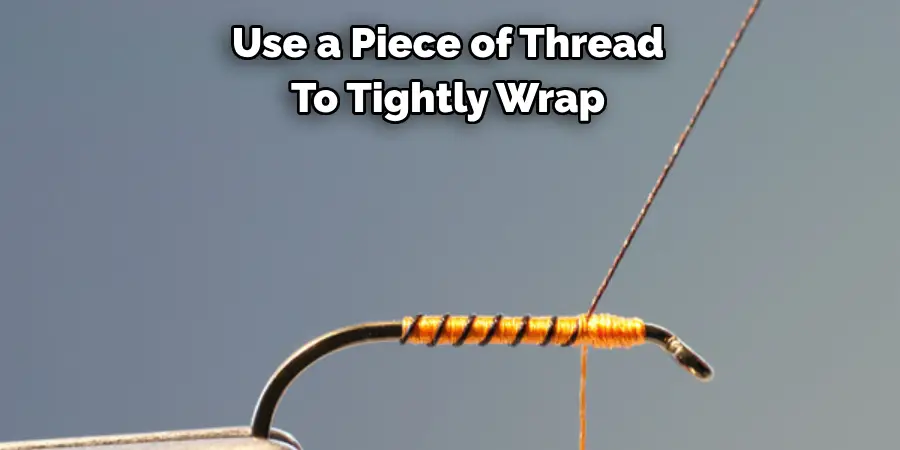
Step 6: Secure the Loop
With the loop folded, use a piece of thread to tightly wrap and secure the looped end of the leather. Ensure that the loop is stable and won’t unravel. You can also add a dab of adhesive to reinforce it.
Step 7: Attach the Button or Clasp
On the opposite end of the bracelet, attach your chosen button or clasp. If you’re using a button, make sure it fits snugly through the loop created in step 5. If using a clasp, follow the manufacturer’s instructions for attachment. Secure the button or clasp with thread and adhesive, ensuring it’s firmly in place.
Step 8: Begin Wrapping
With the button or clasp attached, you’re ready to start wrapping the leather around your wrist. Hold the bracelet against your wrist and start wrapping it around, making sure it’s snug but not too tight. Continue wrapping until you’ve covered your desired wrist length.
Step 9: Trim Excess Leather
Once you’ve wrapped the leather cord around your wrist, you may have some excess material remaining. Carefully trim this excess, ensuring that the ends are clean and neat.
Step 10: Secure the End
To secure the end of the bracelet, you can use the same method you used in step 6, wrapping thread around the leather cord and adding adhesive. This will prevent the wrap from unraveling and keep your bracelet in place.
Things to Consider When Makeing Leather Wrap Bracelet
Creating a leather bracelet is a great way to express your creativity and add some unique flair to your wardrobe. However, before you begin crafting one, it’s important to know what type of leather you will be using and where to source it from. Once you have this information, consider the following steps on how to make a leather wrap bracelet:
- Start by selecting the right type of leather that will fit your design. Leather can be broken down into two main categories – vegetable tanned or chrome tanned. Vegetable tanning uses natural dyes and is more expensive, whereas chrome tanning is more affordable and less time-consuming.
- Cut the leather to size using scissors or an exacto-knife. Measure out the desired length and width of the leather needed to wrap around your wrist.
- Bevel the edges of the leather strap before you begin stitching. This will ensure a smooth finish once it’s been wrapped around your wrist.
- Select a design that fits your style and then punch holes in the leather using an awl. Make sure the holes line up so that the pattern is easy to follow when stitching.
- Thread a needle with strong waxed thread and begin stitching the bracelet together. Use a saddle stitch for best results which is done by passing the needle through two consecutive holes in opposite directions.
- Once you’ve finished your design, tie knots at each end of the bracelet. This will keep it secure and in place when it’s worn.
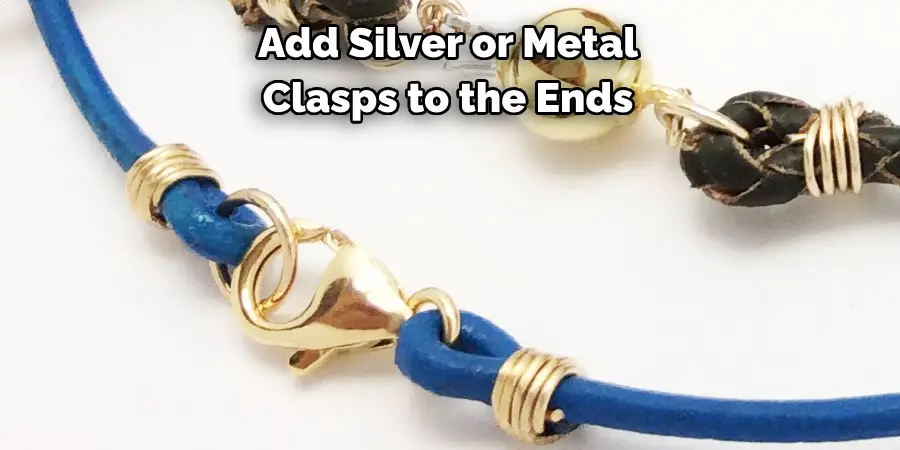
- Finally, to enhance the look of your leather wrap bracelet, add silver or metal clasps to the ends. These will give the piece a polished finish and ensure that it stays securely on your wrist.
Conclusion
If you have the creative eye and some basic crafting skills, making a leather wrap bracelet can be a fun and unique way to customize jewelry for yourself and your loved ones. From gathering the supplies to making sure the bracelet fits, making leather wrap bracelets can become an enjoyable source of self-expression.
Try out this craft today and see for yourself why so many enjoy crafting their own jewelry! And if you need help with understanding how to make leather wrap bracelets, visit our website for tutorials and tips on getting started. With these resources you’ll be able to make incredible bracelets in no time at all — So what are you waiting for? Go make your own personalized piece of fashion history today!