
Attaching leather to wood can be a tricky and time-consuming process. But with the right techniques, materials, and tools it doesn’t have to be a struggle! Leather is an elegant, versatile material that can be used in all sorts of craft projects – from wall hangings to coasters and more.
In this blog post, we’ll walk you through step by step how to attach leather to wood securely and efficiently and gluing to any type of wooden substrate for both aesthetic and functional purposes.
You’ll learn about specific types of adhesives that are best suited for leather-to-wood projects as well as various ways to finish off the piece once complete. We hope you find this guide helpful in your creative endeavors, whatever they may be.
Materials Needed
To attach leather to wood, you will need the following materials:
- A hammer
- Screws or nails
- Tacks with washers
- Contact cement
- Liquid glue
- A rivet setter
- Depending on how you want to attach the leather to the wood, you’ll also need a hole punch and/or an awl.
Once you have gathered all the necessary materials, you can begin attaching the leather to the wood. For screws and nails, pre-drill holes in both materials before attempting to attach them together. This will help prevent the leather from cracking or tearing.
Right Steps on How to Attach Leather to Wood
Whether you are a professional leatherworker or a beginner, attaching leather to wood can be tricky. With the right tools and techniques, it’s easy to make sure your project looks great for years to come. Here is a guide on how to attach leather to wood:
1. Gather Your Materials
Before getting started, you will need to gather the necessary materials. You will need leather, wood, a cutting tool such as scissors or an x-acto knife, contact cement, sandpaper, and a measuring tape. Don’t forget to wear protective gloves and safety glasses. It is also helpful to have a cloth and some wet wipes on hand.
2. Prepare the Environment
Make sure you have a clean, well-lit work surface. It is also important to move any flammable materials away from the area and open a window for ventilation in case of fumes. When you are ready, lay down a protective covering over the work surface such as newspaper or wax paper.
3. Prepare the Leather
Once you have gathered your materials, it’s time to prepare the leather. Cut the leather to fit the wood using a measuring tape and cutting tool. Make sure all edges are smooth and even. After cutting, use sandpaper to soften any rough edges or corners. This time -consuming step will ensure the leather attaches securely to the wood.

Using a measuring tape, measure the wood piece you are attaching the leather to. Then, use scissors or an x-acto knife to cut your leather piece down to size. It is important that your leather piece fits snugly on the wood piece.
4. Prepare the Wood
Next, you need to prepare the wood by smoothing any rough edges and cleaning off any dirt or dust with a damp cloth. Make sure all surfaces are clean and dry before moving on to the next step. Sometimes , it may be necessary to use a chisel or plane to further prepare the surface of the wood. It will also be necessary to make sure the wood is free from any oils or waxes before attaching leather.
Burn the wood in sun light for 10-15 minutes to make sure the wood is properly dried. When the wood is fully dried, apply contact cement to both the leather and wood surfaces. This will help ensure a secure bond between the two materials.
5. Apply Contact Cement
Once you have prepared the leather and wood pieces, it’s time to apply contact cement. Start by brushing a thin layer of contact cement onto both the wood and the leather, making sure to cover all areas thoroughly. Allow the cement to dry completely before moving on. The cement should be completely dry to the touch before continuing. You may check the back of your contact cement container for drying times.
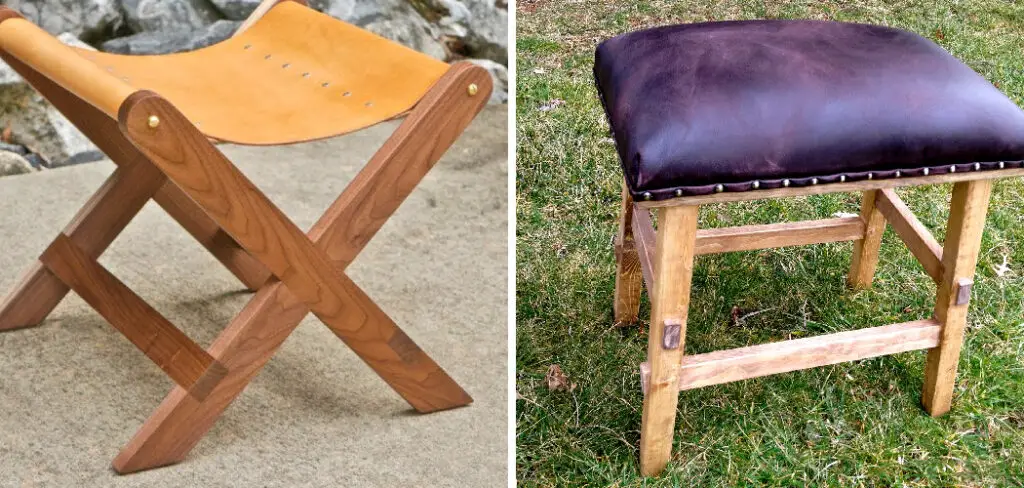
6. Attach the Leather to the Wood
When your leather and wood pieces are prepared and the contact cement is fully dry, it is time to attach them together. Start by placing the leather piece onto the wood surface. Then, firmly press down on the leather in order to secure a strong bond between both surfaces. Use wet wipes to clean any excess contact cement. Sometimes , it will be helpful to use a clamp or weights to press down on the leather while attaching. When your leather is attached to the wood, leave it alone until the contact cement has cured.
7. Touches of Sandpaper
Once you have completed attaching the leather to wood, it may be necessary to give your project a final touch with sandpaper or a sealant. This will help prevent any fraying of the leather and also make it more resistant to water and other liquids. If you used contact cement, it will also help reduce the fumes. Then , you can enjoy your newly created leather and wood project.
8. Clean the Space
When you have completed the leather and wood project, make sure to clean up the space and put away all materials. Don’t forget to discard any remaining contact cement or other hazardous materials properly. It is important to always be mindful of safety when working with contact cement and other hazardous materials.
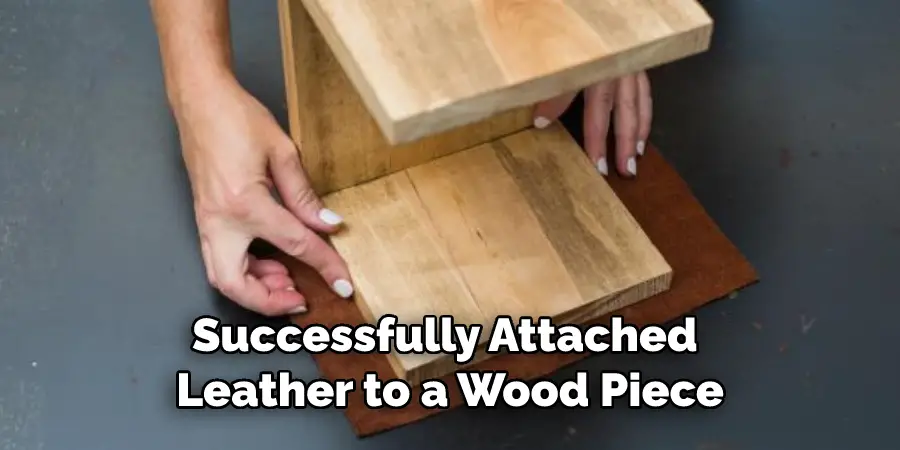
9. Finishing Up
Once you have successfully attached your leather to a wood piece, let it sit for at least 24 hours before using or moving it. This will help ensure a strong bond between the two materials and allow them time to fully cure. It might also be helpful to apply a finish or sealant to your project in order to help protect it from wear and tear.
This guide is written by experts on how to attach leather to wood. Keep in mind that this task requires patience and careful attention to detail, so don’t be afraid to take your time while working on it.
Get creative and let your imagination lead you in the direction of constructing something unique, beautiful, and eye-catching. Taking the extra time to prepare both materials properly will ensure a strong bond between them.
Frequently Asked Questions
Q: How Do I Attach Leather to Wood?
Ans: There are a few different methods to attaching leather to wood. The most common of which is using an adhesive such as contact cement or industrial strength glue. This can be applied either directly onto the leather and then adhered to the wood, or on both surfaces and allowed to dry before being pressed together. Another option is to use nails or tacks to secure the leather in place. Finally, you can also use rivets which are a bit more labor intensive but provide a stronger and more finished look.
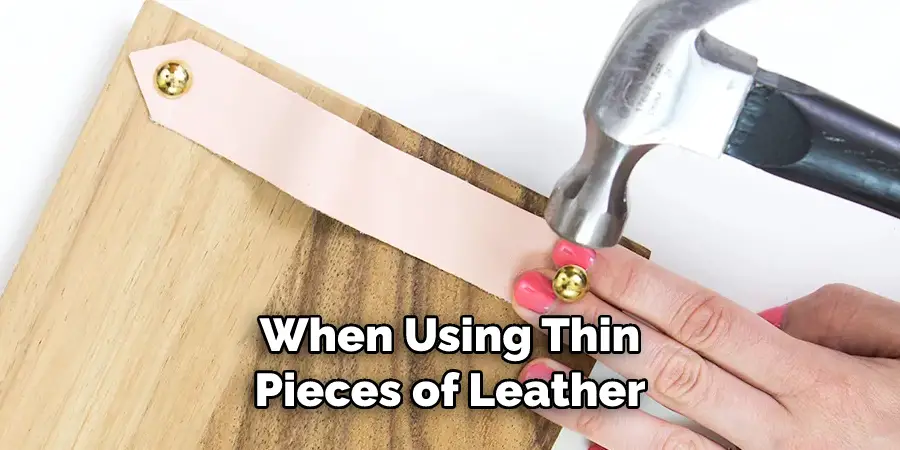
Q: How Do I Know Which Method to Use?
Ans: The best way to determine the best method to use is to examine the project that you are working on and the type of leather being used. Adhesives are ideal for projects where a strong bond isn’t necessary or when using thin pieces of leather such as suede.
Q: How Do I Properly Use an Adhesive?
Ans: It is important to read and follow the directions on the product’s label. Typically, contact cement or industrial strength glue will need to be applied evenly and thinly to both the leather and wood surfaces, then allowed to dry for the recommended amount of time before being pressed together.
Q: How Long Does it Take for an Adhesive to Dry?
Ans: This will depend on the specific product being used but generally speaking it can range from 10-15 minutes to several hours. Make sure to read the instructions on the product’s label for more information.
Q: How Do I Remove Leather from Wood if Needed?
Ans: If you need to remove the leather from the wood, first allow any adhesive or nails/tacks used to cool down before attempting to take them off. You can use a putty knife, chisel or other tool to help pry the leather away from the wood. If needed, you can also use heat such as a hairdryer or hot water to soften the adhesive before attempting to remove it.
Q: How Do I Maintain the Strength of the Bond?
Ans: Over time, the bond between the leather and wood may weaken due to wear and tear or environmental conditions. Make sure to inspect any projects that you have created and if necessary reapply adhesive or secure with nails/tacks again for better adhesion.
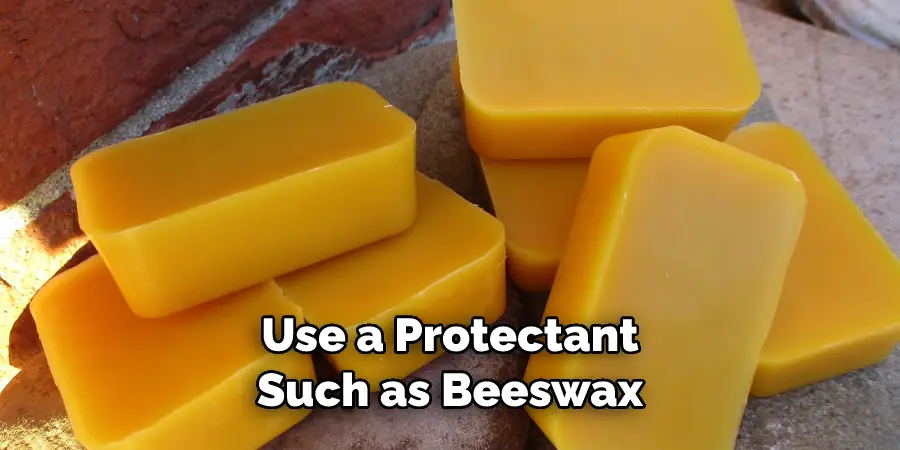
Q: How Do I Protect the Finished Product?
Ans: To keep the leather and wood in good condition, use a protectant such as beeswax or wax-based polish to help repel moisture and prevent damage. You can also consider using a light coating of lacquer or shellac to further protect the surfaces.
Conclusion
With patience and preparation, you will be able to create beautiful projects that showcase your creativity and skill. How to attach leather to wood is an easy process if you take the time to prepare the materials properly before beginning. If done correctly, this attachment process can last for many years and withstand the test of time.
Be sure to never rush when attempting this job, take your time and make sure all materials are securely attached- failure to do so could compromise the integrity of your final product. Ultimately, correctly attaching leather to wood is an achievable task when given the right tools and tips. Good luck with your own projects!