
A get back whip is a useful tool for keeping unruly cattle in line, and it can also be used as a defensive weapon if necessary. If you’re a rancher or simply someone who likes to work with leather, braiding your own get back whip is a relatively simple process that can be completed in an afternoon.

In this blog post, we’ll walk you through the steps of how to braid a leather get back whip so that you can make your own.
Can You Braid a Leather Get Back Whip?
If you’re looking for a stylish way to keep your hair out of your face, you may be considering braiding your leather get back whip. Get back whips are a great way to add a touch of personality to your look, and they can be braided in various ways.
However, before you start braiding, you should keep a few things in mind. First, ensure that your get back whip is made of high-quality leather. This will ensure that it won’t break or fray during the braiding process.
Second, take your time and be careful not to pull too tight on the leather. Braiding too tightly can cause the braid to come undone, so it’s important to be gentle.
Finally, when you’re finished braiding, be sure to secure the braid with a hair tie or clip. This will help keep your braid in place and prevent it from coming undone. With these tips in mind, you’ll be able to create a beautiful braid that will add a touch of style to your look.
Why Should You Braid a Leather Get Back Whip?
There are many reasons to braid a leather get back whip. For one, it makes the whip more durable and less likely to break. Braided whips also have a more aesthetically pleasing appearance and can be easily customized to add personal touches.
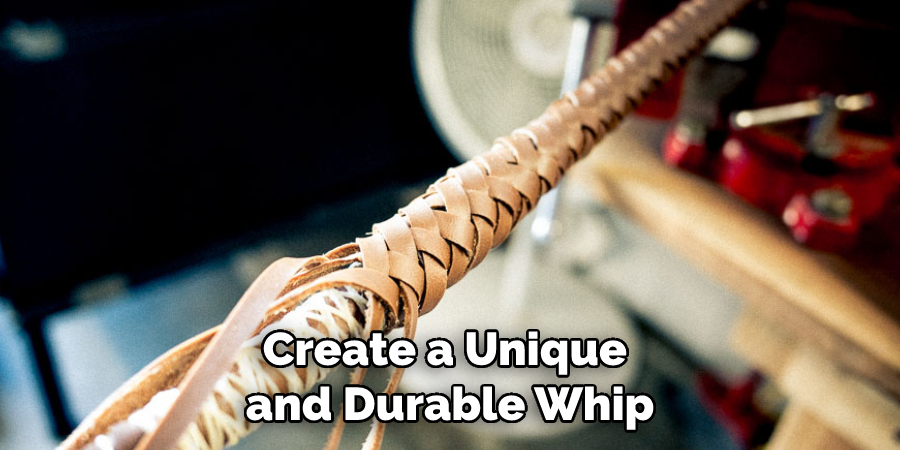
Finally, braiding provides an opportunity to add different weights and textures to the whip, which can change how it feels when used. Ultimately, braiding a leather get back whip is a matter of personal preference. Still, it is definitely an option worth considering for those looking to create a unique and durable whip.
What You’ll Need
To braid a leather get back whip, you’ll need the following supplies:
- About 6 feet of soft, supple leather cord
- A piece of hardwood or metal about 9 inches long (for the handle)
- A sharp knife
- Beeswax or another leather conditioner (optional)
7 Steps to Follow on How to Braid a Leather Get Back Whip
Step 1: Cut the Cordage to Length
Using your sharp knife, cut six lengths of cordage from the main piece of leather. Each length should be about 2 feet long. Once you have your cordage cut, use the knife to trim any rough edges so that they’re nice and even.
Step 2: Condition the Leather (Optional)
If you want to condition the leather, do so now by applying a small amount of beeswax or leather conditioner to each length of cordage and rubbing it in well. This step is optional, but it will help ensure that your get-back whip stays supple and strong for many years to come.
Step 3: Begin Braiding the Whip
Start by taking three lengths of cordage and tying them together at one end with an overhand knot. Once they’re tied together, braid them tightly for about 6 inches, then tie off the end with another overhand knot. Trim any excess cordage so that the knots are nice and neat.
Step 4: Attach the Handle
Now take your handle piece and tie one end of the braid to it using an overhand knot. Make sure that the knot is tight so it doesn’t come undone later. Trim any excess cordage, then repeat steps 3-4 until the entire braid is complete.
Step 5: Secure the End
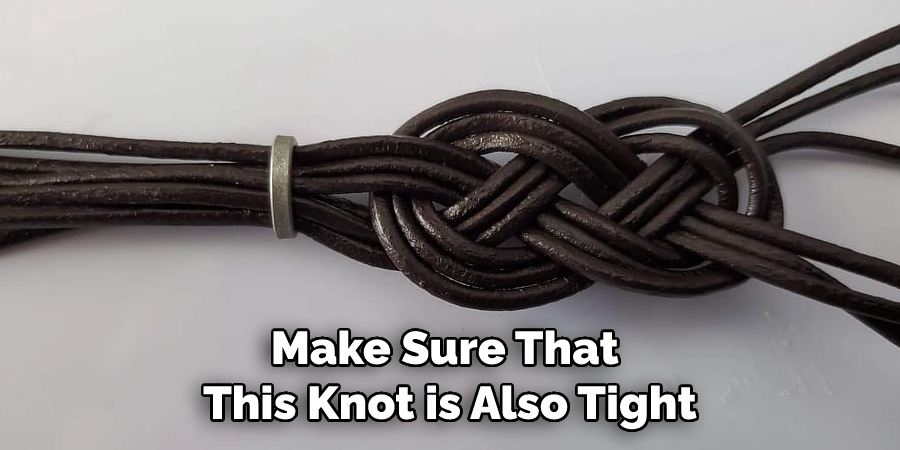
Once the braid is finished, take the remaining length of cordage and wrap it around the handle several times before tying off the end with an overhand knot. Make sure that this knot is also tight to make sure that your get-back whip doesn’t come undone.
Step 6: Attach the Popper
Now attach your popper to the other end of the whip. This can be done by simply tying a loop knot onto the end of the cordage and then threading it through the popper before tying it off with an overhand knot.
Step 7: Enjoy Your New Whip!
Your get-back whip is now finished and ready to use! Enjoy practicing with your new creation, and don’t forget to store it somewhere safe when it’s not in use. With regular care and maintenance, you’ll be able to enjoy your whip for many years to come.
That’s it! You’ve now learned how to braid a leather get back whip. With the right materials and a bit of patience, you can create a beautiful piece that will last through years of use. Have fun braiding!
Things You Need to Know Before Braid a Leather Get Back Whip
Before you braid a leather get back whip, there are a few things you need to know. First, it is important to choose the right type of leather. You will want to use sturdy leather that is resistant to stretching and tearing. Second, you will need to select the appropriate size of the braid.
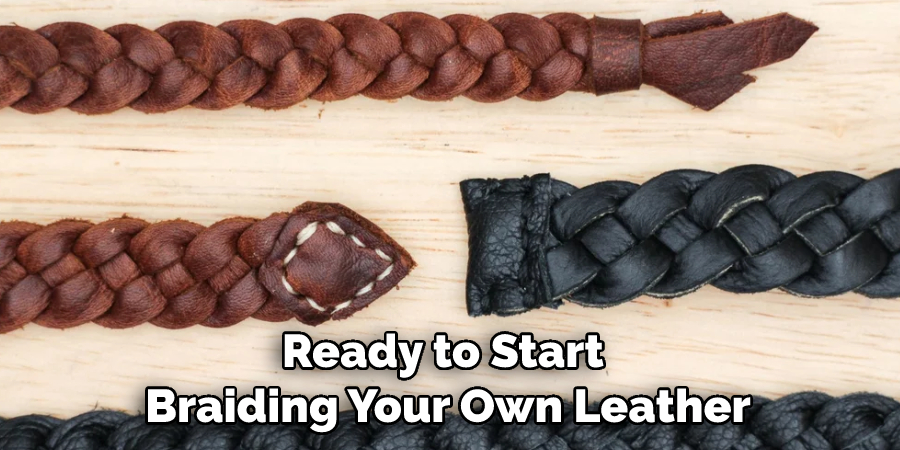
The size of the braid will depend on the thickness of the leather and the desired width of the finished whip. Finally, you will need to gather the necessary tools, including a measuring tape, a sharp knife, and a heavy-duty needle. With these three things in mind, you will be ready to start braiding your own leather get back whip.
How to Choose the Right Leather Get Back Whip
Get back whips are an excellent way to provide additional security while riding a motorcycle. They are also a great way to add personalization to your bike. When choosing a get back whip, there are several things to consider in order to make sure you choose the right one. The first step is to determine the length you need.
Get back whips come in a variety of lengths, so it is important to measure from the top of your head down to where you want the whip to hang before making a selection.
You also want to consider the weight of the whip. Heavier whips will provide more resistance, making them better for deflecting items that may be thrown at you while riding.
Another thing to keep in mind is the material the whip is made from. Leather is the most popular choice, but there are also options made from nylon and Kevlar. Ultimately, the best get back whip for you is the one that meets your specific needs and preferences.
By following these guidelines, you can be sure to choose the perfect get back whip for your motorcycle.
5 Benefits of Braid a Leather Get Back Whip
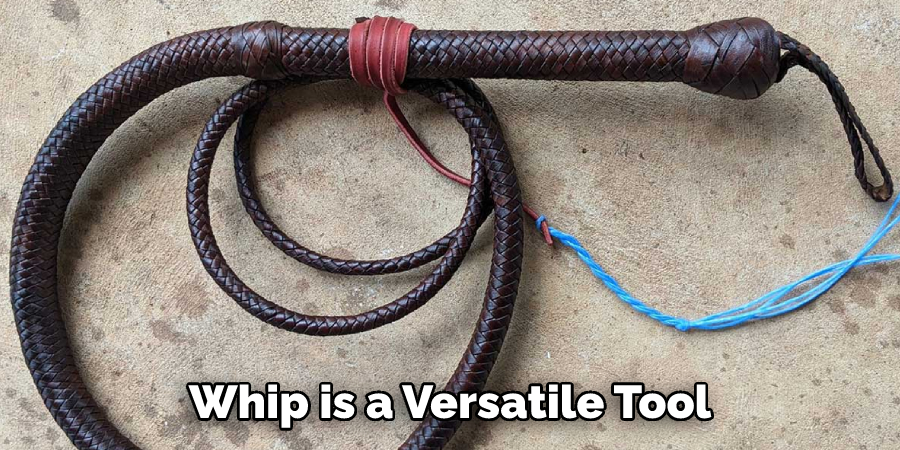
1. Versatile
A braid a leather get back whip is a versatile tool that can be used for a variety of purposes. It can be used for self-defense, as a training tool, or even as a fashion accessory.
2. Durable
A braid a leather get back whip is also a very durable tool. If properly cared for, it can last for many years.
3. Easy to Use
Another benefit of a braid a leather get back whip is that it is easy to use. Even if you have never used one before, you should be able to pick it up and use it with ease.
4. Affordable
A braid a leather get back whip is also an affordable option. When compared to other self-defense tools, such as guns or knives, a braid a leather get back whip is relatively inexpensive.
5. Fun to Use
Finally, a braid a leather get back whip can be fun to use. Whether you are using it for self-defense or as a training tool, you are sure to enjoy using this unique and effective weapon.
Some Common Mistakes People Make When Trying to Braid a Leather Get Back Whip
Before you braid a leather get back whip, there are a few things you need to know. First, it is important to choose the right type of leather. You will want to use sturdy leather that is resistant to stretching and tearing.
Second, you will need to select the appropriate size of the braid. The size of the braid will depend on the thickness of the leather and the desired width of the finished whip.
Finally, you will need to gather the necessary tools, including a measuring tape, a sharp knife, and a heavy-duty needle. With these three things in mind, you will be ready to start braiding your own leather get back whip.
Frequently Asked Questions
What is the Point of Get Back Whips?
There are a few reasons why someone might choose to get back whips. For one, they may find them to be an effective way of disciplining their children. Additionally, some people may use whips as part of their BDSM activities. Finally, some people may find them aesthetically pleasing.
Where Do You Attach a Get Back Whip?
The location and dimensions of a get-back whip will vary depending on the type and size of whip that is used. Generally, however, a get-back whip will be attached to a handle or strap at the user’s waist or shoulder area.
Why is It Called Whip?
Whip is a name given to a type of whip used for striking or disciplining people. Whips are typically made from leather, fiberglass, or other sturdy materials, and are usually between 12 and 24 inches in length. They are often designed to inflict pain or inflict physical punishment on the person being whipped, although they can also be used for other purposes such as controlling animals.
Are Whips Made of Leather?
Whips are not typically made of leather, but there are a few rare exceptions. Whips that are made of leather may be called “leather whips,” “whips with leather tips,” or “leather floggers.” These whips are typically made from the skin of a cow or other animal, and they are often used for BDSM activities such as spanking, whipping, and caning. They can also be used for humiliation or erotic purposes.
Conclusion
And there you have it! That’s all there is to braiding a leather get back whip. With just a few simple supplies and some basic skills, you can easily make your own get back whip that will last for years to come. Thanks for reading our post about how to braid a leather get back whip. So what are you waiting for? Give it a try today!