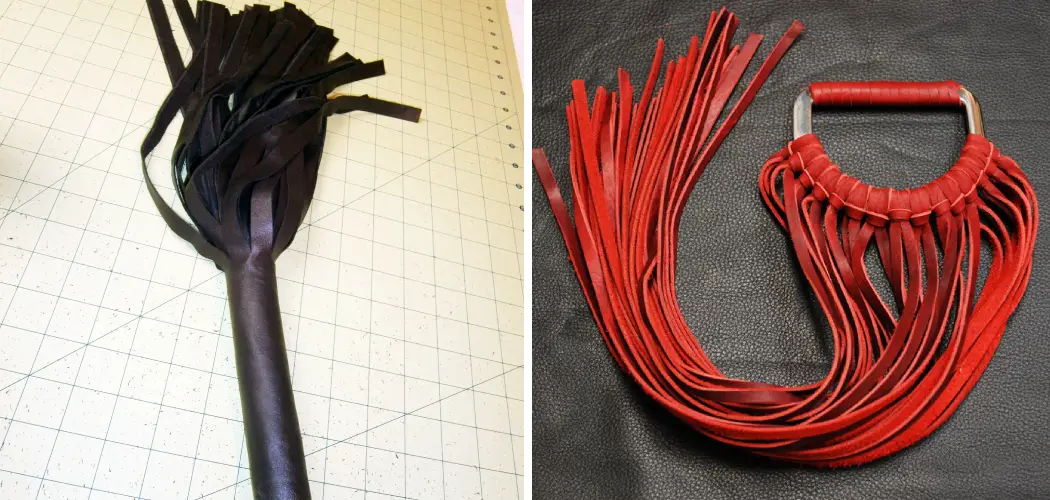
Making your own leather flogger is a great way to save money and get creative with BDSM gear. This craft project allows you to customize the shape of the tails, the strength of impact, handle length, and even the color of your handmade flogger.

With some basic supplies like leather sheets or scraps, string or cord made from natural fibers (leather lacing works great, too), hardwood handles, metal hardware pieces purchased at any hardware store, and a little bit of effort and know-how on how these parts come together.
You’ll be ready to create your own unique take on this popular bondage tool. In this blog post, we’ll go through every step of how to make a leather flogger so that even beginners can make their own homemade floggers!
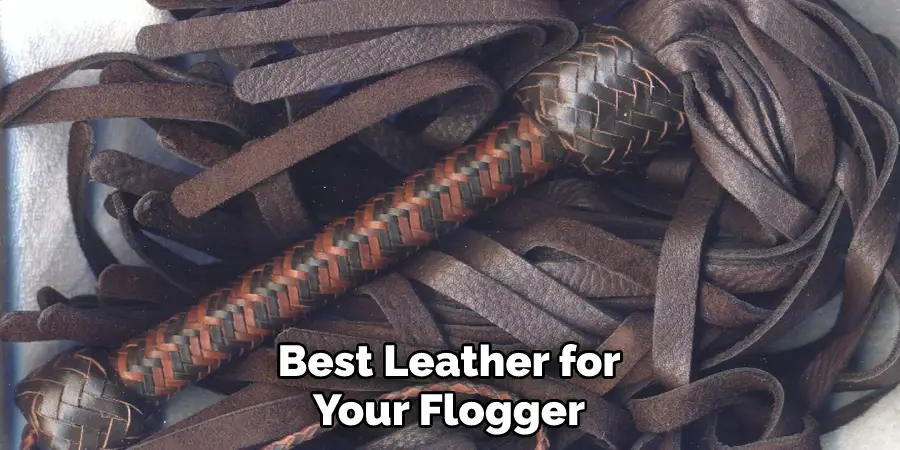
What Is the Best Leather for Floggers?
When deciding on the best leather for your flogger, you’ll want to consider the type of hide, thickness, and pliability. The most commonly used hides are cowhide and deer hide. Cowhide is known for its durability and can be purchased in a range of thicknesses.
It’s usually recommended that you use a 3-4 ounce weight cowhide for making a flogger as it will provide enough strength while still offering flexibility when using it. Deerhide is another popular choice because it’s lighter than cowhide but still provides plenty of strength.
This makes it ideal for people who prefer a more lightweight flogger with better maneuverability. When choosing from either type of hide, make sure to select top-grade pieces that are free from cuts, tears, and blemishes.
You’ll also want to consider the pliability of the leather. It should be firm enough to keep its shape when flogged but still remain flexible for impact play. The best way to test a piece of leather is by rolling it in your hands and feeling how soft yet durable it is.
Finally, you’ll need to consider the length of the fall strips. If you’re making a smaller flogger, look for hides that are at least 2 feet wide so you can cut longer strips. For larger floggers, select pieces 3 feet or wider so you can create beautiful long falls with lots of movements!
No matter what type of hide or thickness you choose, the best leather for floggers is one that allows you to create a beautiful-looking piece of equipment while also providing flexibility and durability. With the right side and some practice, you’ll be able to craft an amazing flogger with ease!
10 Methods How to Make a Leather Flogger
1. Gather Your Supplies:
You will need leather, some sturdy thread and a needle, a ruler, scissors, and an awl (a tool used to make small holes in the leather). To make the handle, you may also need some leather lacing and a buckle or button.
Also, if you want to add some decorative touches, you can use paint or dye. However, these steps are optional and can be done after the flogger is complete. Try to find the best quality of leather you can afford, as this will make your flogger last longer.
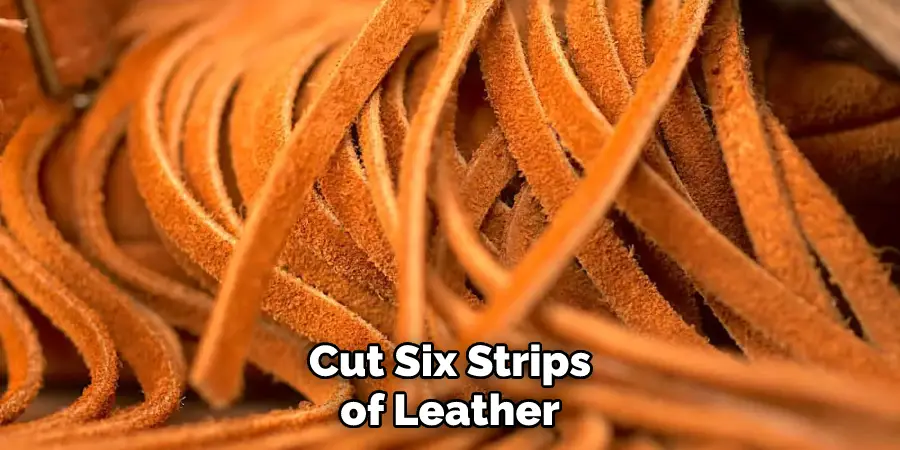
2. Cut Your Strips of Leather:
Measure out and cut six strips of leather. Each strip should be approximately 12 inches long by 3/4 inches wide. Using a rotary cutter or scissors, carefully trim the edges of the strips to create straight lines. While you can use any type of leather for this project, suede or deerskin are the most popular choices for floggers.
Though leather can be stained or colored, it is recommended that you avoid using harsh chemicals on the material. If you do choose to dye your strips, test the color on a scrap piece of leather before using.
3. Put Holes in the Strips:
Use your awl to puncture three evenly spaced holes in one end of each strip of leather. Make sure that you keep all the holes aligned so that they form a line across each strip. To make sure that the holes are even, try to keep them at a distance of about one inch.
You should also make sure that each hole is punched all the way through so that there is a hole on both sides of the leather strip. If you want to make a more ornate flogger, you can punch additional holes near the middle of each strip. These extra holes will add more texture and weight to the flogger.
4. Thread Your Strips Together:
Cut off two pieces of thread about 18 inches long each. Thread one piece through one hole from the front of the strips and tie a knot at the end. Do this for each hole and make sure that all knots are tightened securely.
Then, thread the second piece of thread through all the holes from the back. Once complete, tie both ends together in a knot to form one solid piece. While you are threading, make sure that the leather strips are lined up with each other. This will ensure that your flogger hangs evenly and looks even more professional.
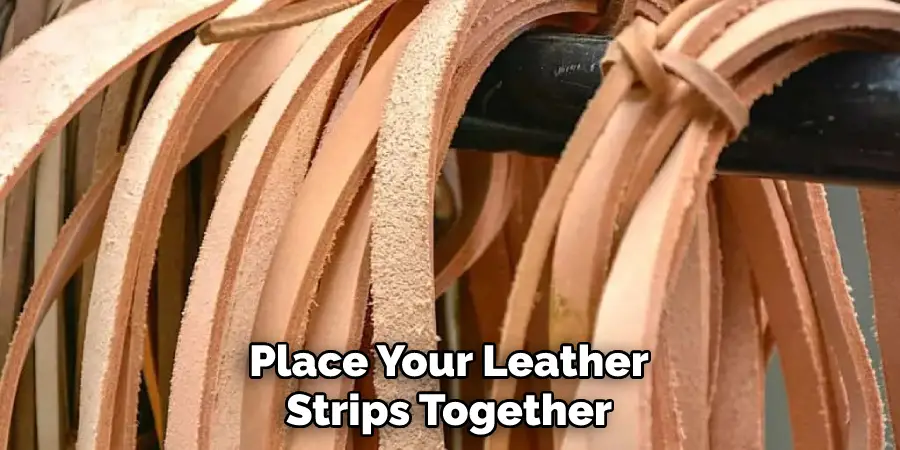
5. Make the Handle:
Place your leather strips together, forming them into a fan shape with one side wider than the other. Then thread two pieces of leather through either side of the wider portion, forming a loop to form your handle. Use your needle and strong thread to stitch the leather strips together, securing them in place as you wrap them around.
You can also add a knot or bead to the end of your handle. Make sure your flogger is securely attached and will not come undone during use. Now you have a finished leather flogger! While you can use it right away, it will be even more effective after a few uses when the leather strips are broken in.
6. Create the Binding on Your Flogger:
Cut off two more lengths of thread, approximately 18 inches in length each. Thread these through the holes on each strip in order to bind them all together as one unit. Tie two knots and trim the excess thread. Congratulations! You have now made your very own leather flogger. Have fun playing with it, but be sure to use it safely.
Always remember the basics of responsible BDSM play: consent, communication, and caution. Additionally, make sure to keep your flogger away from dust and direct sunlight, as this material can be sensitive when exposed to those elements. With proper care, your new flogger should last you a long time.
7. Secure The Binding Thread:
Take both ends of your binding thread and tie them together firmly at one end. Make sure it is secure. You may want to use a leather knot at the end for extra strength. Finally, cut off any excess material.
Congratulations, your leather flogger is now complete! However, before you use it, make sure to test it out on a soft surface such as a pillow or stuffed animal. This will help you get accustomed to the feel of it and determine how much force you want to use when using it. Enjoy your new toy!
8. Make The Knots at the Ends:
Carefully tie knots in each of the strips near the handle to keep them from fraying. Make sure to tie a secure knot and pull the knots tight. It’s also helpful to use a needle or small pair of scissors to tuck any long strands of leather back into the knot. Finally, add a drop of glue or wax to each knot to make them even more secure.
To finish off the handle, use a piece of leather cord to wrap around it. This will give your flogger a nice touch and make it even more durable. Once you’ve finished with the knots and wrapping, your flogger is ready to use! Go forth and whip away!
9. Finishing Touches:
Cut off any excess ends and shape your flogger as you desire. You can also use some leather conditioner or waterproofing spray to seal it against moisture damage. Finally, hang the flogger up so that the tails can soften and smooth out. This will give you a better feel when using it. With the right care and maintenance, your leather flogger should last you for many years. Enjoy!
10. Enjoy Your New Leather Flogger!:
Congratulations! You have now made yourself a beautiful, handmade leather flogger that you can use in your BDSM scenes. Store it properly when not in use, and always practice safety first! If you’re looking for more ideas on how to make fun and interesting floggers, check out our blog on DIY sex toys.
Conclusion
Crafting a leather flogger is a great way to become both creative and knowledgeable in this BDSM BDSM intimacy practice. That being said, even a novice could manage it given enough patience. You may have to make some adjustments along the way, but don’t worry; the results will be worth it!
Overall, your flogger will be an expression of your craftsmanship and dedication to achieving the perfect play partner experience. Thanks for joining us in learning about how to make a leather flogger – now get out there and begin creating something unique!