If you’re looking for a stylish and timeless way to protect your valuables, then look no further than leather. Not only is it durable, but also versatile when it comes to creating different shapes and sizes of cases. But finding out how to case leather can be challenging, especially if you don’t know the steps involved in the process.
This blog post will provide an in-depth explanation of all you need to know about casing leather so you can confidently create your own stunning custom pieces. So keep reading if you’re interested in learning how to turn simple scraps of hide into beautiful works of art!
Can You Case Leather?
Crafting with leather is a long-established tradition and can be rewarding. As it turns out, you cannot only case leather but there are multiple methods you can use. For instance, oil tanning allows you to create soft, pliable leather that makes lovely products such as bags and purses.
On the other hand, veg tanning involves literally soaking the hide in a chemical solution to create an extremely stiff material suitable for furniture or items that need added strength and durability – even armor!
The process of casing takes advantage of the yet-to-be-hardened hide by stretching it with special knives called strops during the tanning procedure. Whatever your purpose, there’s no doubt that cased leather offers remarkable opportunities for aspiring artists and craftspeople!
Why Should You Case Leather?
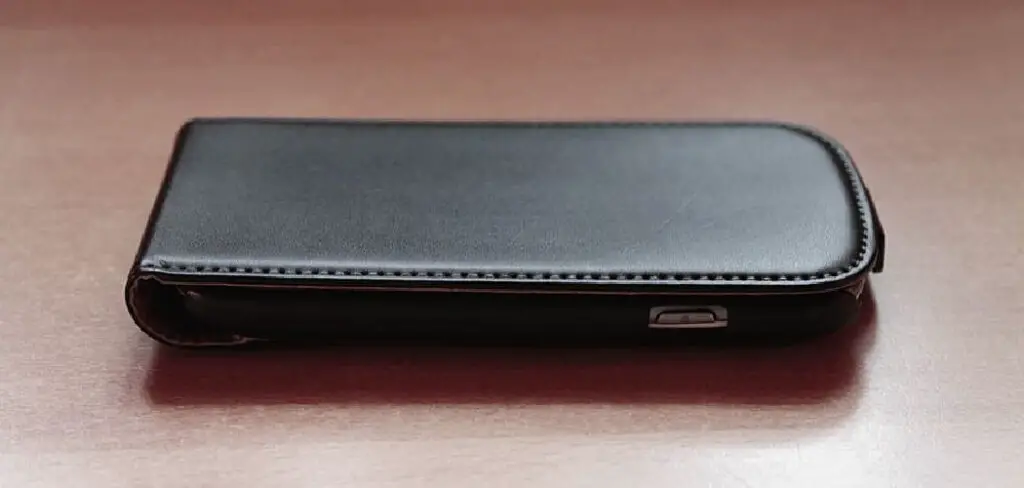
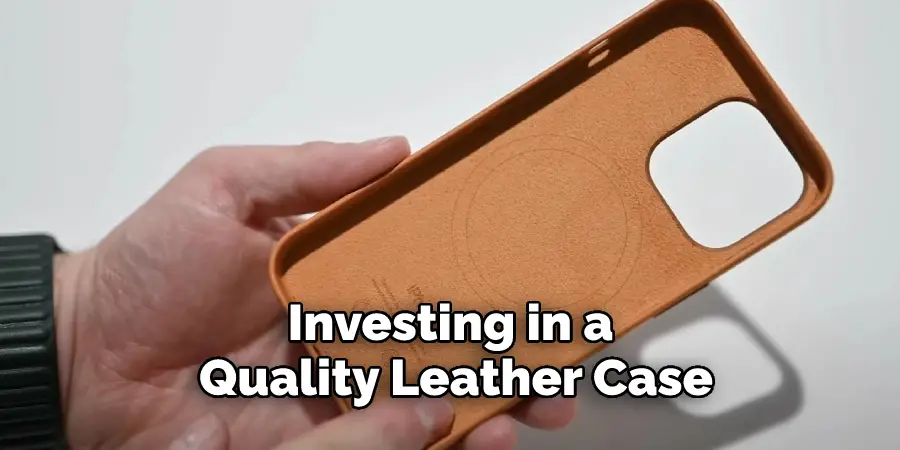
Investing in a quality leather case can be an excellent choice for protecting valuable items. The unique properties of leather make it the perfect material for cases, offering protection from knocks, bumps, and scrapes.
Leather is also resistant to water, meaning any devices or items you put inside your case are less likely to get wet if you happen to drop your case into puddles or near running taps.
Furthermore, leather is aesthetically pleasing and adds an exclusive look to whatever you place in it–from phones and tablets to cameras and notebooks. With such wide-ranging benefits, it’s no surprise that leather cases are becoming increasingly popular these days!
6 Steps to Follow on How to Case Leather
Step 1: Select the Right Type of Leather
The first step in working with leather is selecting the right type for your project. There are two main categories of leather: full-grain and top-grain. Full-grain is considered to be the highest quality and is usually more expensive than top-grain.
It’s also often called “unfinished” because it has not been sanded or buffed down like top-grain leather. This means that it will retain its natural grain pattern, giving it a unique look and feel that makes it perfect for luxury items such as wallets and handbags.
Step 2: Cut the leather
Once you have selected your leather, you’ll need to prepare it for cutting by dampening it slightly with a sponge or cloth. This will help prevent cracking and make it easier to cut and shape. Once your leather is dampened, use scissors or an X-Acto knife to cut out the shapes you need for your item carefully.
If you are unsure of what size pieces you need, use a template or tracing paper as a guide. When cutting out small pieces such as pockets or straps, use a razor blade instead of scissors since this will give you more control over the shape and size of the piece.
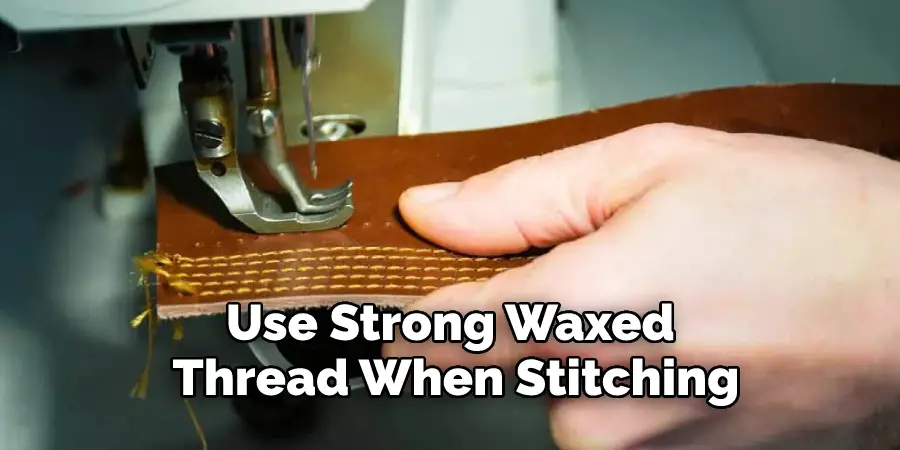
Step 3: Stitching Your Leather Together
The next step is stitching your pieces together using an awl or needle and thread. Awls come in various sizes, so be sure to select one appropriate for the thickness of your material; too large an awl may cause unnecessary holes in your material, while too small an awl won’t be able to penetrate thick hides properly.
Use strong waxed thread when stitching so that it won’t break easily when pulled tight; a sinew is also a good option if available. Finally, use an edge slicker (also known as an edger) to smooth the edges down after stitching—this will help create a neat finish on your item and prevent any unraveling due to wear and tear over time.
Step 4: Adding Decorations
After stitching your item together, you can then add any decorations or embellishments to personalize it. This could include rivets, conchos, grommets, and more—it’s all up to how creative you want to be! For example, if adding rivets, use an awl to punch a hole in the leather first, making it easier to set the rivet afterward.
Step 5: Sealing and Finishing
Once you’ve finished decorating your item, you’ll need to seal and protect it. This is done by applying a coat of wax or oil to the leather. This helps to waterproof the material, preventing it from cracking or fading over time. You can also use a top coat such as mink oil for additional protection and shine.
Step 6: Finishing Touches
Finally, you’ll want to give your item good polishing with a soft cloth to make it look its best. This will help to remove any dust or dirt that may have been collected on the surface of your item during the construction process. And with that, your leather item is ready for years of use and enjoyment!
That’s it! You’ve now learned how to case leather in six easy steps. With a bit of practice, you can craft beautiful leather items confidently! Good luck!
Things You Need to Know Before Case Leather
If you’re a leather crafting enthusiast, case leather is an incredibly satisfying material to work with and one that can create some truly stunning fashion accessories and furnishings. Before you begin working with case leather, however, there are a few essential things that you should know.
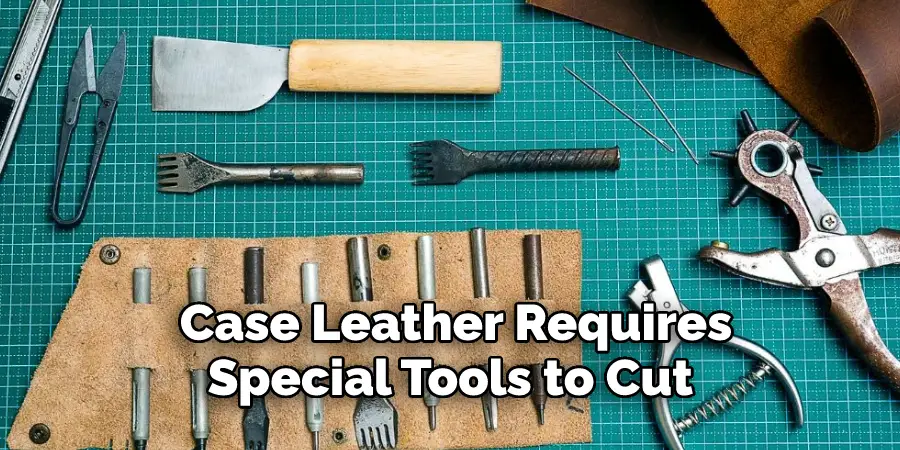
Case leather requires special tools to cut and part the hide, so make sure that you have the right implements before starting your project. In addition, when working with colors on the leather, it is important to prepare and oil the surface to ensure even coverage properly.
Once finished, though, the durability of case leather makes it worth all of your effort – not only does it look beautiful, but depending on how well it’s been cared for, it can last for many years and become a treasured heirloom item.
Benefits of Case Leather
Case leather is a highly sought-after material for its versatility in crafting products ranging from clothing to wallets and furniture. This porous material features microscopic fibers that are incredibly durable, allowing case leather items, if properly maintained over the years, to look as good as new.
The fibers also absorb water, giving these items a unique appearance that contrasts with many other types of leather. In addition to aesthetics, case leather is extremely easy to clean and maintain; this makes it perfect for everything from briefcases and belts to handbags and hats.
By investing in products made from case leather, you’re guaranteed to have a product that can withstand the test of time without breaking the bank.
5 Common Mistakes People Make When Trying to Case Leather
1. Not Using the Right Tools
One of the most common mistakes people make when trying to case leather is not using the right tools. Casing leather requires a few specific tools, including a skiver, a beveled, and an edge slicker. Getting a clean, professional-looking result will be very difficult without these tools.
2. Not Preparing the Leather Properly
Another mistake people make is not preparing the leather properly before attempting to case it. The leather must be clean and free of dirt or debris before you start working with it. Additionally, the leather should be dampened slightly to be more pliable and easier to work with.
3. Skiving the Leather Too Thin
When skiving the leather, it is important to avoid making the mistake of skiving it too thin. If the leather is too thin, it will be difficult to work with and will not hold up well over time. When in doubt, err on the side of caution and skive a little bit thicker than you think you need to.
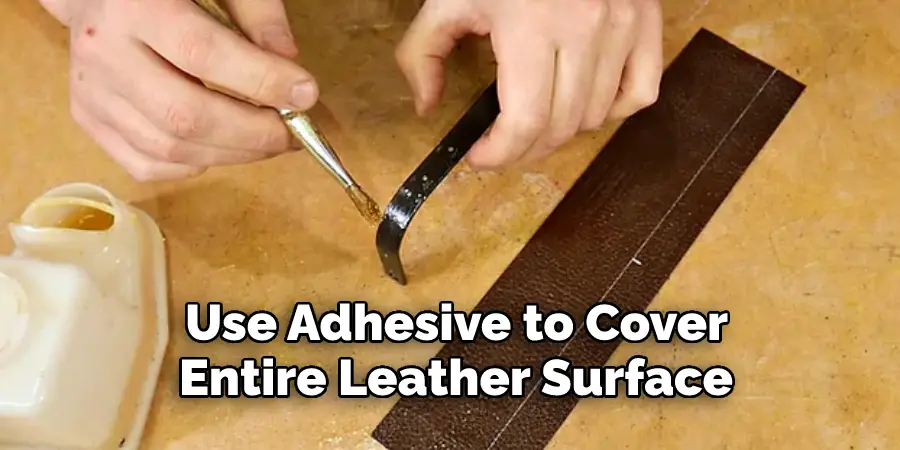
4. Not Using Enough Adhesive
Another common mistake people make when casing leather is not using enough adhesive. Be sure to use enough adhesive to cover the entire leather surface. This will help ensure the leather stays in place and does not come loose over time.
5. Not Letting the Adhesive Dry Completely
Finally, one mistake people often make is not letting the adhesive dry completely before moving on to the next step. It is important to let the adhesive dry completely so that it has time to set and bond with the leather. Once it is dry, you can attach the lining material.
Conclusion
Leatherworking is both an art form and a craft that requires patience and skill to create beautiful items from raw hides.
By following these steps—selecting the right type of leather, preparing it correctly before cutting out shapes, sewing them together with strong thread, and finally edging them neatly—you can start crafting wonderful items from genuine leather today!
Whether you’re new to working with leather or have been doing this for years, learning how to case leather is sure to be both a rewarding and enjoyable experience!