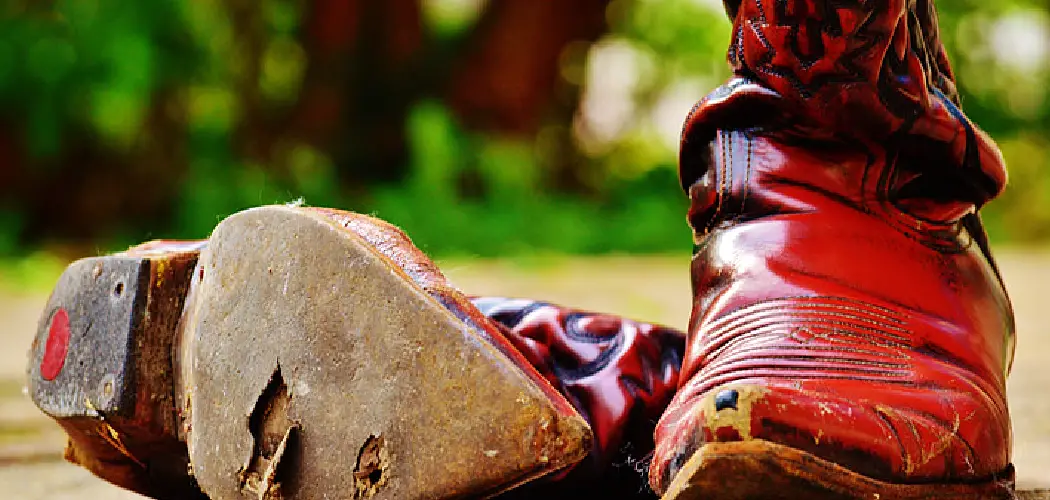
Cracked leather shoes can be a source of great frustration. No matter how expensive they were or however carefully you cared for them, it still feels like you wasted your hard-earned money. But don’t despair, here we will know how to fix cracked leather shoes.

Even if your favorite pair of dress shoes has seen better days, there are ways to repair cracked leather and bring those well-loved favorites back to life! In this article, we’ll provide step-by-step instructions to fix cracked leather shoes and restore the smooth looks and feel that used to make stylish statements in any outfit. Now it’s time to learn more precisely about it.
10 Steps Guide: How to Fix Cracked Leather Shoes
Before beginning your repair, you need to prepare the leather surface by gently sanding it. This will help remove any remaining dirt or dust particles on the surface as well as smooth out any bumps or imperfections. You can use either fine-grit sandpaper or a rotary tool with a buffing pad attachment for this step. Make sure to use gentle strokes and take care not to apply too much pressure, as this may cause further damage to your shoes.
1. Clean the Shoes
The first step to fixing cracked leather shoes is cleaning them. Remove any dirt or dust before you begin, as these particles will interfere with the repair process and may cause further damage. When cleaning the shoes make sure that you use a soft cloth and mild cleaning solution to avoid damaging the leather material.
2. Clean the Surface
Now it’s time to clean the surface of the leather itself. Use a mild cleaner, such as saddle soap or saddle oil, and gently rub it in circles onto the leather until it’s completely covered. Then use a damp cloth to remove any residue that remains.
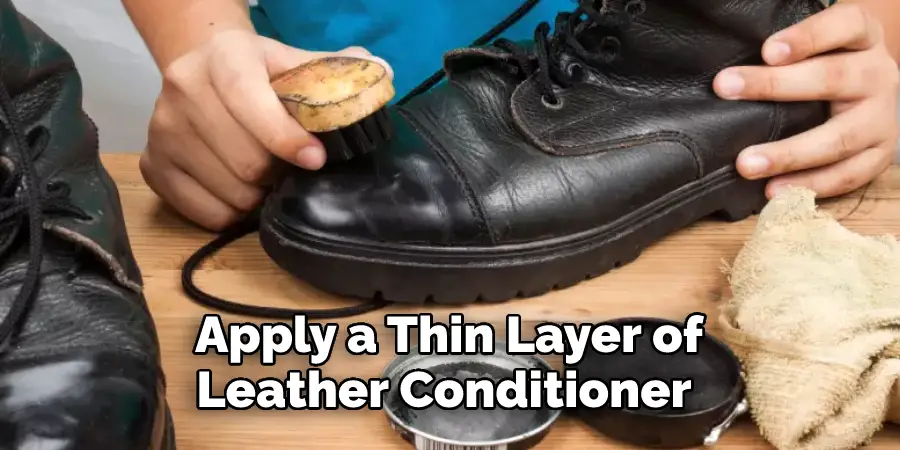
3. Apply Leather Conditioner
Once you’ve prepared the leather surface, apply a thin layer of leather conditioner in a circular motion to help the leather remain supple and strong. Use the same technique with an applicator sponge or soft cloth, in which you’ll gently rub the conditioner into the leather. It’s important to find a leather conditioner that will work on all types of leather, as some may not be suitable for certain materials. You may need to do several thin layers until you can see the full effect. After applying, let it sit for half an hour and then buff off any excess with a clean cloth or brush.
4. Let Conditioner Set
After applying conditioner, let it sit on your shoes for several minutes before wiping away any excess with a damp cloth. This will help ensure that the conditioner has time to penetrate and moisturize the leather, allowing it to be more flexible and resistant to cracking.
5. Rub in Mink Oil
After the conditioner has been applied, you should finish by rubbing a small amount of mink oil into your shoes. This will provide an extra layer of protection against moisture and help keep the leather soft and supple. Use a cloth to rub the oil over the surface of your shoes, working it into any cracks or crevices that may have formed. Once finished, buff away any excess with a clean cloth.
6. Buff Shoes Regularly
To keep your leather shoes looking their best, make sure to regularly buff them with a soft cloth. This will help remove dirt and dust from the surface of your shoes and help prevent further cracking or damage to the leather. If necessary, you can also add a bit of mink oil or conditioner to the cloth before buffing. This will help keep the leather soft and prevent any further cracking from occurring.
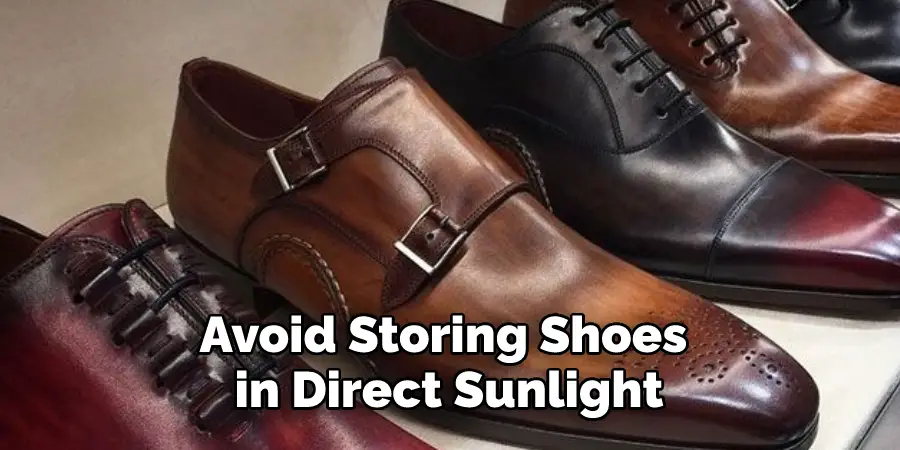
7. Store Shoes Properly
To make sure that your shoes last as long as possible, store them in a cool, dry place when not wearing them. Avoid storing leather shoes in direct sunlight or near heat sources such as radiators, which can cause the leather to dry out and crack more quickly. Additionally, make sure to stuff newspaper or tissue paper into the toes of your shoes while they are stored away; this will help maintain their shape and protect against creasing.
8. Apply Glue
Next, apply a thin layer of glue to the cracked area of your shoes. When choosing a glue for this process, make sure it’s one that specifically states it can be used on leather products. Some glues are too harsh and may damage or discolor your shoes! Apply the glue with a small brush and let it dry for about 10 minutes.
9. Press Together
With the glue still wet, press the two sides of the crack together and hold them in place until they dry completely. Make sure you don’t use too much pressure; otherwise, you could end up squeezing out all of the glue before it has a chance to dry. Once it’s completely dry, the shoe should be as good as new!
10. Add a Sealant
Finally, add a sealant to the area of the crack to help protect it and keep it from cracking again. A leather sealant is usually enough to do the job, but if you want an extra layer of protection, you can also opt for a waterproof coating or wax. These will help provide further protection against moisture so your shoes stay looking good for longer.
So, after reading this blog post you have an idea of how to fix cracked leather shoes. Make sure you follow the steps carefully and invest in quality products such as leather conditioner and mink oil to ensure your shoes remain in pristine condition for longer.
Fixing Two Types of Leather Cracks
1. Fixing Light Cracks
This can be done with a little bit of patience and the proper tools. Start by getting a leather cleaning product, such as saddle soap or leather cleaner, and wiping down your shoes to remove dirt and grime. Next, apply a small amount of shoe polish that matches the color of your shoes. Rub it in with a soft cloth until the cracks are no longer visible. If you still see any cracks, lightly buff them with sandpaper for best results.
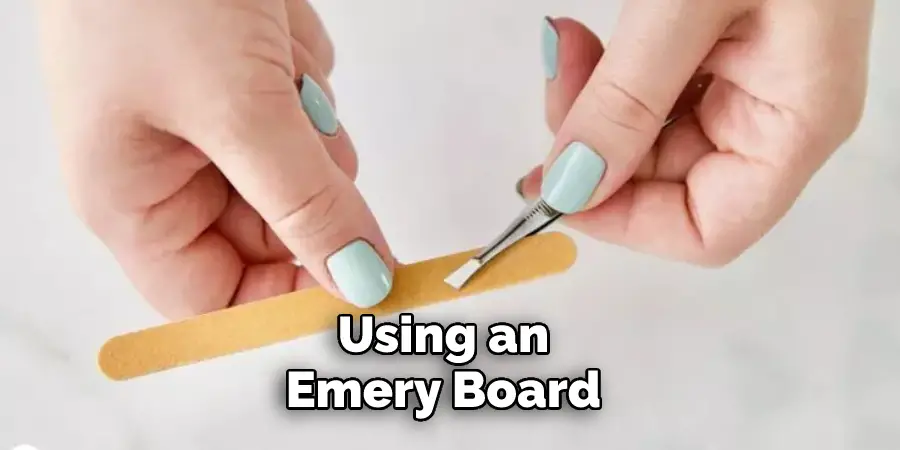
2. Fixing Deep Cracks
Deep cracks, such as those caused by dryness or aging, require a more thorough solution. Begin by using an emery board to gently file away rough edges around the crack. After filing, use the leather cleaner mentioned above and wipe off any residue. Then apply a small amount of leather conditioner with your cloth, making sure to cover the entire shoe evenly with the product.
Allow it to soak in for at least twenty minutes before buffing the shoes with a clean cloth. If you still see some cracking after this process, purchase a high-quality leather repair kit that includes fillers and sealants specifically created for mending deep cracks in leather shoes.
Few Tips and Advices to Prevent Leather Cracking in Future
1. Condition the Leather on a Regular Basis. Leather conditioners help keep leather flexible and reduce cracking. Apply a small amount of conditioner to the surface, wiping it in with a clean cloth and letting it dry before wearing or storing your shoes.
2. Choose Thick-soled Shoes Whenever Possible. Thicker soles provide more cushioning for your feet and less strain on the upper parts of the shoe. This can help prevent excessive cracking over time as well as make walking in them more comfortable.
3. Avoid Extreme Temperatures When Storing Your Leather Shoes. Leather is sensitive to both cold and hot weather, so try to store your shoes in an area that is temperature controlled if possible to avoid unnecessary wear and tear.
4. Allow Wet Leather Shoes to Dry Naturally. Avoid using heat or direct sunlight to dry your shoes as this can cause the leather to crack and warp. Stuffing the shoe with newspaper will help absorb excess water and maintain the shape of the shoe while it is drying.
5. Store Your Leather Shoes in a Cool, Dry Place When Not in Use. Keep them away from dust, dirt and other debris that could shorten their lifespan. Remember, proper care and maintenance can increase the lifespan of your leather shoes significantly!

Conclusion
Fixing cracked leather shoes does not have to be a daunting task. With just a few simple steps and supplies, anyone can breathe life back into their favorite pair of worn-out shoes! From taking the time to properly clean and condition the leather, to mending visible cracks using shoe glue, you’ll soon find that your leather shoes look as good as new.
This can also help to extend the longevity of your shoes since well-cared for and maintained shoes last longer. Finally, with a little bit of effort and creativity, you don’t need to throw away any beloved and comfortable pairs of shoes just yet!
Now you’re ready to get out there, revamped in style with your footgear looking its best. By following this article on how to fix cracked leather shoes, you should be well on your way to preserving and restoring your favorite shoes.
