Cleaning your leather insoles is not as difficult as you may think! This article will discuss how to clean leather insoles so they look and smell fresh. Follow these simple steps, and your leather insoles will be good as new in no time!
Leather insoles are great for making your shoes last longer and maintain their shape. However, leather insoles can be stained or discolored by water, sweat, and dirt over time. This can affect the look of your shoes tremendously!

Many peoples’ first instinct is to take their shoes to the shoe repair shop and pay for professional cleaning. But, don’t worry! You can clean your leather insoles at home, by yourself. This article will show you how simple it is to clean leather insoles on your own.
How to Clean Leather Insoles Detailed Guide
Step 1: Remove Insoles from your Shoes
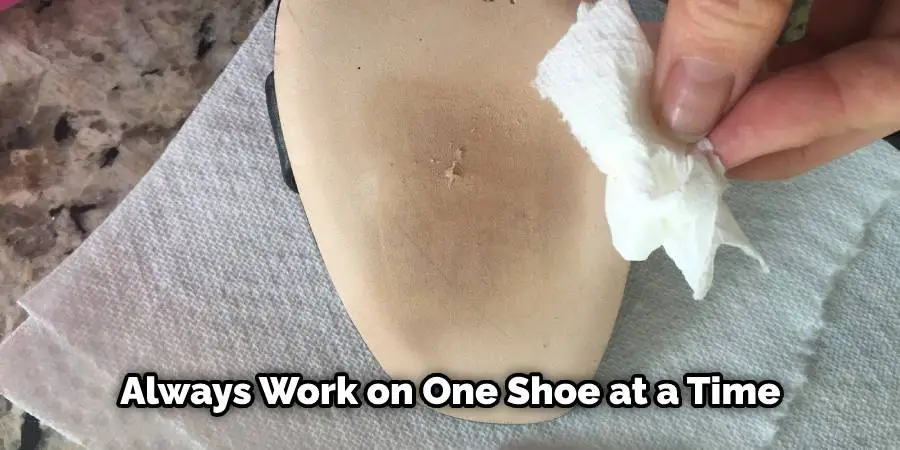
First, remove your insoles from your shoes. It’s always best to work on one shoe at a time, so the other is left undisturbed and undamaged! Don’t worry about removing any dirt or debris that may be present on the insole, as you’ll be washing the entire thing later.
Step 2: Gather Your Supplies
Next, gather all of your materials and supplies, including:
- Shoe brush
- Toothbrush
- Warm water
- Saddle soap
- Black tea
- Vinegar
Step 3: Use the Soft-Bristle Brush to Rub Away Dust and Dirt
Gently scrub any significant dirt, sand, or other debris from the insole. You can use a shoe brush to gently remove smaller dust particles as well as sand from the stitching only.
A soft bristle brush is sufficient for this task to be gentle with your insoles. If you have a suede insole that may require more abrasion, feel free to follow up by using a toothbrush and some warm water to give it another going over.
Step 4: Use the Toothbrush to ShakeOut the Dirt
Next, use an old toothbrush you don’t mind getting dirty to give your insoles another thorough cleaning. Like with the shoe brush, gently shake off any dust and dirt particles that may still be present on your insoles. For a deeper clean, consider using a black tea mixture instead of water as it will remove any hidden dirt and help bring life back into your shoes or boots by adding a bit of color back into your leather!
Step 5: Soak Your Insole in Warm Water
Once you’ve removed any loose debris from your insoles, it’s now time to loosen up any dirt particles locked deep within them. To do this, submerge your insoles in a bowl of warm water for around 10 minutes. You may want to repeat this step a second or even a third time if you feel necessary.
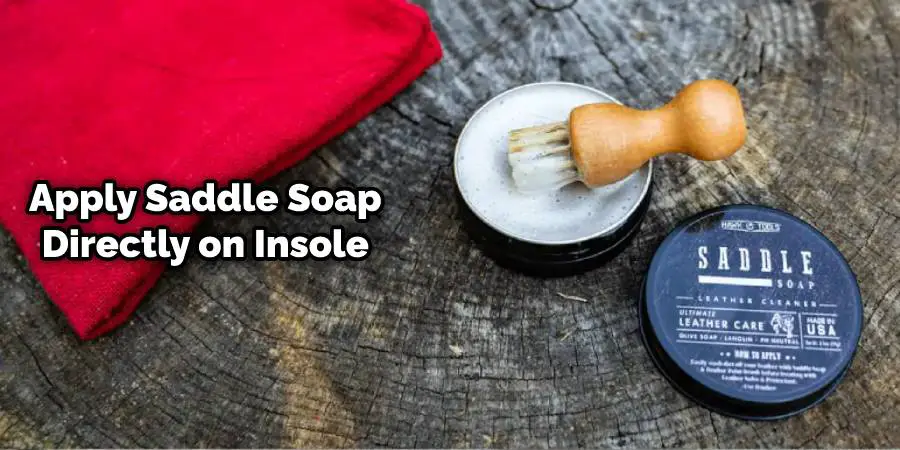
Step 6: Apply Saddle Soap to the Surface of the Insole
Once the insoles have soaked, apply some saddle soap directly onto their surface. How much you’ll need will depend on how large they are, so be sure only to do this with enough soap to get coverage without leaving behind excess. Try to avoid getting any of the soap into the stitching as it won’t provide any added benefit and can damage your shoes or boots!
Step 7: Use an Old Toothbrush to Work Soap into Leather
With your brush dampened in warm water, begin scrubbing areas of deep dirt with saddle soap until it starts coming away from the leather. You may also want to do the same with any stitching that seems dirty.
Just keep the brush only damp and not soaking wet, as this will reduce its effectiveness and could cause damage! How much soap you’ll need for this step will vary depending on how dirty your insoles are, but likely no more than a dime-size amount or so should suffice. Once you’ve cleaned an area thoroughly, remove excess soap with a clean damp cloth before moving onto another section. This is a crucial step in how to clean leather insoles.
Step 8: Use Water and Vinegar to Remove Any Residue
Finally, it’s time to remove anything left behind by saddle soap from your insoles. Fortunately, this is just as simple as removing dirt and debris with warm water followed by black tea to restore color, but if you feel it necessary, you may want to use a water and vinegar mixture instead.
The tea will leave some lingering residue, so be sure to remove it afterward with either warm water or the water-vinegar mix! How much tea you use for this step will vary depending on how dirty your insole is, but likely no more than a quarter-size dollop should suffice. However, remember not to use too much as it could potentially damage your shoes or boots if left behind!
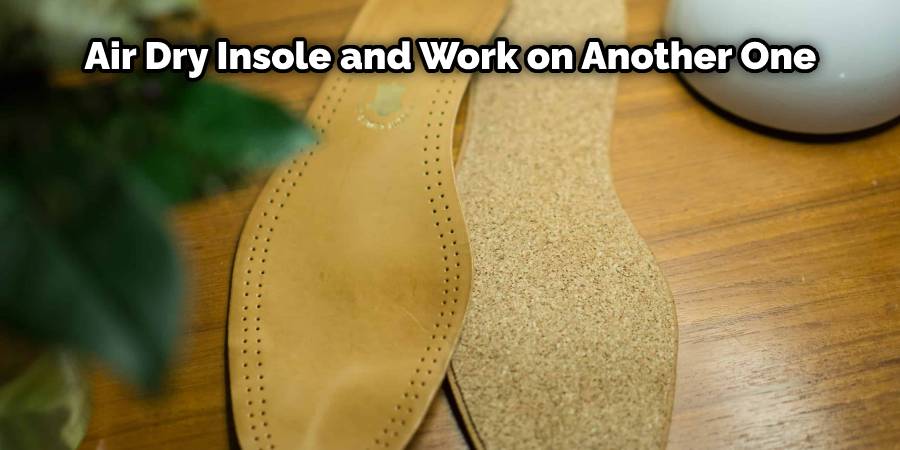
Step 9: Let Your Insole Air Dry While You Work On Another Shoe/Boot
Once the insoles have been thoroughly cleaned, let them air dry while you work on another pair of shoes or boots. Again, how long they’ll need to dry will depend on how wet they were when you started, but likely no more than a minute or two should be necessary.
Just remember not to put them in direct sunlight or near any heat source as this could cause damage! How long it’ll take before they’re completely dry will vary from person to person depending on how wet they were when you started and if there’s a breeze, but likely around a quarter-hour or so should do the trick.
Step 10: Brush Away Any Remaining Residue
Now that your insoles have dried, it’s time to use a shoe brush to remove any leftover residue from the cleaning process. How much residue you’ll find will largely depend on whether or not you used tea on them and how long they took to dry, but likely a dime-size dollop or so should suffice.
Just be sure to brush in different directions so as not to damage any stitching! How much time you’ll need for this step will also vary depending on if your insoles are wet or not, but likely no more than a few minutes should do the trick.
How well this step goes will depend primarily on whether or not you used tea on them and how dirty they were when you started, but generally speaking, this is probably the easiest part of the entire process.
You Can Check It Out To How to Care for Leather Soles
Step 11: Let Your Insole(s) Air Dry Once More.
Once you’ve finished brushing away any remaining residue, let your insoles air dry again before using them in your boots or shoes. How long they’ll need to dry before using them will depend on whether or not you used tea on them and if they were wet when you started, but likely no more than a minute or two should be necessary either way.
How well this step goes will largely depend on the level of cleanliness you achieved and how dirty your insoles were, to begin with, but generally speaking, it shouldn’t take too long at all!
These steps will help in how to clean leather insoles. This is one of those times where it’s better to err on the side of safety rather than rushing things, as waiting an extra couple of minutes could prevent any damage from occurring during use!
Cleaning Non-Removal Insole
- Pour a small amount of warm water over the insole.
- Use a cotton swab dipped in baking soda to scrub the leather insole gently, then wipe clean with a damp cloth or sponge.
- Finish by drying the shoe thoroughly with a soft towel and allowing it to air-dry completely before wearing them again.
- Repeat steps 1 through 3 if necessary until the stains are gone from the insole in your shoes.
- Using isopropyl alcohol on a cotton ball or swab, make sure all dirt is removed from the edges of your shoes where they bend when you walk, which can also cause black streaks on your feet but won’t make cleaning insoles any easier.
Additional Tips
- If your leather insoles are heavily worn, the natural oils in the leather will have been absorbed into your shoes, causing both the shoe and leather to feel stiff. To make them feel soft again, use a cheap hair conditioner on them after washing them with soap, shampoo, or water.
- Dry clean insoles made of suede or nubuck by putting them in a pillowcase with some white vinegar. The vinegar will remove any dirt that has stuck to these types of insoles without removing any color.
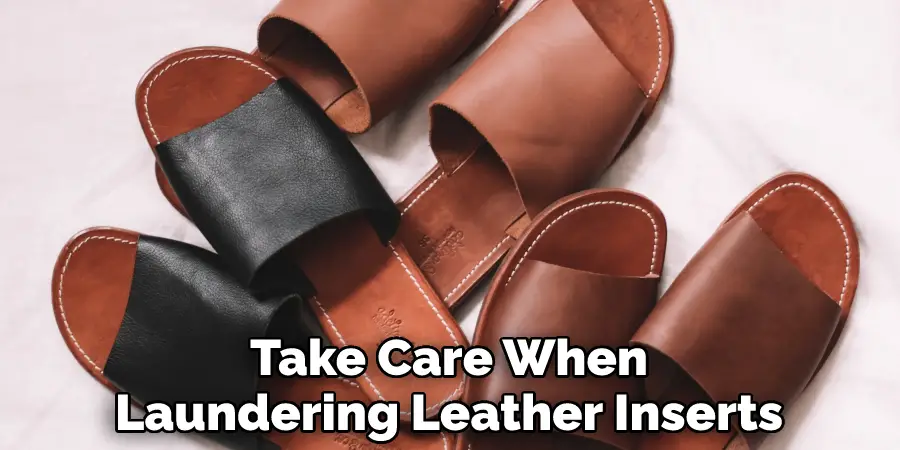
- Take care when laundering leather inserts that they do not get caught up in other items during the washing machine cycle as this may cause damage to either or both items. Try handwashing these items instead for more excellent care and attention.
- When drying leather insoles, ensure they are turned so that any water running from the insoles is forced to run out.
Frequently Asked Questions
Can I Wash the Insoles of My Shoes?
If you own shoes with removable insoles, then you can clean these. However, how you do it depends on the material that the insole is made of. You should never wash inserts made out of rubber or foam – generally speaking, these inserts are not machine-washable, and they will lose their shape if put through a washing machine cycle.
Is it Ok to Wash Leather Insoles?
Washing leather insoles is generally not recommended, as this can damage the leather and cause it to lose shape and support. Instead, it is best to use a soft-bristled brush or cloth to remove any dirt or debris and to regularly apply a leather conditioner to keep them soft and supple. If the insoles are particularly dirty or stained, it may be necessary to replace them with new ones.
How To Clean Leather Sandals Insoles?
Leather sandals are a great addition to your wardrobe, but caring for them properly is critical.
- Before you start, make sure the leather is not wet. If it is, allow it to dry naturally.
- Protect yourself by wearing gloves and safety glasses.
- Mix equal parts of warm water and white vinegar in a bowl to use as the cleaning solution.
- Dip a cloth or brush into your cleaning solution and start scrubbing the insole. Repeat until you’re satisfied with the results. If there are visible stains, try using an eraser to remove them.
- Spray the entire inside of the shoe with disinfectant spray to ensure no germs remain on your sandal’s insoles after cleaning it. When the insoles are dry, slip them back into your sandals for wear again!
Conclusion
Cleaning your leather insoles is a quick and easy way to keep them. This will help them look better, but it will also help them last longer. By following the simple steps in this article, you can have clean and healthy leather insoles in no time! We hope you find this article on how to clean leather insoles helpful.
