Leather is a beautiful and timeless material that can be used in various ways. However, it’s essential to take care of leather to last for years. One way to do that is by deglazing it. Deglazing leather helps remove any built-up dirt or products and helps restore the material’s natural oils. Today i will show you how to deglaze leather. Follow these steps to deglaze your leather safely and effectively.

From time to time, it’s essential to deglaze your leather furniture and accessories. Deglazing removes built-up dirt, products, and natural oils from the material, which can restore its luster and protect it from future damage. Many people think deglazing is a complex process, but it’s actually quite simple. It just takes a little time and patience.
What Is Leather Deglazer?
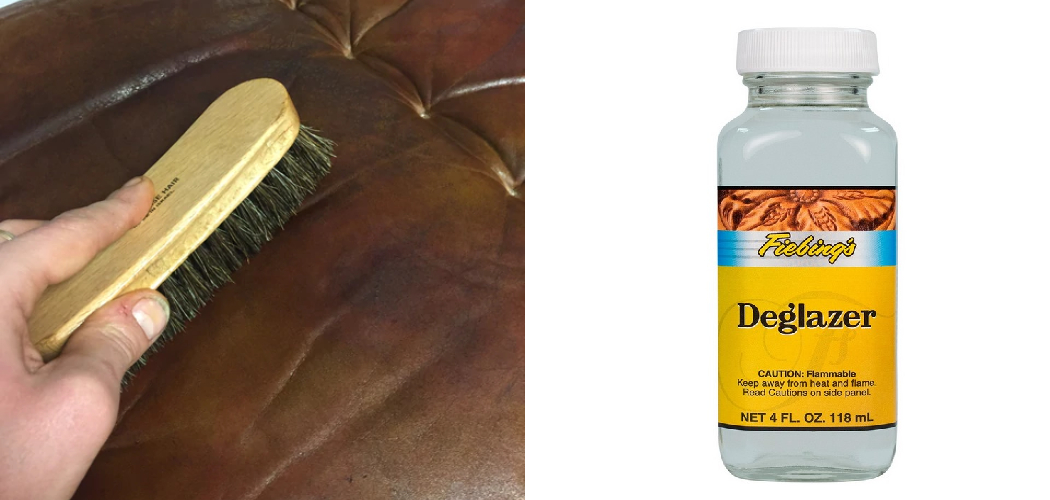
Leather deglazer is a solvent used to dissolve the top layer of finish on a leather surface. This can be useful when removing a build-up of waxes or oils or when preparing the leather for a new finish. When appropriately used, deglazer will not damage the leather itself.
Instead, it will simply remove the old finish and prep the surface for a new one. Leather deglazer can be purchased from most hardware or home improvement stores. It is essential to read the labels carefully and follow the directions for proper use.
If your leather has lost its luster or is planning on refinishing it, you will need to use a deglazer. Deglazing is an essential step in the refinishing process, as it removes any dirt, oils, or other contaminants that could prevent the new finish from adhering properly.
A leather deglazer is a great way to clean and restore leather. It can remove dirt, grime, and stains from leather, and it can also help protect the leather from further damage. Leather deglazers are relatively easy to use, and they are usually very affordable.

How to Deglaze Leather Detailed Guide
Method 1: Use Leather Deglazer
What You’ll Need:
- Leather deglazer
- Sponge
- Bucket
- Water
- Rags
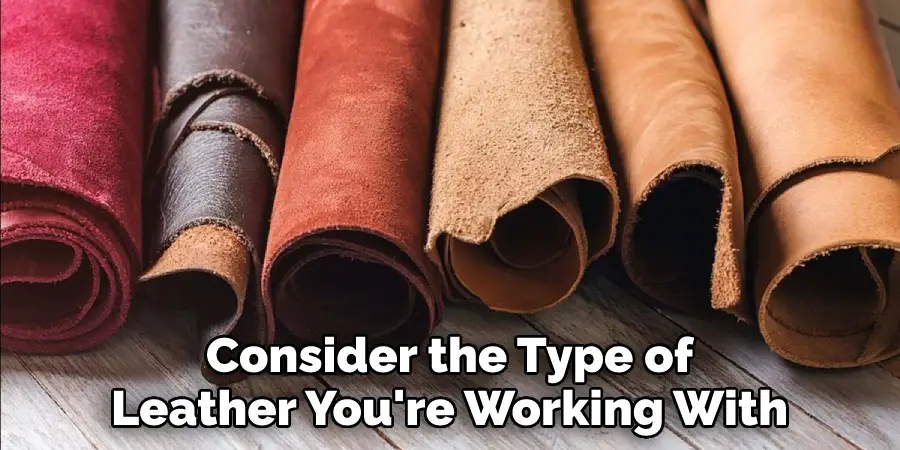
Step 1: Determine the Type of Leather You Have
Before you begin, it’s essential to know what type of leather you’re working with. You can generally find this information on a tag attached to the piece of furniture or on the manufacturer’s website. Aniline and semi-aniline leathers are the most sensitive, so take extra care when deglazing them.
Step 2: Choose the Right Deglazer
When it comes to deglazing leather, you have a few different options. The most common deglazers are made from either citrus or petroleum.
Citrus deglazers are typically made from oranges or lemons and work by breaking down the oils in the leather. These deglazers are less harsh than petroleum-based deglazers and won’t damage the leather if appropriately used.
Petroleum-based deglazers are made from petroleum distillates and work by dissolving the oils in the leather. These deglazers are more effective than citrus deglazers, but they can damage the leather if not used properly.
When choosing a deglazer, it’s essential to consider the type of leather you’re working with. If you’re not sure which deglazer to use, ask a professional or test the deglazer on a small leather area before using it on the entire piece.
Step 3: Prepare Your Work Area
The best place to deglaze your leather is on a hard, flat surface. You don’t want anything that will give or move around while you’re working. A countertop or a table is ideal. If you’re working on a large piece of furniture, you may need to clear some space to lay it flat. You’ll also need access to running water and mild soap. Finally, it’s helpful to have a clean cloth nearby for wiping up any excess deglazer.
Clear off a workspace where you can comfortably sit or kneel. Ensure the area is well-ventilated, as you will be working with chemicals. Place your leather item on the work surface. If it is a large piece, you may want to consider working on a tiny section at a time. Cover the surrounding area with a drop cloth or old towel to protect it from overspray. Put on gloves to protect your hands from the chemicals.
Step 3: Test the Deglazer on a Small, Hidden Area First
Before using the deglazer on the entire piece, it’s essential to test it on a small, hidden area first. This will help you determine how the deglazer will react with your leather and allow you to make sure you’re using it correctly.
To test the deglazer, apply a small amount to a clean cloth and rub it onto a small, hidden area of the leather. Wait a few minutes to see how the leather reacts, then wipe away any excess deglazer with a clean, dry cloth.
If the leather looks dry or cracked after testing the deglazer, stop immediately and try another method.
Step 4: Apply the Deglazer to the Entire Surface
Once you’ve determined that the deglazer is safe, you can apply it to the entire surface. Pour a small amount of deglazer into a bowl or bucket. Soak a sponge in the deglazer and wring it out, so it’s not dripping wet.
Gently rub the sponge over the surface of the leather, applying even pressure. Work in small sections and pay special attention to cracked or dry areas.
Step 5: Allow the Deglazer to Penetrate for Several Minutes
After applying the deglazer to the entire surface, allow it to penetrate for several minutes. This will give the deglazer time to break down the oils in the leather.
Do not allow the deglazer to sit on the leather longer than directed. If left on for too long, it can damage the leather.
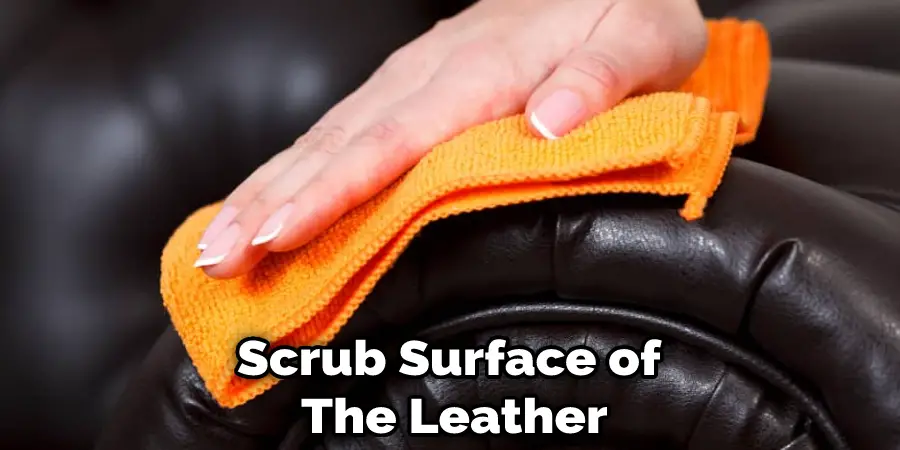
Step 6: Scrub the Leather With a Sponge
After the deglazer has had time to penetrate, it’s time to scrub the leather with a sponge. This will help loosen any dirt or grime embedded in the leather’s pores.
Dip a clean sponge into a bucket of warm water and wring it out, so it’s not dripping wet. Next, gently scrub the surface of the leather in a circular motion. Work in small sections and pay special attention to cracked or dry areas.
If you’re having trouble getting all of the deglazer off, you can use a mild soap to help break down the oils.
Step 7: Rinse the Leather With Clean Water
After scrubbing the leather with a sponge, it’s time to rinse it with clean water. This will remove any soap residue and help restore the leather’s natural pH balance.
Fill a bucket with clean, warm water and dip a clean sponge. Gently scrub the surface of the leather to remove any soap residue.
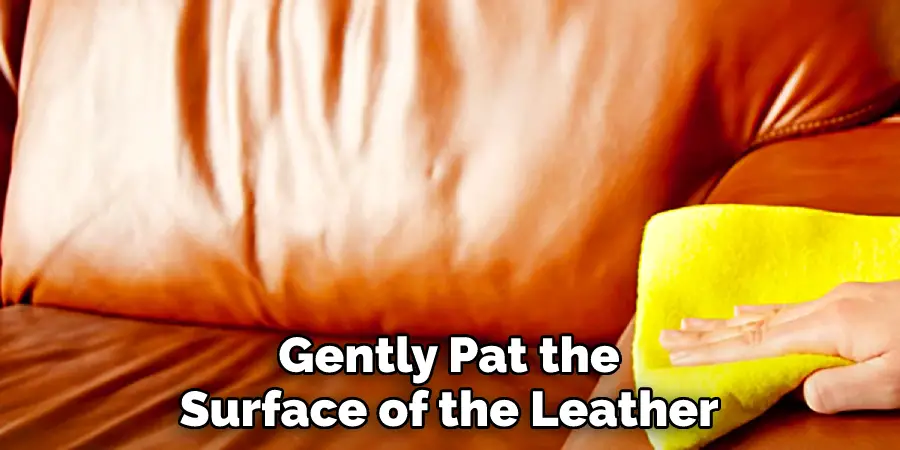
Step 8: Dry the Leather With a Clean Cloth
Once you’ve rinsed the leather with clean water, it’s time to dry it with a clean cloth. This will help prevent water spots from forming on the surface.
Gently pat the surface of the leather dry with a clean towel. You can also use a hairdryer on the low setting to speed up the drying process. These steps will help in how to deglaze leather.
Important Tips:
- Always work in a well-ventilated area, as the fumes from the deglazing process can be harmful.
- Wear gloves to protect your hands from the chemicals in the deglazing solution.
- Be sure to read the instructions on your deglazing solution carefully and follow them closely.
- Deglaze in small sections at a time, and work quickly so that the solution doesn’t have a chance to dry on the leather.
Method 2: Use Rubbing Alcohol
If you’re looking for a non-toxic way to deglaze your leather, rubbing alcohol is great. You can find rubbing alcohol at most drugstores.
What You’ll Need:
- Rubbing alcohol
- Soft cloth or paper towel
Step 1: Determine The Percentage of Rubbing Alcohol To Use
Before you begin, it’s important to note that rubbing alcohol comes in different percentages, so be sure to research and determine the appropriate rate for your leather.
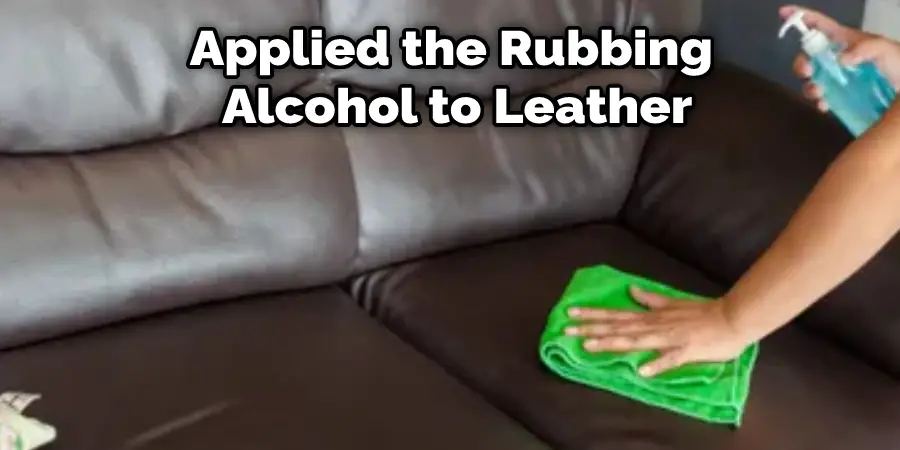
Step 2: Apply The Rubbing Alcohol Onto Your Leather
Using a soft cloth or paper towel, apply the rubbing alcohol directly onto the stained area of your leather. Avoid saturating the leather, as too much-rubbing alcohol can damage your material.
Step 3: Allow The Rubbing Alcohol To Sit On The Leather For A Few Minutes
Once you’ve applied the rubbing alcohol to your leather, allow it to sit for several minutes. This will give it time to work its magic and help lift any dirt or stains trapped deep inside the leather fibers.
Step 4: Wipe Away The Rubbing Alcohol And Dirt With A Paper Towel
Once you’ve allowed the rubbing alcohol to sit on your leather for a few minutes, use a paper towel or soft cloth to wipe away any dirt or stains. Repeat this process as needed until all of the dirt and stains have been removed from your leather.
If you want to keep your leather looking clean and fresh, regularly deglaze it using rubbing alcohol or another non-toxic method. With regular cleaning, you can prevent your leather from accumulating tough stains or dirt that can be difficult to remove.
Method 3: Use Oxalic Acid to Deglaze Leather
Oxalic acid is a naturally occurring compound commonly used as an organic cleaning agent. For example, when applied to leather, oxalic acid breaks down the material’s surface and effectively removes dirt, grime, or other buildups.
What You’ll Need:
- Oxalic acid
- Saddle soap
- Clean cloths
- Warm water
- Protective gloves
- Safety goggles
Step 1: Prepare a workspace.
Since oxalic acid is a powerful cleaning agent, it’s essential to take precautions. Begin by clearing away any clutter from your workspace and protecting surfaces that the acid could damage.
Step 2: Put on protective gear.
Before handling oxalic acid, put on a pair of rubber gloves and safety goggles to protect your skin and eyes.
Step 3: Mix the Solution.
Mix 1 part oxalic acid with two parts warm water in a small bowl or container. Stir the solution thoroughly until it is completely dissolved.
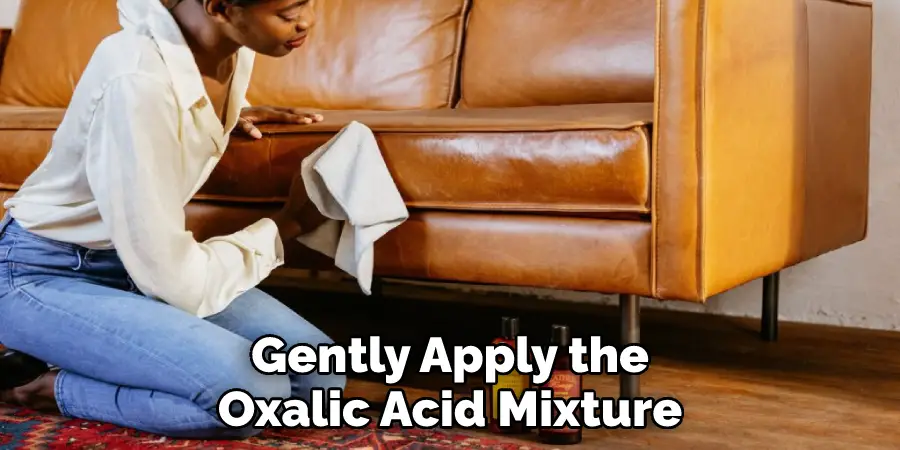
Step 4: Apply the Solution to the Leather.
Gently apply the oxalic acid mixture to your leather surface using a clean cloth. Work in small sections and continue applying until all buildup has been removed. Let the area dry completely before using it again.
Though oxalic acid can be a powerful deglazing agent for leather, it’s essential to take precautions. Be sure to wear protective gloves and safety goggles whenever handling this material, and only mix as much solution as you need at one time. With these simple steps, you can effectively remove dirt and grime from your leather surfaces and keep them looking clean and fresh!
Should You Deglaze Leather Before Dyeing It?
There is a lot of debate among leatherworkers around whether deglazing is necessary when dyeing leather. Some argue that deglazing helps to ensure that all excess dye and finish are removed, while others claim that this step wastes precious time and materials.
Ultimately, the best approach depends on your situation. For example, if the leather you are working with has a particularly thick finish or color layer, then deglazing may be necessary to get a consistent result.
On the other hand, if the leather is relatively clean and free of finish, then you may be able to skip this step altogether. Ultimately, whether you choose to deglaze your leather depends on your specific project requirements and your personal preferences and workflow methods.
However, no matter what approach you take, it is essential to remember that caution and care are always necessary when working with sensitive materials like leather. Whether you choose to deglaze or not, always take steps to ensure that your leather is adequately prepared and protected to achieve the best results possible.
What Is Leather Deglazer Made of?
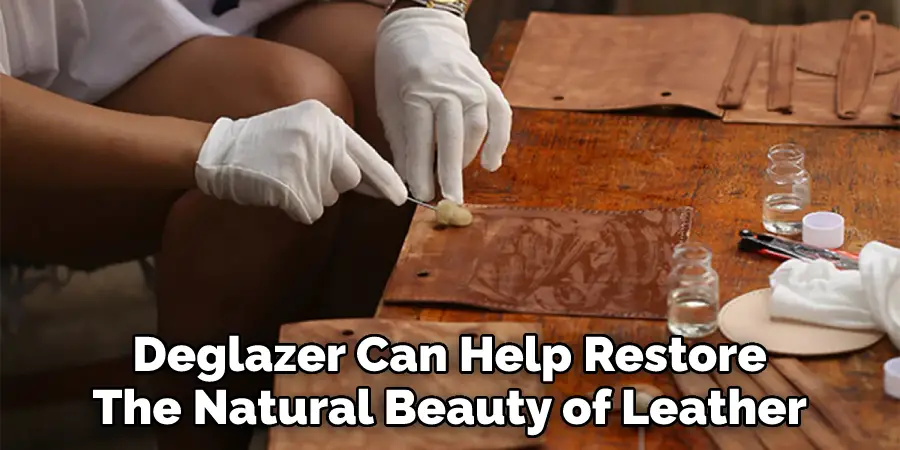
Leather deglazer is a product used to remove leather’s top layer of finish. This can be helpful when trying to refinish old or damaged leather. Although there are many different products on the market, most deglazers contain one or more of the following ingredients: acetone, mineral spirits, lacquer thinner, or naphtha.
These solvents effectively dissolve the polymer molecules that make up the top layer of the finish. However, they can also be quite damaging to leather if used incorrectly. As a result, it is essential to follow the manufacturer’s instructions carefully when using a deglazer. However, when used properly, a deglazer can help restore the natural beauty of leather.
Frequently Asked Questions
What Can I Use as a Leather Deglazer?
There are a few different types of deglazers that can be used to clean and polish leather. These include creams, gels, and liquids.
When choosing a deglazer, it is important to decide which type of leather it will be used on. For general use on all types of leather, a cream or gel deglazer is recommended. For use on suede, nubuck, and other delicate leathers, a liquid deglazer is preferred.
What Can I Use to Deglaze?
There are many different things that can be used to deglaze a pot or pan, including butter, olive oil, chicken broth, and even vinegars. However, the most popular choice is likely chicken broth because it has nutrients like minerals and vitamins that make it ideal for deglazing. Additionally, chicken broth contains collagen which helps to elasticize the food particles so they come out of the pan more easily.
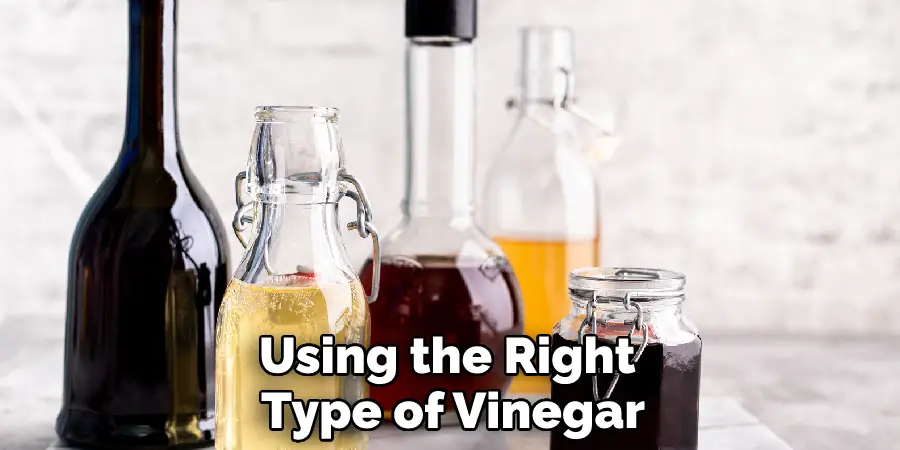
Can I Deglaze With Vinegar?
There is no wrong answer when it comes to deglazing a pan, as long as you are using the right type of vinegar. White vinegar can be used at low doses (such as 1 tablespoon per quart of water) to help remove food residue and make sauces thick or smooth. Apple cider vinegar has been shown to have stronger flavors and also helps dissolve minerals that may be on the surface of food.
Conclusion
So, there you have it, how to deglaze leather! This process is a great way to revive old and tired-looking furniture or accessories and bring them back to life. It’s also a relatively simple process that anyone can do at home with just a few basic supplies.
