If you’re like me, then you love the look of embossed leather but don’t love how it can be so challenging to remove the impressions left behind from the embossing process. In this article, I’m going to show you a few methods of how to remove embossing from leather- using heat and using chemicals. Let’s get started!

Leather is a natural material made from the skin of an animal. It is used in various products, including clothing, shoes, furniture, and more. Leather is durable and has a unique appearance that many people find attractive.
Summary: To remove embossing from leather, start by cleaning the surface of the leather with a damp cloth and then allowing it to dry completely. Next, moisten a sponge or soft cloth with rubbing alcohol and dab it onto the embossed area until it is no longer visible. Once complete, allow the alcohol to evaporate before finishing by conditioning the leather with a quality conditioner suitable for that specific type of material.
How to Remove Embossing From Leather Detailed Guide
Method 1: Using Heat
If you’re looking for a way to remove embossing from leather, you may be considering using heat. After all, heat can be used to remove many types of markings from various surfaces.
Unfortunately, while heat can sometimes help to remove embossing from leather, it’s not always effective. In fact, in some cases, using heat can actually make the problem worse.
If you do decide to try using heat to remove embossing from leather, be sure to use caution. Start with a low setting and slowly increase the heat until you find one that seems to work without causing any damage to the leather.
Things You’ll Need:
- Heat gun
- Iron
- Hairdryer
- Clothes iron
Step 1: Determine the Right Heat Setting
Before you start using heat to remove embossing from leather, it’s essential to determine the correct heat setting. This will vary depending on the type of leather you’re working with and the intensity of the embossing.
Step 2: Apply Heat
Once you’ve determined the proper heat setting, you can begin applying heat to the embossed area. If you’re using a heat gun, hold it about 6 inches away from the surface and move it back and forth until the embossing starts to lift.
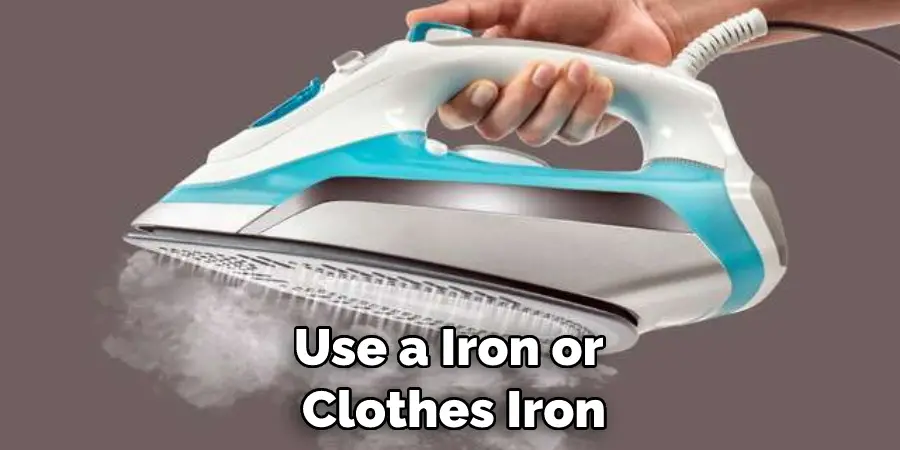
If you’re using an iron or clothes iron, place a thin towel over the area and press down firmly. Then, move the iron back and forth until the embossing starts to lift.
You can also try using a hairdryer. Hold it about 6 inches away from the surface and direct the heat onto the embossed area.
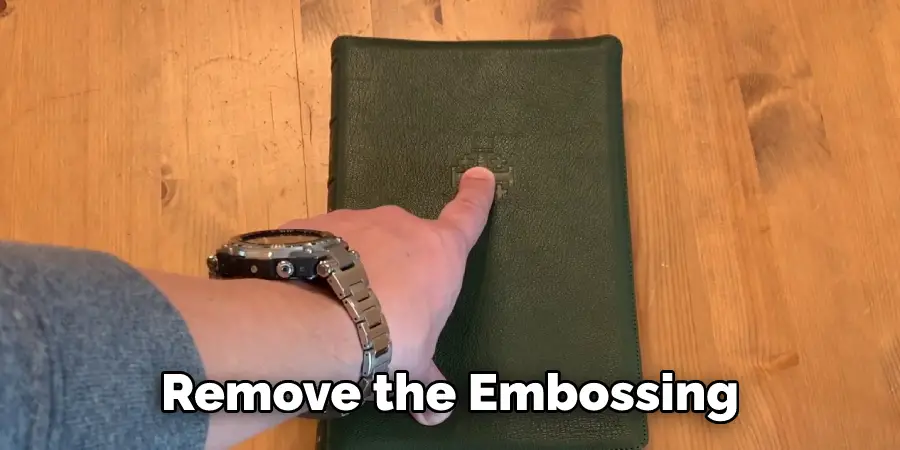
Step 3: Remove the Embossing
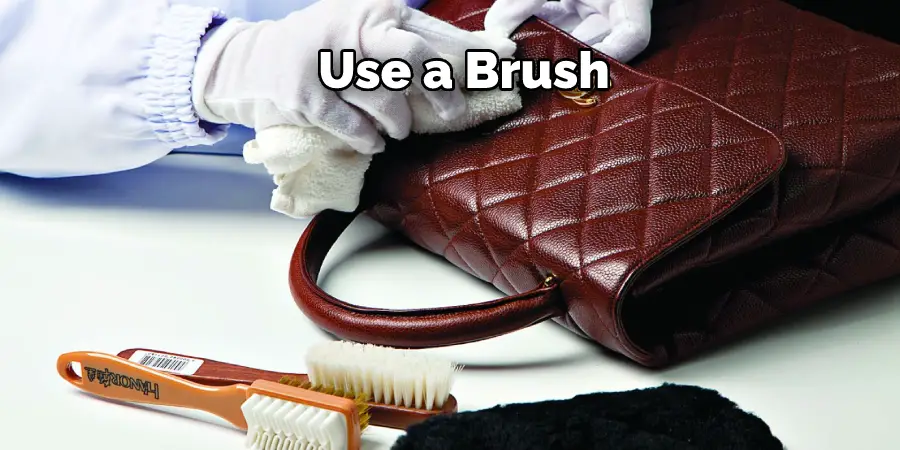
Once the embossing has started to lift, you can remove it from the surface. Use a soft cloth to rub away any residue gently.
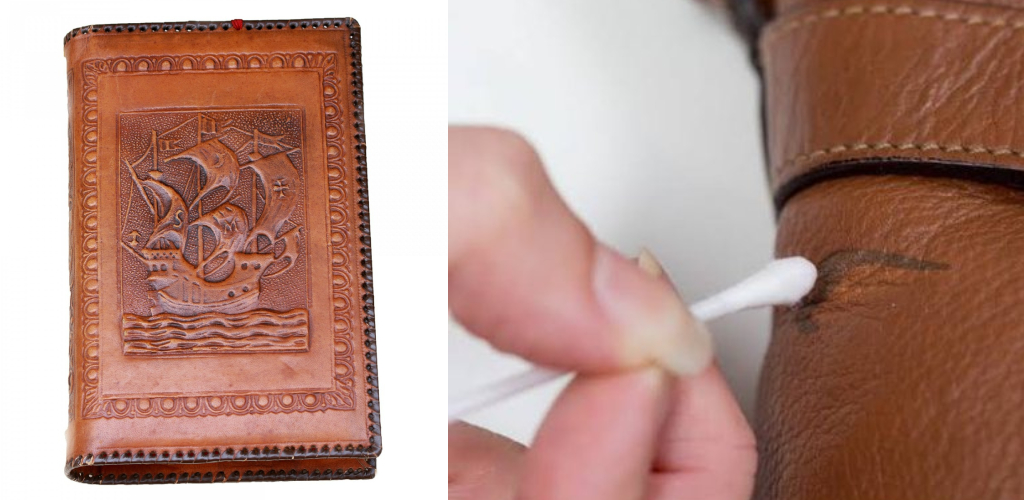
If the embossing is proving difficult to remove, you can try using a little bit of rubbing alcohol on a soft cloth. Rub the cloth over the area until the embossing comes off.
Step 4: Condition the Leather
Once you’ve removed the embossing, it’s essential to condition the leather. This will help restore its natural oils and keep it from drying out.
Apply a small amount of leather conditioner to a soft cloth and rub it on the surface. Allow the conditioner to soak in for at least 15 minutes before wiping away any excess.
Things to Remember:
- Never use excessive heat when trying to remove embossing from leather. This can damage the surface.
- If the heat doesn’t seem to be working, you can try using a little bit of rubbing alcohol on a soft cloth.
- Be sure to condition the leather after you’ve removed the embossing. This will help restore its natural oils and keep it from drying out.
Method 2: Using Vinegar
You can try using vinegar to remove embossing from your leather goods, but it is not always effective. If you do decide to go this route, be sure to use a soft cloth and diluted vinegar solution, so you don’t damage the leather. You may also want to test this method on a small, inconspicuous leather area first.
You Will You Will Need:
- A bowl
- 1 cup of white vinegar
- 1 cup of water
- A clean cloth
Step 1: Choosing the Best Location to Work
Pick a location that is well-ventilated and has plenty of natural light. You will also need to clear away any other objects from the area, so you have plenty of space to work.
Step 2: Mixing the Vinegar Solution
In a bowl, mix 1 cup of white vinegar and 1 cup of water. Stir until the ingredients are combined.
Step 3: Applying the Vinegar Solution
Dip your clean cloth into the vinegar solution and dry it so it’s damp but not dripping wet. Rub the cloth over the embossed area in a gentle, circular motion.
Step 4: Checking Your Progress
After a few minutes, check to see if the embossing begins to fade. If it is, continue rubbing until it’s gone. If not, you may need to try another method.
Step 5: Finishing Up
Once the embossing is gone, rinse the area with clean water and dry it off with a soft cloth. You can also condition the leather if you like.
Things to Remember:
- Vinegar is not always effective at removing embossing from leather.
- If you decide to try this method, use a soft cloth and diluted vinegar solution.
- You may also want to test this method on a small, inconspicuous leather area first.
Method 3: Using Chemical Strippers
If you’re working with a large piece of leather, or if the previous two methods didn’t work for you, you may need to resort to using chemicals. Chemical strippers can be very harsh, so it’s essential that you take all the necessary safety precautions before beginning. You’ll also want to test the stripper on a small, inconspicuous leather area first to make sure it won’t damage or discolor the material.
Things You’ll Need:
- Chemical stripper
- Paintbrush
- Old rag
- Latex gloves
- Safety goggles
- Ventilation mask
Step 1: Determine Which Type of Stripper to Use
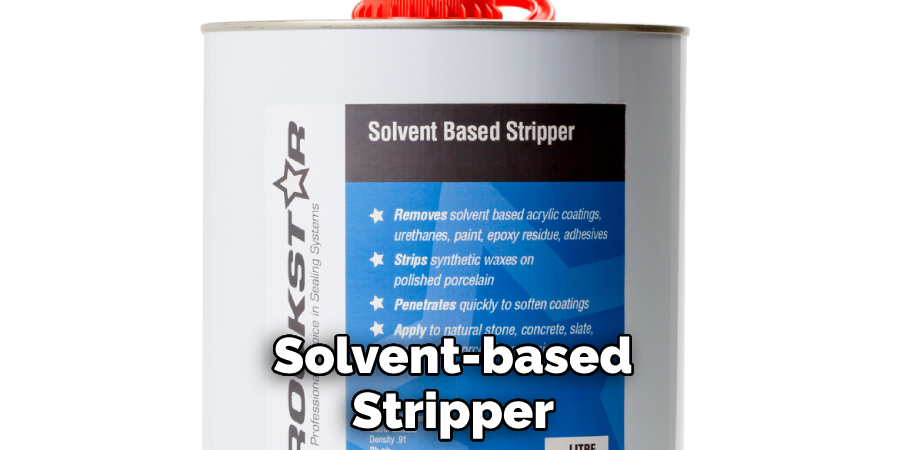
There are two main types of chemical strippers: solvent-based and water-based. Water-based strippers are less harsh and easier to work with, but they’re not as effective on tough stains. Solvent-based strippers, on the other hand, are very powerful but can be dangerous to use.
If you decide to go with a solvent-based stripper, make sure that it is specifically designed for use on leather. Many solvents will damage the material, so it’s essential to choose safe one.
Step 2: Prepare the Area
Before stripping the leather, you’ll need to take some safety precautions. Put on a pair of latex gloves and safety goggles, and ensure that the area you’re working in is well-ventilated. It’s also good to cover any nearby surfaces with an old rag or tarp to protect them from splatters.
Step 3: Apply the Stripper
Once you’re ready, use a paintbrush to apply the stripper to the affected area. Make sure to follow the instructions on the label carefully, as some strippers need to be left on for a specific amount of time before they’re effective.
Step 4: Wipe Away the Stripper
After the stripper has had time to work, use an old rag to wipe it away. You may need to apply more stripper and repeat the process several times before all of the embossings are removed.
Step 5: Neutralize the Stripper
If you’ve used a solvent-based stripper, it’s essential to neutralize it before you finish. This will help to prevent the leather from being damaged or discolored. You can do this by wiping the area down with a damp rag or using a water-based cleaner.
Once you’re finished, wash your hands and any other exposed skin thoroughly.
With these five simple steps, you can remove embossing from leather quickly and easily! Just be sure to take all the necessary safety precautions and use the correct type of stripper for your project.
What are the Benefits of Embossed Leather?
Embossed leather is an undeniably luxurious material with a unique look, feel, and variety of interesting textures and patterns. It has many advantages that make it desirable for high-end projects and long-term use. The material is not only strong and durable but also comfortable to the touch.
Due to its flexibility, it can be used in a range of designs and applications. Embossing adds intricate detail to the leather which elevates any design and will draw attention wherever it’s used. Overall, the embossed leather is one of the most dependable yet beautiful materials available.
Things to Remember:
- Chemical strippers can be harsh, so it’s important to take all the necessary safety precautions before beginning.
- Test the stripper on a small, inconspicuous leather area first to make sure it won’t damage or discolor the material.
- Solvent-based strippers are very powerful but can be dangerous to use.
- If you decide to go with a solvent-based stripper, make sure that it is specifically designed for use on leather.
- Once you’re finished stripping the leather, neutralize any remaining stripper by wiping the area down with a damp rag or by using a water-based cleaner.
Common Issues You Can Face When Removing Embossing From Leather
Removing embossing from leather can be a tricky and delicate process, but it’s one that can yield great results if done correctly. However, there are some common issues you can face when removing embossing from leather that you should be aware of before attempting the process.
- Heat Damage – The heat used to remove the embossing itself physically can cause heat damage to the surface of your leather and any pre-existing scratches or scratches left behind by the removal process.
- Water Damage – Depending on how much moisture is used during the removal process, water damage can occur to your piece of leather. To minimize this risk, use only small amounts of water and always dry your leather immediately after it’s been exposed to moisture.
- Color Loss – Removing an embossed design from a colored piece of leather will almost certainly result in color loss or fading to some degree, as harsh chemicals are usually needed to break down the pigments in the existing design.
- Uneven Results – It’s important to be familiar with the processes involved in removing embossing from different types of leather, as not all methods work equally well. A lack of knowledge on which type is best for each application can lead to uneven results and extra work needed to level out each layer properly afterward.
- Damaging Tools – Careless use of tools such as heating irons or sander blocks during removal can also leave marks or blemishes on your piece, which may require further sanding, staining, or cleaning before it is ready for use again once complete.
Frequently Asked Questions
What Does Embossed Leather Look Like?
It depends on the embossed leather type and the embossing amount. If the embossing is intricate and deep, then the leather will appear quite deep in color, almost black in some cases. On the other hand, if the embossing is less intricate or just a few light spots, the leather will appear more like a natural color.
Is Genuine Leather Always Stamped?
The quality and detail of a stamped leather item may vary depending on the brand or type of stamping. That said, it is generally safe to assume that any genuine leather product that has been stamped will be of high quality. Some signs that a leather item has been branded include heavier weight, specific markings or prints unique to the particular brand or manufacturer, and a refined look compared to other products in its category.
Is Embossed Leather Real Leather?
Yes, the embossed leather is real leather. However, it’s not as luxurious or strong as full-grain leather, which is treated with an oil and water solution that makes the fibers tough and resilient. Embossed leather is also less resistant to scratches and scuffs, so you’ll likely need to be more careful with it.
Is Leather Embossed or Engraved?
Leather embossing or engraving is a process of adding decorative designs to leather products using punches, stamps, needles, and other techniques. The results are usually highly intricate and last for many years without the need for regular touching up.
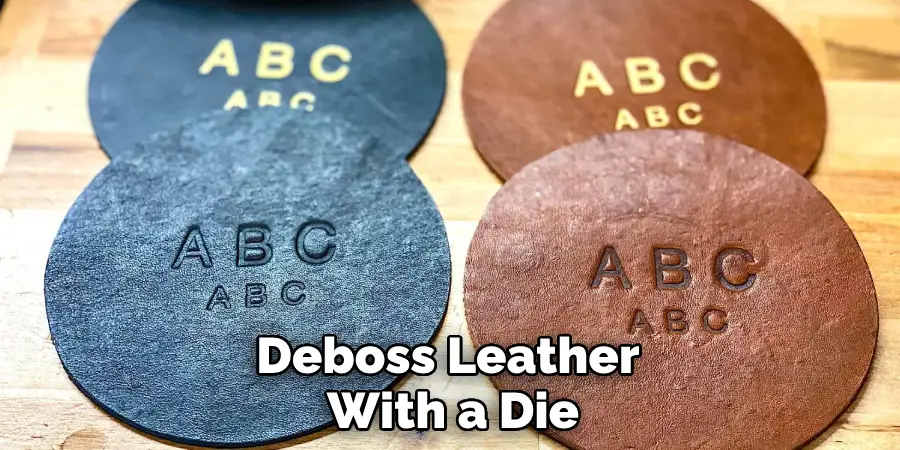
Can You Deboss Leather?
Yes, you can deboss leather with a die. However, the results may not be as desired because dieing often makes the leather more brittle and less flexible. Additionally, it can make the surface uneven which could cause issues when using certain sewing techniques or buttons.
Conclusion:
Although the process of removing embossing from leather can be challenging, it is definitely doable with the right tools and techniques. By following the methods we’ve outlined in this article on how to remove embossing from leather, you should be able to successfully remove any unwanted embossing from your leather goods.
