Are you looking for an easy way to add character and vintage appeal to your leather items? Distressing leather is a great way to do this. With the right tools and techniques, you can distress leather to give it an aged, worn-in look. Here’s how to distress leather.

Distressing leather is a great way to give fabric and furniture an aged, vintage look that adds depth and character. Whether you’re upholstering antique chairs or crafting custom handbags, the distressed look of this material lends sophistication to any project.
In this post, we’ll take a closer look at the process of distressing leather – from selecting the right type of material for your project to properly conditioning and aging it – so you can create stunning pieces that will stand out in home décor or on fashion runways. Let’s get started!
What Will You Need?
Before you start distressing leather, ensure you have the right tools and materials. Here’s what you’ll need:
• Leather: Select a quality piece of leather that is thick enough to withstand distressing without ripping or tearing.
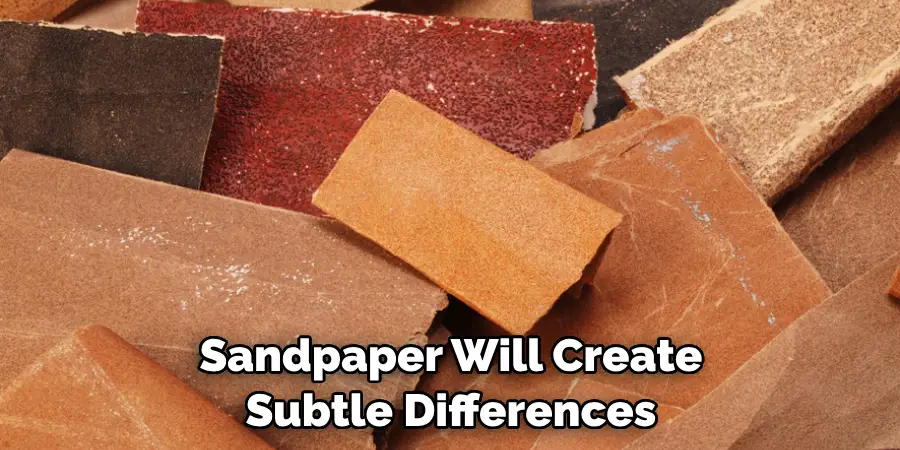
• Sandpaper: Use an assortment of grits (coarse, medium, and fine) to achieve different levels of distress in your project.
• Steel Wool or Wire Brush: To create a slightly more distressed look with some texture, use steel wool or wire brush for scratching your leather’s surface.
• Lighter Fluid or Denatured Alcohol: Both are excellent options for degrading the color in areas where you want deeper distress marks.
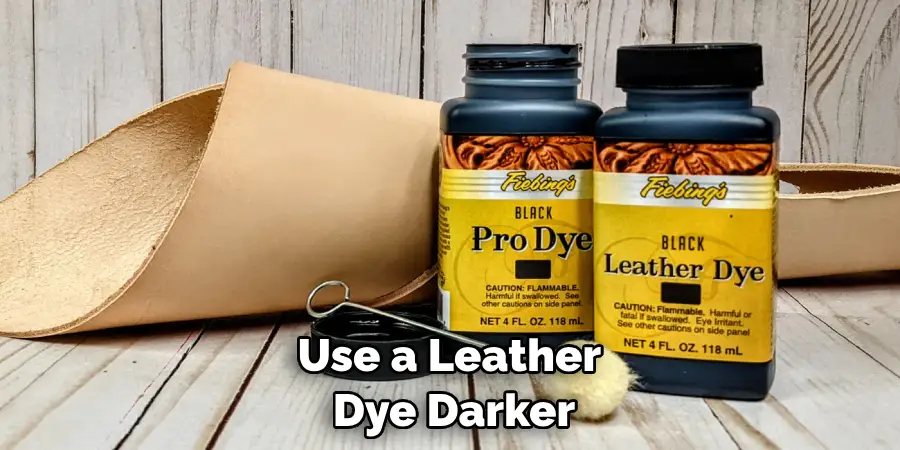
• Dye: To create a more aged look, use a leather dye darker than your material’s original color.
• Leather Conditioner/Sealant: Once you’ve finished distressing your leather, it’s important to condition it with a sealant to keep its new look and shape intact for years.
Now that you have the necessary tools and materials let’s move on to the steps for distressing leather.
10 Easy Steps on How to Distress Leather:
Step 1. Select the Piece of Leather
Select a good piece of leather that is thick enough to withstand distressing without tearing or ripping. If you’re using a pre-made item, make sure the leather is in good condition and free of any major defects. This will ensure that the distressed look will come out nicely.
Step 2. Sketch Out Your Design
Before you start, make sure to sketch out your design for distressing. This will help you visualize the end product so you know exactly how much distress to add and where. Don’t forget to mark the areas where you want more, less, and no distress.
Step 3. Start Sanding
Using sandpaper, use light-to-medium pressure to sand the areas that need to be distressed. Work slowly and pay close attention to detail since different grits of sandpaper will create subtle differences in the level of distress. If you’re using multiple grits of sandpaper, make sure to use the coarse grit first and then move on to medium and fine.
Step 4. Use Steel Wool or Wire Brush
If desired, use steel wool or wire brush for scratching up certain areas of leather in order to achieve a slightly more distressed look with some texture. You can also use this tool to add depth and dimension in certain areas. Another option is to use an electric sander with a sanding attachment.
Step 5. Color Degradation
Once sanded, use either lighter fluid or denatured alcohol on the surface of the leather to degrade the color in areas where you want deeper distress marks. Additionally, you can use this method to add a weathered look to your leather as well. Try to avoid over-degrading the color, as it can take away from the look of distress.
Step 6. Add Dye for an Aged Look
To create a more aged look, add a darker dye to the distressed areas of your leather project. This will give it a worn-out look that adds character and depth. Be careful not to over-saturate the leather, as too much dye can make it look unnatural.
Step 7. Seal with Leather Conditioner/Sealant
Once finished distressing, make sure to seal up the entire piece of leather with a quality leather conditioner or sealant (this is especially important if you’ve used the lighter fluid or denatured alcohol). Doing this will help your project last for years to come and keep its new look intact.
Step 8. Buff Out Minor Imperfections
For any minor imperfections, you can use fine-grit sandpaper to buff them out. Ensure that the leather is completely dry before attempting this step. If needed, use a cloth to remove any excess dust.
Step 9. Add Hardware or Embellishments
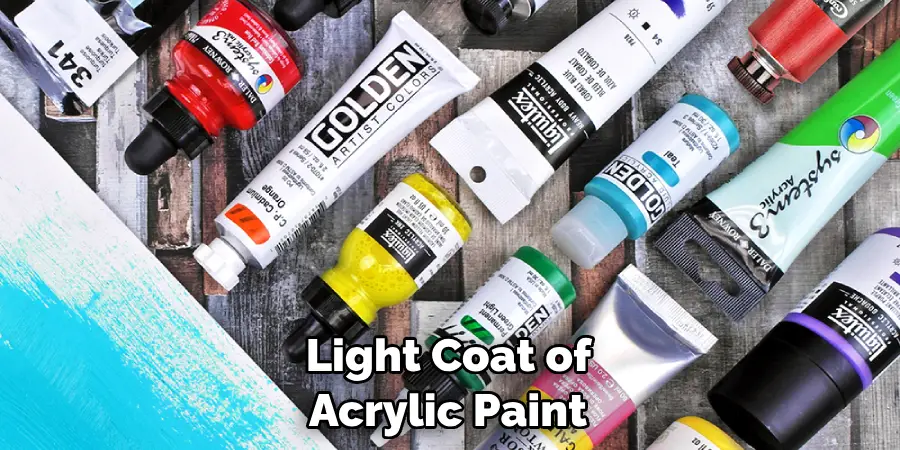
If desired, add hardware or embellishments to your project in order to give it an even more unique look. This step is completely optional but can really help to add an extra touch of character. Another option is to paint the leather with a light coat of acrylic paint for an even more personal touch.
Step 10. Enjoy Your Distressed Leather Project!
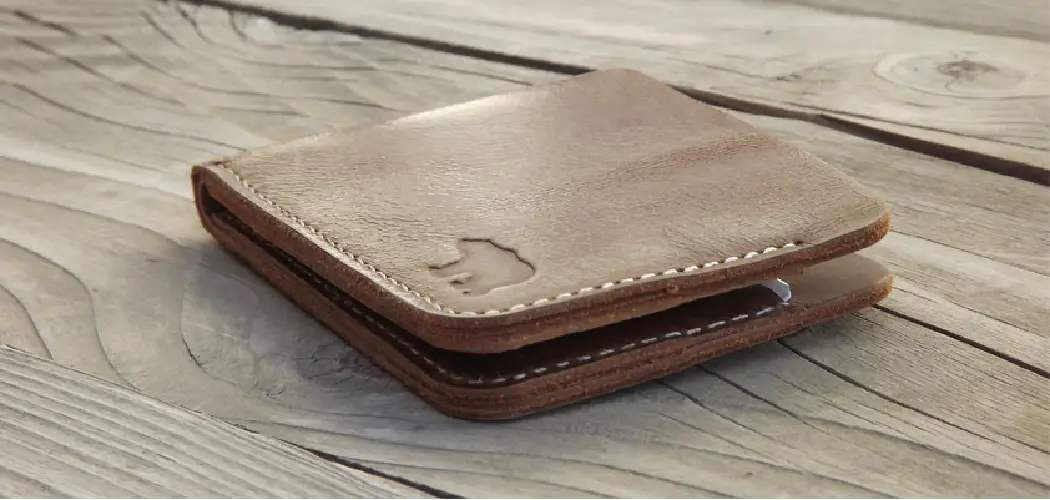
And there you have it – your leather project is now ready for display! Whether used for home décor or fashion runways, this distressed piece of leather will be sure to stand out and impress. Remember, if done correctly, distressing leather can be a fun and rewarding experience that results in a beautiful and unique piece of furniture or accessory.
Distressing leather isn’t as difficult as it may seem – with the right tools and materials on hand, plus some patience and creativity, you can create stunning pieces that will truly wow anyone who sees them. With these steps, you can confidently tackle your leather project and ensure that the distressed look will come out nicely.
5 Additional Tips and Tricks
1. To create a more consistent look, focus on one section of the leather at a time. By honing in on one area and ensuring it is uniformly distressed, you will achieve the desired result much faster.
2. Don’t forget about the edges! Sanding around the edges of your leather item can give it an extra element of distressed texture.
3. If you are using sandpaper to distress the leather, use a coarser paper first and then gradually move to finer grits for a smoother finish.
4. Use leather dyes or paints to add further detail and variation in color if desired. This can help give your item a more unique look and feel.
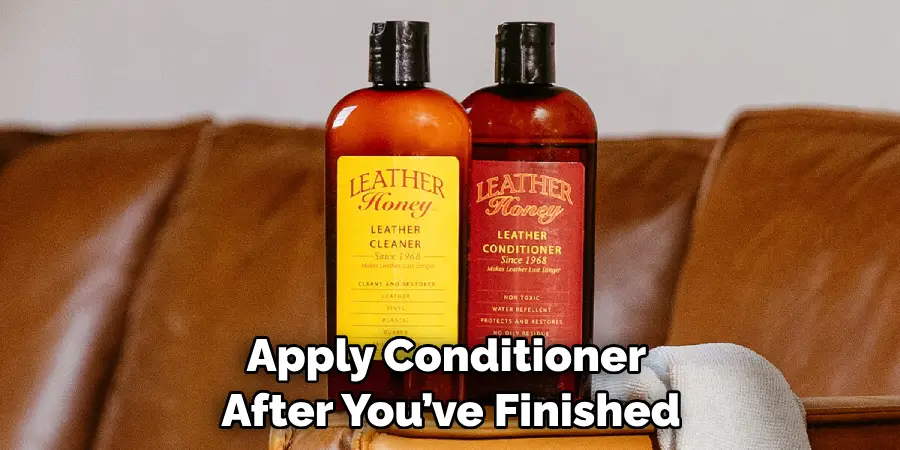
5. Apply conditioner after you’ve finished distressing the leather to ensure it maintains its softness and flexibility over time! By doing this, you will be able to keep your distressed leather looking its best for years to come.
With these tips, distressing leather doesn’t have to be intimidating – it can actually be fun! Get creative, and your leather item is sure to turn out looking great.
5 Things You Should Avoid
- Don’t use too much pressure when sanding the leather – this can lead to unwanted abrasions and holes in the material.
- Don’t use any kind of chemicals when distressing leather, as they may damage the material and cause discoloration.
- Don’t skimp on the conditioning process – this is important to keep your leather in tip-top shape for years to come!
- Avoid using too much dye or paint if you are adding color, as this can result in an unnatural-looking finish.
- Never use sharp objects such as knives or scissors when distressing leather – these can easily cause damage that cannot be reversed.
By following these tips and tricks, you should have no problem achieving a flawlessly distressed look for your leather item! With patience, practice, and attention to detail, the perfect finish is within reach.
Does Vaseline Soften Leather?
Yes, Vaseline can be used to soften the leather. It helps to bring back lost moisture and reduce stiffness, but it should only be used in small amounts as it can easily cause a build-up of residue over time. When using Vaseline on leather, make sure you test it in an inconspicuous area before applying it to the entire item to ensure it is safe for use.

Additionally, thoroughly clean any excess Vaseline after application with a damp cloth or sponge. Using this product correctly will help keep your leather looking great for many years!
Overall, Vaseline is a great choice when looking to soften the leather. It can help restore lost moisture and reduce stiffness while also providing a protective coating to the material. However, properly using it sparingly and following directions are important for the best results. With proper care, your leather item will look beautiful for years!
What Chemical Destroys Leather?
Certain chemicals can be used to destroy leather, however, these should only be used as a last resort due to the damaging effects they can have on the material. Acids, such as vinegar or lemon juice, are some of the most commonly used chemicals for this purpose. They work by dissolving and breaking down the proteins that makeup leather, resulting in a weakened and embrittled material.
Another option is using bleach which can lighten and weaken leather fibers. However, over-bleaching will eventually lead to the complete destruction of the material, so it is important to use extreme caution when attempting this method. Additionally, bleaching should never be done on finished leather as it may permanently damage the item beyond repair.
For these reasons, it is important to use chemicals as carefully and sparingly as possible when attempting to destroy leather. Additionally, suppose you are unsure how the material will react to a certain chemical. In that case, it is best to test it on an inconspicuous area before applying it over the entire item.
Once destroyed, leather cannot be repaired, so take extra precautions when using these methods. With proper care and caution, you can easily achieve the desired results without causing any permanent damage.
Conclusion
By following these simple steps, you can give new life to the leather item you want to distress. While not all of us can immediately grab a toolbox and start upcycling, it’s worth investing some time into distressing leather items. With the right care and attention, you can repurpose these items creatively that are unique to you.
Hopefully, the article on how to distress leather has given you the confidence to try this technique out. Just remember to use gentle techniques and apply any dyes or paints sparingly, as well as avoid sharp objects, such as knives or scissors, which could cause permanent damage. With a little patience and practice, you will be able to achieve the perfect distressed look for your leather item!
Why not experiment with different colors or embellishing techniques? You might even try making your own craft item from a distressed piece! Maybe you’ll surprise yourself with the result. With this newfound knowledge, feel empowered to make your distressed leather piece stand out from the rest.