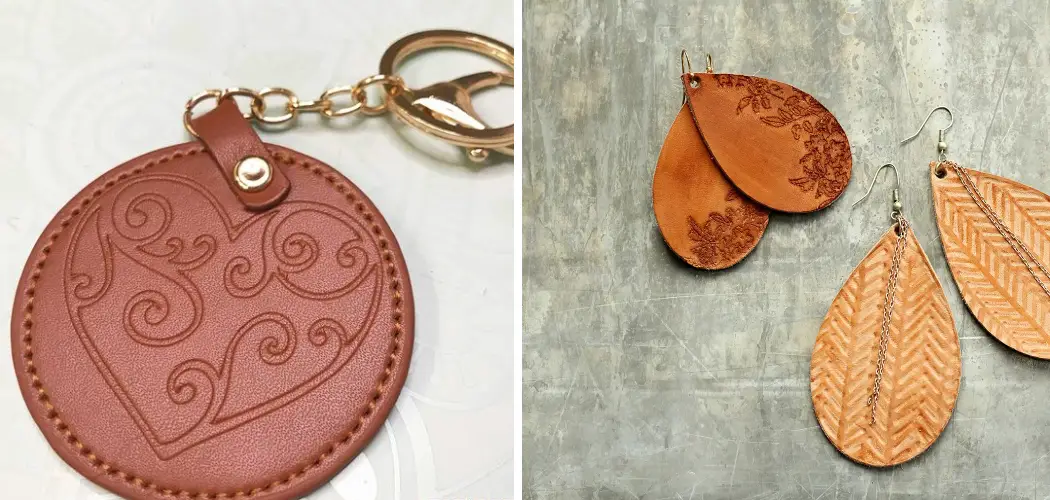
Embossing leather with Cricut is a great way to add texture and detail to your work. Whether you’re making jewelry, apparel, accessories, or home decor, embossing can give them a unique look and feel.

The process of embossing leather is simple yet very effective – it involves using the Cricut machine to stamp the leather with an embossing plate. This creates raised designs that stand out and can be used for a variety of projects.
Embossing leather with a Cricut machine offers numerous advantages over traditional embossing methods. The Cricut’s precision cutting capabilities allow users to create intricate and intricate patterns in the leather, which would be difficult to replicate by hand.
Additionally, the Cricut is faster than manual embossing, allowing larger projects to be completed quickly and easily. In this blog post, You will learn in detail how to emboss leather with cricut.
Tools You Will Need
- Leather
- Cricut Machine
- Embossing Mats (2)
- Gel Medium
- Foil Transfer Sheet
- Pen Tool
- Tweezers
- Heat Gun or Iron
- Sandpaper
- Glue Stick
Step-by-step Instructions for How to Emboss Leather With Cricut
Step 1: Inspect the Leather
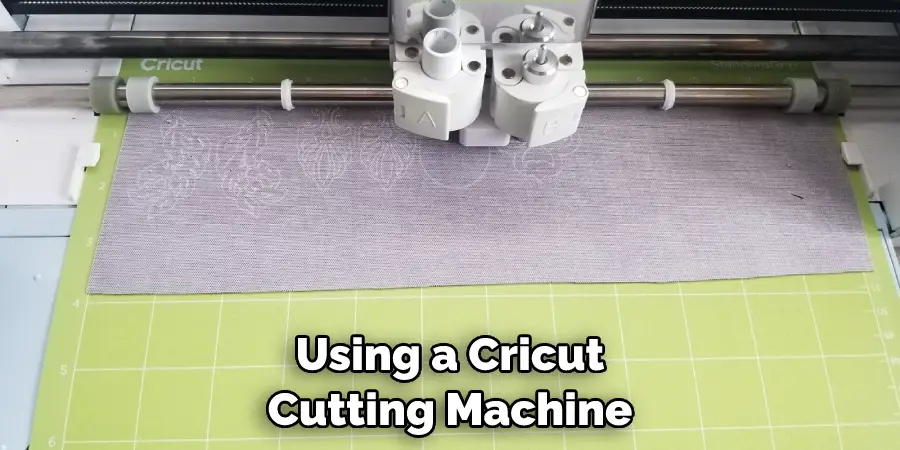
Before you begin the embossing process, make sure the material is suitable for embossing. Look for signs of wear and tear and make sure that the leather is not too stiff or cracked. Using a Cricut cutting machine, cut out a template from cardstock or another sturdy material. Make sure the template is big enough to fit the desired embossing area of your leather piece.
Step 2: Place Template on the Leather
Once you have cut out your embossing template, place it onto the surface of the leather where you would like to create your design. Securely fasten it with a few pieces of tape or adhesive. Gently sprinkle the embossing powder onto your leather piece, making sure to cover the entire template evenly. Once you have a good base layer down, gently tap off excess embossing powder.
Step 3: Heat Set the Embossing Powder
Using a heat gun, gently heat the area covered with embossing powder. You want to be careful not to apply too much heat, or the leather may burn. Continue heating until all of the powder has melted and bonded with the leather. Once your embossed design is cooled down, carefully peel away your template, revealing your newly embossed leather piece.
Step 4: Seal the Embossing Powder
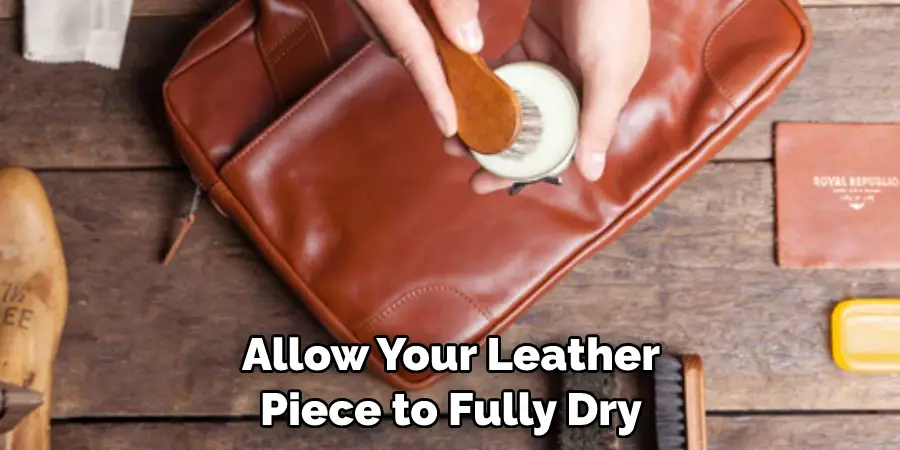
To help preserve your design and to protect it from moisture, use a sealant to coat the area where you have embossed. Make sure to cover all of the design evenly and not miss any spots. Use a soft cloth to buff and polish the leather to bring out the full effect of your embossed design.
Step 5: Let it Dry
Allow your leather piece to fully dry for 24-48 hours, depending on how thick it is and what sealant you used. Once your leather piece is fully dry, enjoy the results of your hard work. Your embossed leather will be a unique conversation piece for years to come.
Safety Tips for How to Emboss Leather With Cricut
- Read the instructions and safety precautions included with your Cricut machine before use.
- Wear protective gear such as gloves, a dust mask, and eye protection when working with leather or embossing powder.
- Make sure to work in a well-ventilated area away from open flames or any heat sources that could ignite the powder.
- Measure twice, cut once – ensure you have chosen the correct size and shape of the leather before embossing it with your Cricut machine.
- Use a cutting mat to protect your work surface from any stray bits of embossing powder or other debris that may come into contact with your Cricut machine.
- Clean up any excess powder with a cloth or vacuum after you finish embossing.
- Only use compatible materials in your Cricut machine – avoid using any materials not intended for use with the device, as it may cause damage to the machine or harm to yourself or others.
- Always disconnect your Cricut machine from the power source before cleaning or making any adjustments.
By following these safety tips when embossing leather with a Cricut, you can ensure that you’re working safely and productively to achieve beautiful results.
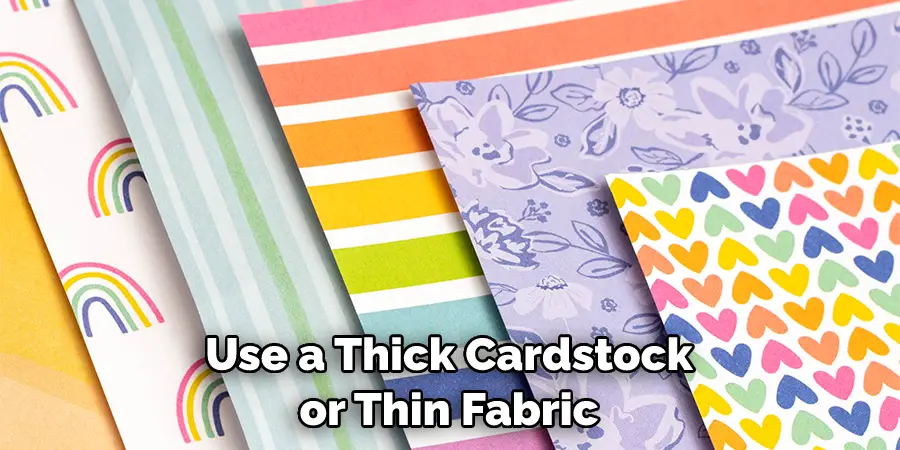
Is There a Special Type of Paper or Material That is Used for Embossing Leather With the Cricut?
When embossing leather with the Cricut, you want to use a thick cardstock or thin fabric. You could also use craft foam or other thicker materials like plastic sheets or chipboard.
It is important that the material is sturdy enough to withstand the pressure of the Cricut’s cutting blade and that it can be easily removed from the leather. To ensure your material is thick enough, test it with a few practice cuts before embossing your leather. Otherwise, creating an effective embossed pattern might not be strong enough.
You can also use special embossing mat boards or rollers when working with Cricut. These products are specifically designed to help you create beautiful embossed patterns on leather and other materials. They are an easy way to ensure that your paper or fabric is thick enough for the Cricut’s cutting blade to make a clean cut.
Finally, you can use special adhesive sheets when embossing leather with the Cricut. The adhesive sheet helps to hold the material down and prevents it from shifting as you are embossing. It also helps ensure that your design is precise and consistent.
What is the Best Way to Store Your Embossed Leather Projects?
The best way to store your embossed leather projects is by allowing them to return to their natural shape and also protecting them from dirt and dust. To do this, you should keep the pieces away from direct sunlight and high temperatures, both of which can cause the leather to warp or fade.
You can store your projects in a sealed box or storage container, and make sure to use a soft cloth or paper between each piece. Additionally, you should always clean the leather before storing it away in order to keep it looking its best.
It is also important to avoid using any oils on your embossed leather projects, as this can cause the design to fade over time. When not in use, your pieces should be kept away from any liquids, as moisture can damage the leather and its embossed design.
Once you have finished using your Cricut to emboss the leather, make sure to take good care of it. Not only will this ensure that your projects maintain their beauty, but it will also help them last for a long time.
How Can You Prevent Any Mistakes When Embossing Leather With Your Cricut?
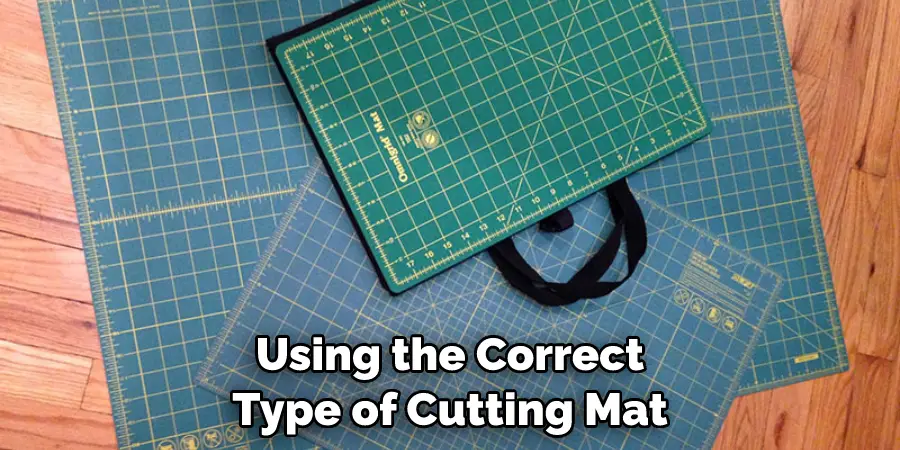
When embossing leather with your Cricut, keeping a few things in mind is important. First, make sure that you are using the correct type of cutting mat for the job. Leather is thicker than most materials and requires a deeper cut than other fabrics. A deep-cut blade is also necessary when embossing leather. Additionally, it’s important to ensure your leather is clean and free of dirt or dust before you begin to emboss.
When you are ready to cut the leather with your Cricut machine, be sure that all settings are correct for the type of material, you will be cutting. Make sure the Pressure Level is set to Medium or High. Also, ensure that the number of Passes is set to two to ensure a proper and consistent embossing effect.
Finally, after you have finished cutting your leather with your Cricut machine, it’s important to test the embossed area before permanently affixing it to another object.
What Kind of Maintenance is Required for Your Cricut After Embossing Leather?
Once you’ve completed embossing leather with your Cricut, it’s important to get in the habit of proper maintenance. This includes regularly cleaning and lubricating parts like the blade holder and cutting surface.
It also means avoiding leaving materials that contain adhesives or other substances on the cutting mat for an extended period of time. Doing so could cause damage to the mat’s integrity and may require a replacement.
After every use, be sure to clean off any debris or material buildup from the Cricut’s blade holder and cutting surface with a slightly damp microfiber cloth. This will help prevent the accumulation of dust particles and materials that can cause damage and wear to the machine.
Additionally, be sure to lubricate the blade holder with oil or other appropriate lubricant every few months. Finally, pay attention to how your Cricut is cutting through leather and make any necessary adjustments if needed. Regularly inspect for loose screws and bolts, as these can affect how the machine cuts.
Conclusion
In conclusion, embossing leather with Cricut is a great way to add texture and finesse to your projects. It’s easy to learn how to do this process in just a few simple steps, and it can be used for both large and small-scale projects. With the right materials, you can create beautiful designs that are sure to last for years.
Always remember to take the necessary precautions when working with leather, such as wearing gloves and protective eyewear. I hope this article has been beneficial for learning how to emboss leather with cricut. Make Sure the precautionary measures are followed chronologically.