beautiful pieces of leathercraft. In this blog post, we’ll explore some of the most common ways how to shape leather and provide tips for working with this material. So whether you’re a beginner or a seasoned pro, read on for some helpful shaping tips.

Benefits of Shaping Leather:
There are many benefits to shaping leather. Leather is a durable material that will last for years with proper care. It is also relatively easy to care for and maintain. Leather is also a very versatile material that can be used for various purposes.
Some of the Benefits of Shaping Leather Include:
- Leather is a very strong and durable material. In addition, it is resistant to tearing and stretching, making it ideal for various uses.
- Leather is easy to care for and maintain. It can be cleaned with a damp cloth and does not require special cleaners or conditioners.
- Leather is a versatile material that can be used for a variety of purposes, including furniture, clothing, accessories, and more.
- Leather is relatively inexpensive compared to other materials such as wood or metal.
- Leather is a natural material that is eco-friendly and biodegradable.
- Leather ages well and develops a unique patina over time.
Things You Will Need
- A piece of leather
- A sharp knife
- A cutting board
- A bone folder
- An awl
- A hammer
- A stitching groover
- A stitching awl
- Waxed thread
- A needle
- A thimble (optional)
Step by Step How to Shape Leather:
1. Select the Right Piece of Leather.
The first step in shaping leather is to select the right piece of leather for your project. Leather is available in a variety of thicknesses, weights, and grades. You’ll need to consider the purpose of your project when selecting leather, as well as the type of tools and equipment you have available.
2. Place the Leather on a Cutting Board.
Once you’ve selected the right piece of leather, place it on a cutting board. This will help to protect your surfaces and keep your cuts clean and straight. If you don’t have a cutting board, you can use a sheet of paper or cardboard.
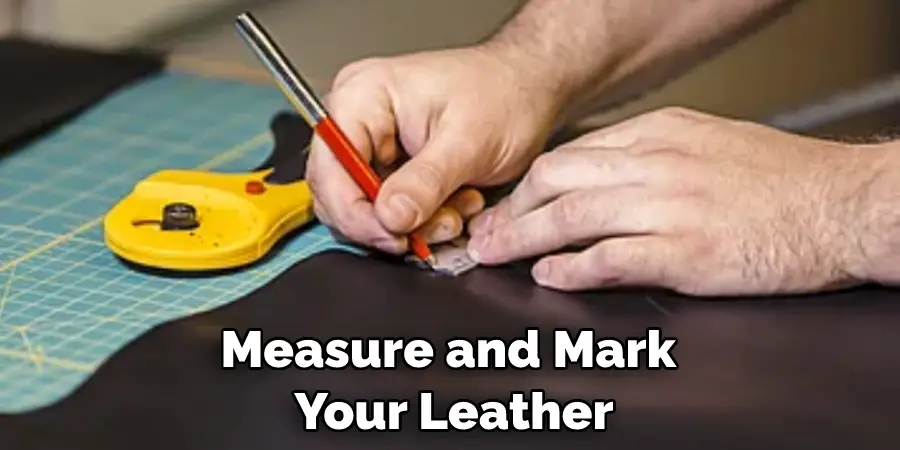
3. Measure and Mark Your Leather.
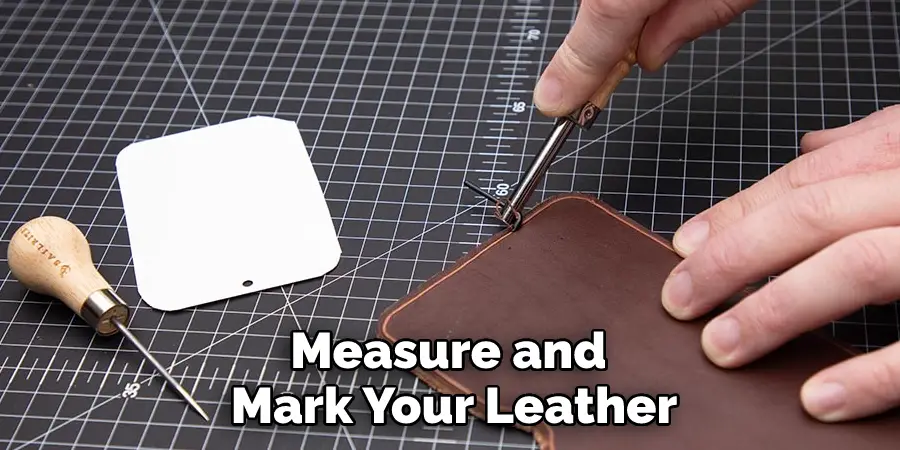
Measure and mark your leather using a sharp knife and a ruler. It’s important to be precise when cutting leather, so take your time and make sure your cuts are straight. If you’re creating a pattern, use a template to trace your design onto the leather.
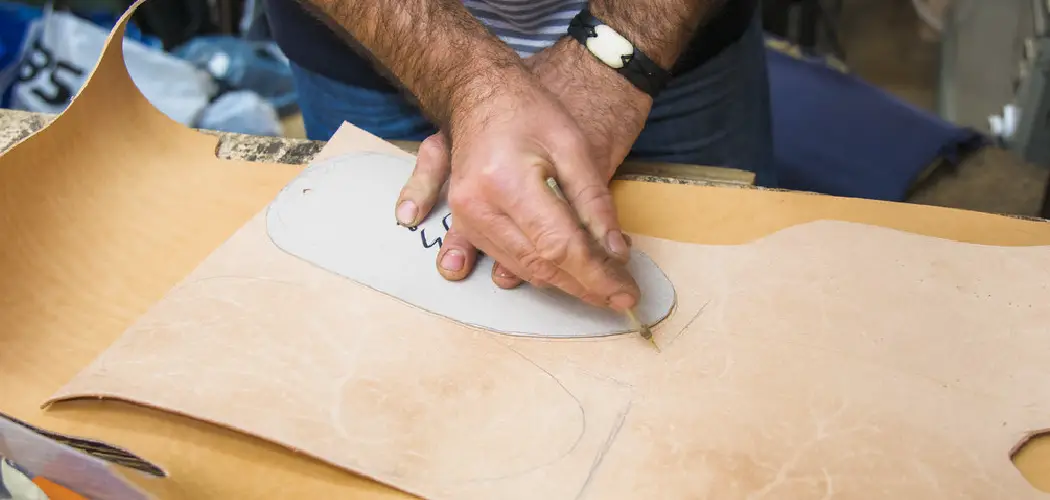
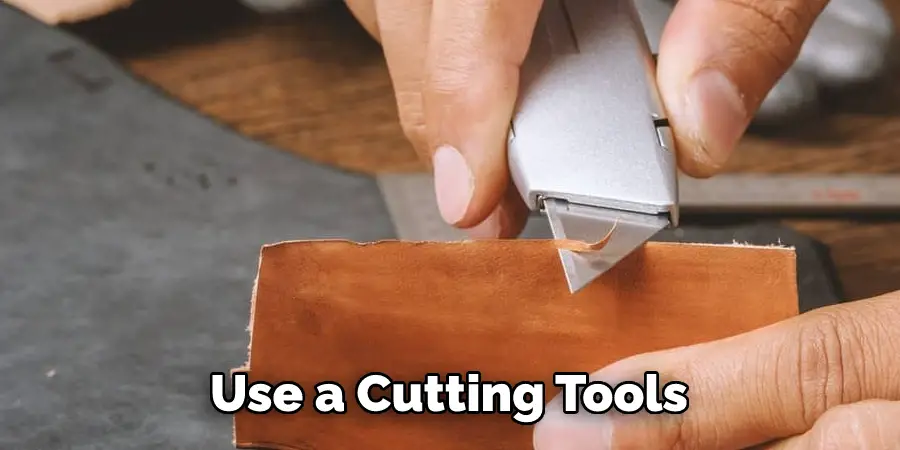
4. Cut the Leather to the Desired Size and Shape.
It’s time to cut it to the desired size and shape. You can use a sharp knife or a rotary cutter for this. If you are cutting multiple pieces of leather, it’s best to use a template so that all the pieces are the same size and shape. Leather is a fairly tough material, so you will need to use a sharp blade to get a clean cut. You can use a curved template or freehand it if you are cutting curved shapes. Just be sure to go slowly and carefully, so you don’t end up with uneven cuts.
5. Crease the Leather.
Use a bone folder or an awl to crease the leather. This will help you achieve clean, straight folds when shaping your leather. If the leather is particularly thick, you may need to use a mallet to help create it.
6. Make Holes in the Leather.
Use an awl or a stitching groover to make holes in the leather. This will be used for stitching later on. If you’re working with thicker leather, you may need to use a hole punch. If you’re working with very thin leather, you may be able to skip this step.
7. Flatten the Back of the Leather.
Use a hammer to flatten the back of the leather. This will help to prevent the leather from warping when you’re shaping it. If the leather is particularly thick, you may need to use a mallet.
8. Start Shaping the Leather.
Now it’s time to start shaping the leather. This is where you’ll really start to see your piece come to life. There are a few different ways to shape leather, and the method you choose will depend on the project you’re working on. One way to shape leather is by using a wet mold.
This is a great option for projects that require intricate details or shapes. You’ll need to soak the leather in water for a few minutes before shaping it. Another way to shape leather is by using steam. This is a good option for projects that require more shaping than molding. You’ll need to hold the leather over a pot of boiling water for a few seconds before shaping it.
9. Sew the Leather.
Once you’ve shaped the leather to your desired shape, it’s time to sew it. You’ll need to use a stitching awl and thread that’s made for leather. Start by punching holes in the leather where you want to sew it. Then, insert the needle into the hole and come out the other side. Continue this until you’ve sewed the entire piece of leather.
10. Trim the Thread.
Once you’ve sewn the leather, trim the thread, so it’s even with the surface of the leather. You can use a sharp knife or a rotary cutter for this. If you’re working with multiple layers of leather, trim the thread between each layer.
11. Finish the Leather.
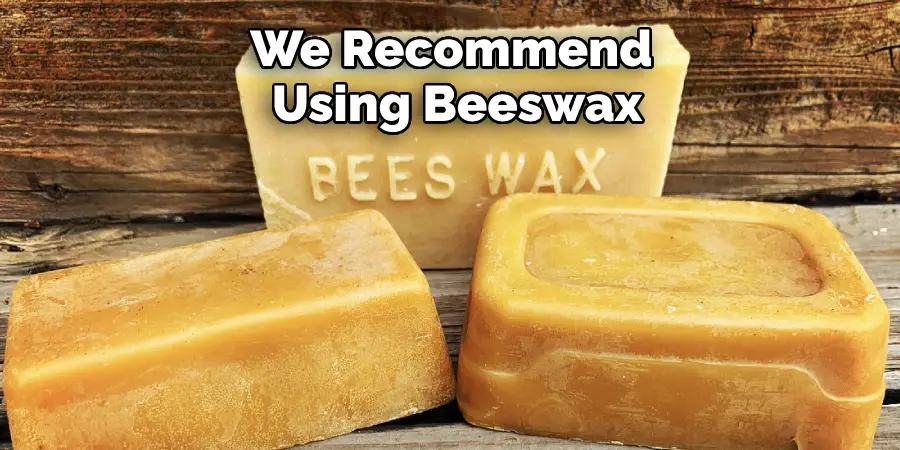
To finish the leather, you’ll need to apply a finish. This will help to protect the leather and give it a nice shine. You can use a variety of finishes, but we recommend using beeswax or carnauba wax. To apply the finish, simply rub it into the leather with a clean cloth.
You’ll want to work in small sections and be sure to cover the entire piece of leather. Once you’re finished, buff the leather with a soft cloth to bring out the shine. And that’s it! You now know how to shape leather into just about any shape you desire. With a little practice, you’ll be able to create beautiful and unique leather pieces that will last for years to come.
Do You Wet Leather Before Shaping?
It’s a common misconception that you need to wet leather before shaping it. In fact, this can damage the leather and make it more difficult to work with. If you absolutely must wet the leather, do it sparingly and let it dry completely before shaping. The best way to shape leather is to use a leather mold. This will give you the most accurate and consistent results. You can find these molds online or at your local craft store.
If you don’t have a mold, you can still shape the leather by hand. Start by stretching it out flat on a hard surface. Then, slowly use your hands or a tool to work the leather into the desired shape. Be patient and take your time shaping the leather so that you don’t damage it. Once you’ve achieved the desired shape, allow the leather to dry completely before using it. If you’re not happy with the results, you can always try again.
Tips and Warnings on How to Shape Leather:
Tips:
- When shaping leather, it is important to work slowly and carefully.
- If the leather is too thick, you may need to thin it down before shaping it.
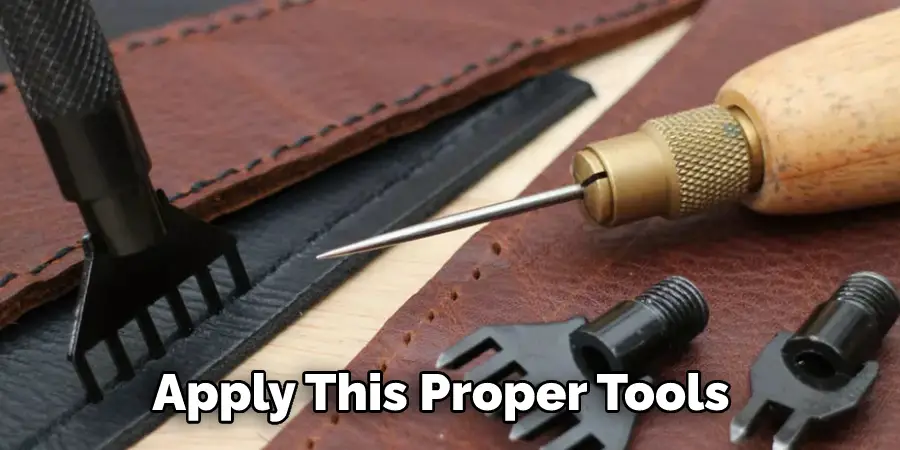
- Be sure to use the proper tools when shaping leather.
- It is also important to condition the leather before and after shaping it.
- Always test your shaping techniques on a scrap piece of leather first.
Warnings:
- Do not overstretch the leather while shaping it.
- Do not use too much force when shaping the leather.
- Be careful not to cut yourself when shaping leather.
- Avoid breathing in dust particles created when shaping leather.
- Wear gloves when shaping leather to protect your hands.
Does Leather Shrink When It Gets Wet?
Yes, leather can shrink when exposed to moisture or water. However, the degree to which it shrinks depends mainly on the amount of moisture present and the type of leather. For example, some types of leather may shrink more than others due to differences in initial composition and treatment during manufacture.
Fortunately, there are ways you can minimize or even prevent shrinking altogether by taking proper care of your leather items when they get wet. You can apply a waterproof spray before heading out in the rain or snow, or if you have already wetted your shoes without protection, simply wipe them down and stuff them with newspaper, then allow them to dry naturally. This helps them retain their original shape.
In short, yes – leather does shrink when it gets wet, but following these simple care tips will ensure that your beloved items live up to their full potential!
Frequently Asked Questions
What Tools Do I Need to Carve Leather?
The tools you need to carve leather will vary depending on the type of leather you are intending to work with. However, some of the most common tools used for this purpose include a carving knife, carving mallet, and chisels.
Once you have selected the specific tools you will need, make sure to get acquainted with their use and care. You should also keep a safe area in which to store your equipment, as accidents can occur anytime, anywhere. Finally, be sure to maintain your equipment by cleaning and sharpening it as necessary.
How Do You Carve Leather by Hand?
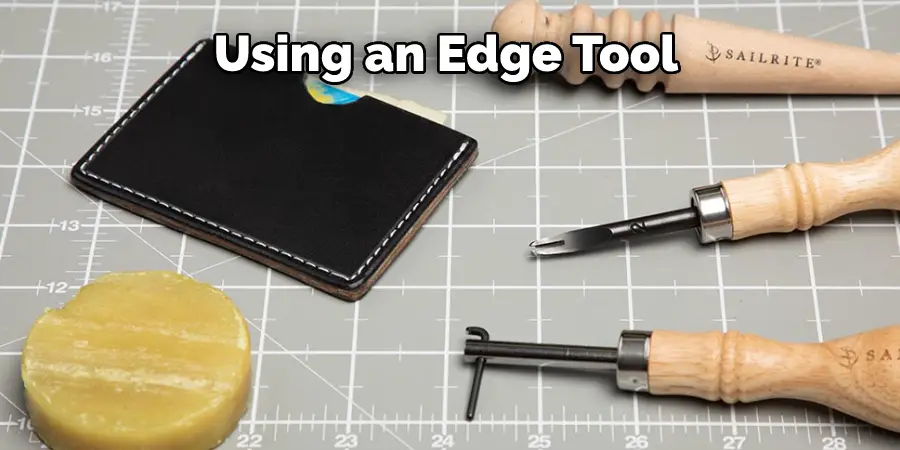
There are a few different ways to carve leather by hand, but the most common is using an edge tool. This includes knives, shears, and other similar tools that have sharp edges at one or more ends. The artisan will use this edge to cut the skin away from the meat while exposing the fibers underneath. He or she will then start shaping and smoothing out these fibers with his or her hands until they are ready for dyeing or other finishing processes.
Other methods of carving include burningish (using a mild acid such as vinegar), rubbing down with oiled cloths (or even sandpaper) followed by a final finish of waxes and oils.
Can You Carve Leather With a Dremel?
Yes, you can carve leather with a Dremel. However, be sure to use the appropriate tool and techniques for the task at hand. It is not recommended to use a rotary tool or an electric carving knife on leather because they are too fast and could cause tear or damage. Instead, choose a dremel that has either diamond-tipped wire wheels or “wheeldisc” blades that rotate slowly but contact the leather repeatedly. Follow these simple tips for ensuring successful completion of your project:
1) Make sure your work area is clean and free from dust bunnies and other materials that would interfere with cutting accuracy;
2) Wipe down the machine regularly with a dry cloth (or let it air-dry);
3) Choose your Leather: if you’re using canvas, wood fiber paneling, suede etc., select the specific material for which you have need; 4) Prepare Your Workpiece: prepping leather before carving will minimize bruising & make gluing/sewing easier later on; 5) Use Appropriate Blocks & Carving Tips: most often than not wooden blocks designed specifically for carvesilvers offer better grip in those tight spots where precision counts – ask around!
How Can I Tool Leather at Home?
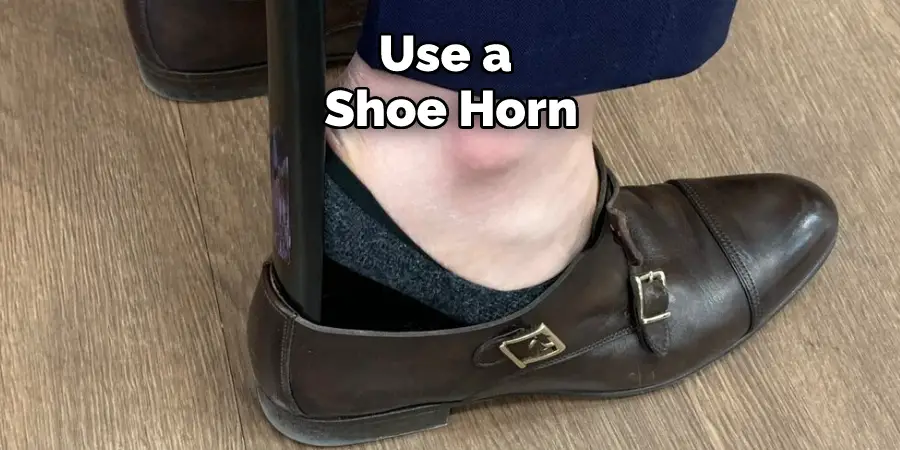
There are a few different ways that you can tool leather at home. The most common way is to use a shoe horn, but this may not be the best option if you have delicate shoes. Another option is to use a dremel or rotary tool with an abrasive stone attachment. This method is more difficult and requires some skill, but it results in a smoother finish than using the shoehorn.
If you don’t want to invest in any special tools, then you can try soaking your shoes in water and rubbing them down with sort of oil soap mix before putting them on the drum sander or belt sander. Be sure to wear gloves and safety goggles when sanding so as not to damage your skin or eyesight.
Conclusion
This article has provided you with some tips, tricks, and advice on how to shape leather. The bottom line is that leather can be shaped easily with the right tools and techniques. By following the simple steps in this tutorial, you can create various shapes and designs out of leather for your projects. With a little practice, you’ll be able to craft beautiful pieces that will last for years. So get started on your next project today and enjoy the satisfaction of shaping leather like a pro.