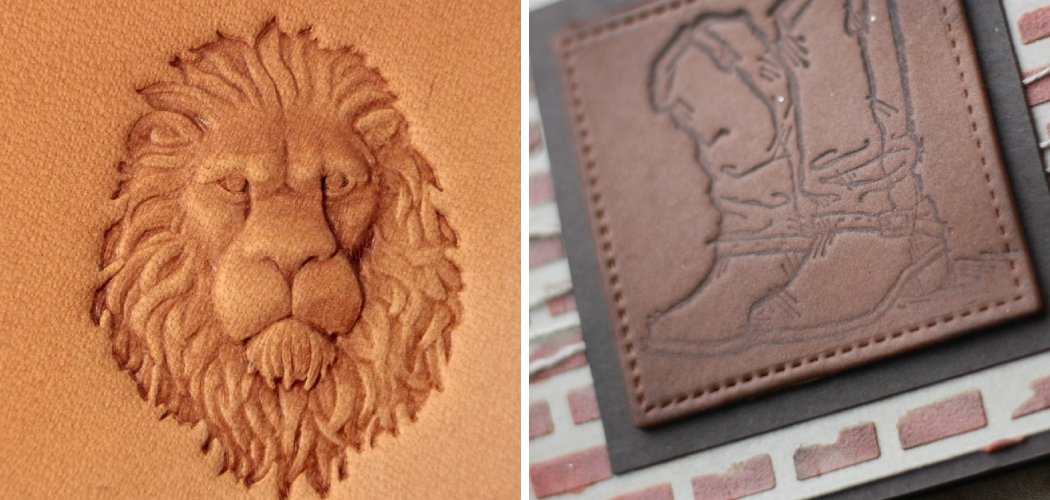
If you’re looking for a unique and stylish way to embellish pleather, embossing is a great option. Embossing involves using heat and pressure to create a raised design on the surface of the pleather.

The end result is a beautiful and eye-catching texture that will add interest to any project. In this blog post, we’ll show you how to emboss pleather using a few simple tools and materials.
Can You Emboss the Pleather?
Do you have a project that calls for some extra pizzazz? Perhaps you’re looking for a way to add a bit of luxury to an otherwise mundane item. If so, then you may want to consider embossing.
Embossing is a process in which a design is stamped onto a surface, usually with heat and pressure. This can be done on many different materials, including paper, metal, and even plastic. And yes, that includes pleather!
Pleather is a type of synthetic leather that is popular for its durability and look. It’s often used in upholstery, clothing, and other fashion accessories. And thanks to its smooth surface, it’s also ideal for embossing.
Whether you’re looking to add a logo, initials, or just a simple design, embossing pleather is a great way to do it. The best part is that it’s surprisingly easy to do. All you need is some pleather, a stencil or template of your design, and a heat source.
Once you have all of your materials together, simply place the stencil on the pleather and use the heat source to emboss the design carefully. It’s that simple! So if you’re looking for a way to add some extra flair to your next project, don’t forget about embossing. It’s easy, affordable, and can be done on many different materials – including pleather!
Why Should You Emboss Pleather?
If you’re looking for a material that has the look and feel of leather but is more versatile and easier to care for, pleather is a great option. Also known as faux leather, pleather is made from various synthetic materials that can be embossed to create a unique look. Here are a few reasons why you should consider embossing your pleather:
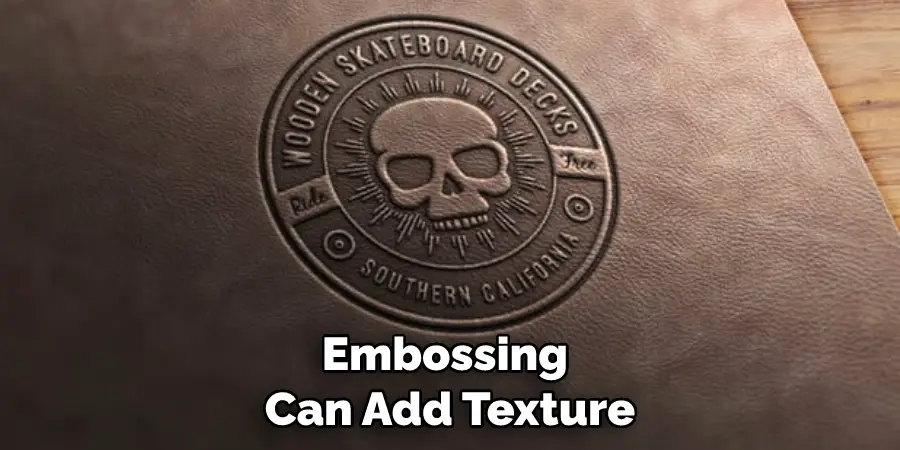
- First, embossing can add texture and interest to pleather.
- Second, embossed pleather is more durable and easier to care for than non-embossed pleather.
- Third, embossing can help to disguise imperfections in the pleather surface.
- Fourth, embossed pleather has a more luxurious look and feels than non-embossed pleather.
- Finally, embossing can help you create a unique, one-of-a-kind look for your project.
Whether you’re looking for an alternative to traditional leather or want to add extra interest to your project, embossed pleather is a great option. Keep these benefits in mind when choosing your material, and you’re sure to end up with a finished product that you love!
What You’ll Need
To emboss pleather, you’ll need the following supplies:
- Pleather
- Embossing plate (you can purchase these online or at craft stores)
- Foam pad
- Ruler or straight edge
- Bone folder (optional)
- Iron
- Ironing board
7 Tips to Follow on How to Emboss Pleather
1. Choose the Right Design
When you’re choosing a design to emboss on your pleather, it’s important to choose something that is not too intricate. Otherwise, it won’t be easy to transfer the design onto the pleather. Also, ensure the design is not too large or too small. You want it to be just the right size to look good on the finished product.
2. Trace the Design Onto the Pleather
Once you’ve chosen your design, trace it onto the pleather using a pencil or chalk. Make sure that you trace it onto the wrong side of the pleather so that the pencil marks don’t show on the finished product. Using a pencil that produces clear lines, not one with too soft a lead, is important.
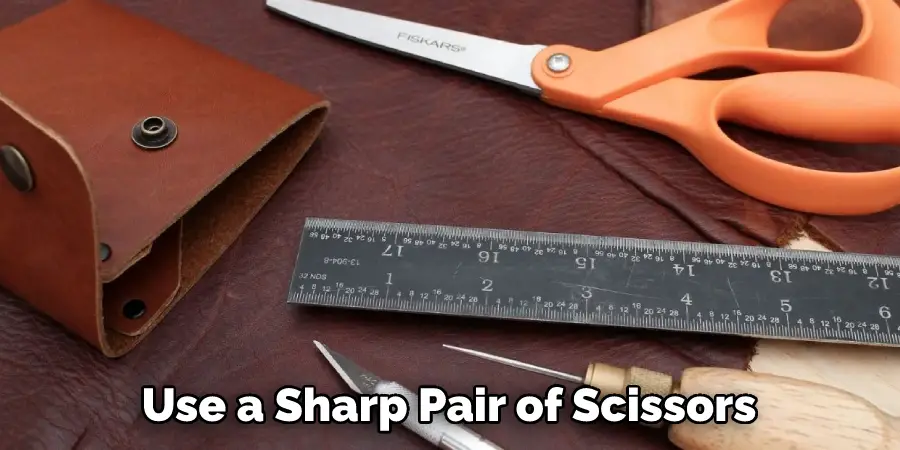
3. Cut Out the Design
Now you can start cutting out the design. Use a sharp pair of scissors, preferably with curved blades, for this step. Make sure to cut as close to the traced line as possible for accurate results. If you’re worried about a jagged edge, use an X-acto knife to smooth it out. Once you’ve finished cutting, gently remove the tracing paper and discard it.
4. Place the Design on an Embossing Plate
Once you’ve cut out your design, place it on an embossing plate. An embossing plate is a metal plate with raised designs on it. It will be used to press the design onto the pleather. Make sure that your design is facing up and positioned how you want it to appear on the fabric.
5. Cover the Design with Wax Paper
Place a piece of wax paper over your design and then use an iron to heat up the wax paper. The heat from the iron will transfer onto the wax paper and your design, which will help raise the design from the plate.
6. Remove the Wax Paper and Let it Cool
Once you’ve heated up your design, remove the wax paper and let your design cool. As it cools, your embossed pleather will begin to take shape. To ensure that the design is solidified, allow it to cool for at least 10-15 minutes.
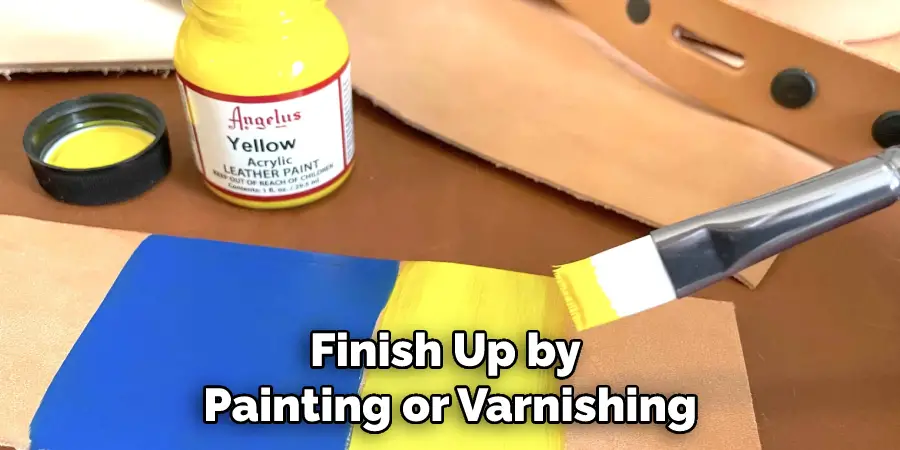
7. Finish Up by Painting or Varnishing Your Design
Once your design is raised from the plate, you can finish up by painting or varnishing it. This will help to protect your design and make it look even more professional.
With these steps, you now know how to emboss pleather. If you follow these tips closely, you’ll be sure to end up with a finished product that looks great and lasts for years! Embossing is an easy way to make your pleather projects stand out from the crowd. So why not give it a try?
Things You Need to Know Before Embossing Pleather
Before you get started embossing pleather, there are a few things you need to know. First, it’s important to choose the right kind of pleather. You’ll want to look for heavy-duty pleather that is at least 8 oz in weight. This will ensure that your finished product is durable and will not stretch or tear easily.
Second, make sure that the area you are working in is well-ventilated. The chemicals used in embossing can be strong, so it’s important to work in an area with good ventilation.
Finally, be sure to use a Teflon sheet or similar material to protect your work surface from the heat of the embossing process. With these tips in mind, you’re ready to start embossing pleather!
How Do I Choose the Right Color of Pleather for My Project?
When it comes to choosing the right color of pleather for a project, there are a few things to keep in mind. First, think about the overall look you are trying to achieve. For example, if you want your project to have a more formal look, then you will want to choose a darker color of pleather.
A lighter color would be preferable if you are going for a more casual look. You should also consider the other materials you will be using in your project. If you are using bright colors, then it might be best to choose neutral-colored pleather to not overwhelm the senses.
And finally, keep in mind that Pleather comes in many different finishes, so be sure to choose one that matches the rest of your project. By taking these factors into consideration, you can be sure to choose the right color of pleather for your next project.
5 Benefits of Embossing Pleather
1. Unique Look
One of the primary benefits of embossing pleather is that it creates a unique look. Unlike flat pleather, embossed pleather has a textured surface that can add visual interest to any project. Additionally, the process of embossing pleather can be used to create various patterns and designs, allowing you to create a truly one-of-a-kind piece.
2. Increased Durability
Another benefit of embossing pleather is that it increases the material’s durability. The process of embossing pleather strengthens the material, making it less likely to tear or wear over time. Additionally, the increased durability of embossed pleather can help to extend the life of any project made with the material.
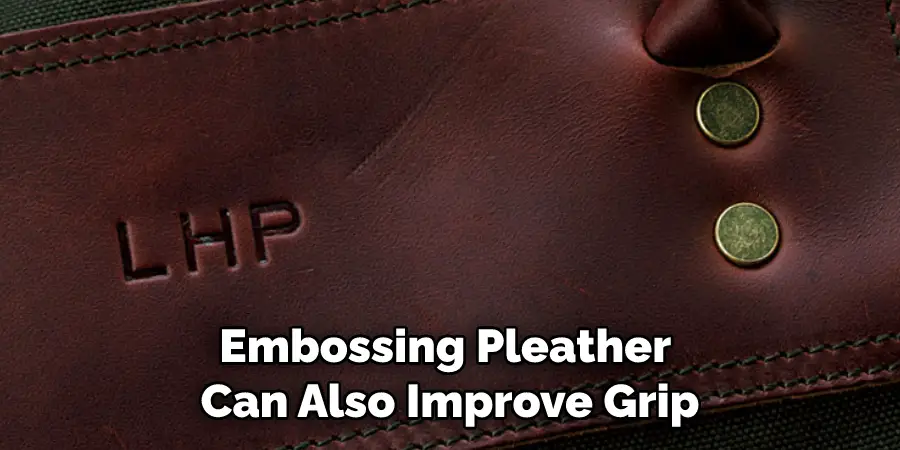
3. Improved Grip
In addition to increasing durability, the process of embossing pleather can also improve grip. The raised surface created by embossing provides more traction than flat pleather, making it less likely to slip out of your hands. This can be especially beneficial for projects with heavy use, such as upholstery or footwear.
4. Enhanced Aesthetics
Another benefit of embossing pleather is that it enhances the material’s aesthetics. The raised surface created by embossing uniquely reflects light, giving pleather a softer and more luxurious appearance. Additionally, the process can be used to create various textures and patterns, allowing you to create a truly unique look for your project.
5. Increased Value
Finally, embossing pleather can also increase the value of your project. Because the process creates a unique and durable product, projects made with embossed pleather are often considered to be higher quality than those made with flat pleather. As such, projects made with embossed pleather often command a higher price point than their counterparts.
Some Common Mistakes People Make When Trying to Embossing Pleather
Embossing leather is a great way to add texture and interest to a project, but there are a few things to keep in mind when working with this material. First, it’s important to choose the right tool for the job. For example, a traditional leather embossing plate will not work on pleather, so be sure to purchase a specifically designed for synthetic materials.
Second, Pleather is much thinner than natural leather, so it’s important to use a light touch when embossing. Too much pressure can result in tears or permanent damage to the material. Finally, be sure to test your chosen design on a scrap piece of pleather before embossing your final project.
By following these simple tips, you’ll be able to create beautiful embossed designs on pleather that will last for years to come.
Frequently Asked Questions
What is the Best Way to Emboss Leather?
There are a few different methods of embossing leather, but the two most popular are by hand and with a stamp. Hand embossing is done by pressing the leather down with your fingers, which creates a raised design. A stamp is a device that sits on leather and stamps down repeatedly with a metal or plastic tool, which also creates raised designs. There are pros and cons to both methods, so it really comes down to what you prefer and what you think will look best on your project.
Can You Use Embossing Powder on Faux Leather?
Embossing powder is a type of dusting powder that is used to create a raised or textured effect on faux leather. Embossing powder is typically used to create a more realistic look for faux leather products, such as purses, wallets, and other items. To use embossing powder on faux leather, first wet the surface of the leather with water or a liquid-based product. Then apply a thin layer of embossing powder to the wet surface, using a brush or your fingers. Work the powder into the leather by rubbing it in with your hands or a cloth, and allow it to dry. The finished product should have a raised texture that gives the impression of more realistic faux leather.
Is It Better to Engrave or Emboss Leather?
It depends on the specific needs and preferences of the customer. Some people prefer embossing because it gives a more pronounced appearance to the text or design, while others prefer engraved letters because they feel they look more natural and less formal. Ultimately, it is up to the customer to decide which option they prefer.
Does Hot Water Shrink Faux Leather?
The short answer is no, hot water does not shrink faux leather. However, there are a variety of other factors that can affect the longevity and appearance of faux leather, such as how frequently the faux leather is wetted, how it is treated (for example, if it is exposed to direct sunlight or excessive heat), and how it is stored. So, while hot water alone may not be responsible for the premature wear and tear on faux leather furniture, it may be one factor that contributes to its deterioration.
Conclusion
That’s it! You’ve successfully embossed your own pleather! Embossing is a great way to add texture and interest to any project, and we hope this tutorial has inspired you to try it out for yourself. Be sure to experiment with different designs and see what looks best on your finished product! Thanks for reading our post about how to emboss pleather.