
Embroidery is an age-old technique of decorating and personalizing fabrics. It involves creating designs using needle and thread on a piece of cloth. However, embroidery can also be done on other materials such as leather.
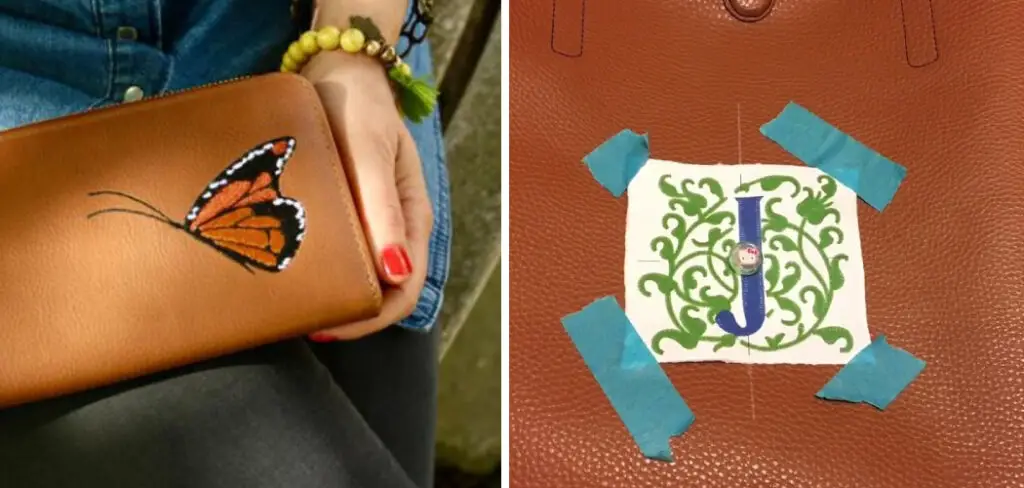
Embroidering on leather adds a touch of elegance and uniqueness to your leather products. Whether you want to customize your favorite jacket or create one-of-a-kind leather accessories, knowing to embroider on leather is a valuable skill to have.
The main advantage of embroidering on leather is the ability to add a personal touch to your leather items. Leather can be used for a variety of purposes, such as clothing or accessories, and adding embroidered designs can make these items stand out. Additionally, embroidery on leather is durable and long-lasting, allowing you to create pieces that will last for years. You can find step-by-step instructions on how to embroider on leather in this blog article.
Step by Step Processes for How to Embroider on Leather
Step 1: Inspect the Leather
Before starting any embroidery project on leather, it is important to inspect the leather for any damages or imperfections. This will ensure that your final product is of high quality and does not have any unsightly marks.
Step 2: Gather Materials
To begin embroidering on leather, you will need the following materials: a sharp needle, embroidery floss or thread, a leather needle (if using a sewing machine), and a piece of chalk for marking your design. Selecting the right design for your leather project is crucial. Consider the type and color of the leather to determine the best design and thread color to use.
Step 3: Prepare the Needle
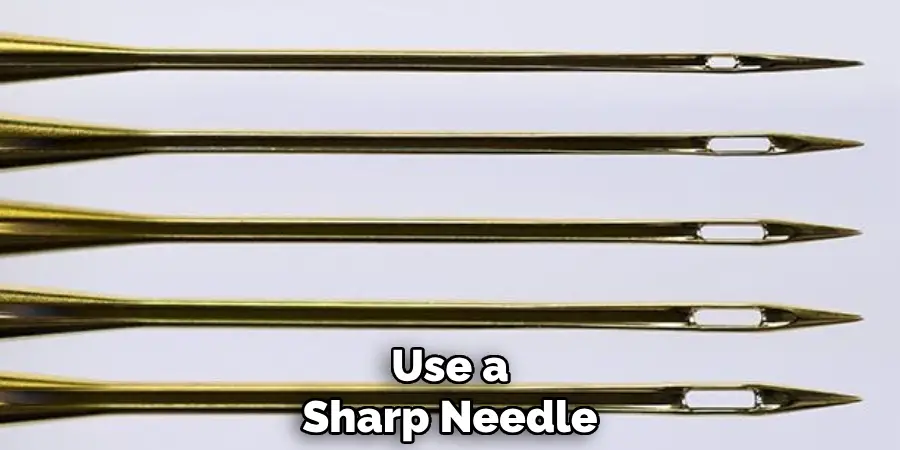
If you are hand-stitching, make sure your needle is sharp enough to penetrate through the leather. You can also wax the thread to prevent it from tangling or breaking while stitching. Using a piece of chalk, mark your design lightly on the leather. This will act as a guide for your stitching.
Step 4: Secure the Leather
Place the leather in an embroidery hoop or secure it onto a flat surface using clips to prevent it from moving while stitching. Start with small, straight stitches along the design outline. Use a thimble to help push the needle through thicker parts of the leather.
Step 5: Utilize Different Stitching Techniques
Experiment with different stitching techniques such as satin stitch, backstitch, or French knots to add texture and dimension to your design. When using a sewing machine, it is important to adjust the tension settings accordingly. Test on a scrap piece of leather first to ensure the stitches are balanced and not too tight.
Step 6: Use a Leather Needle
If using a sewing machine, make sure to switch to a leather needle for best results. This will prevent any damage to your machine and ensure smooth stitching. Embroidering on leather can be a time-consuming process, so be sure to take breaks and rest your hands and eyes.
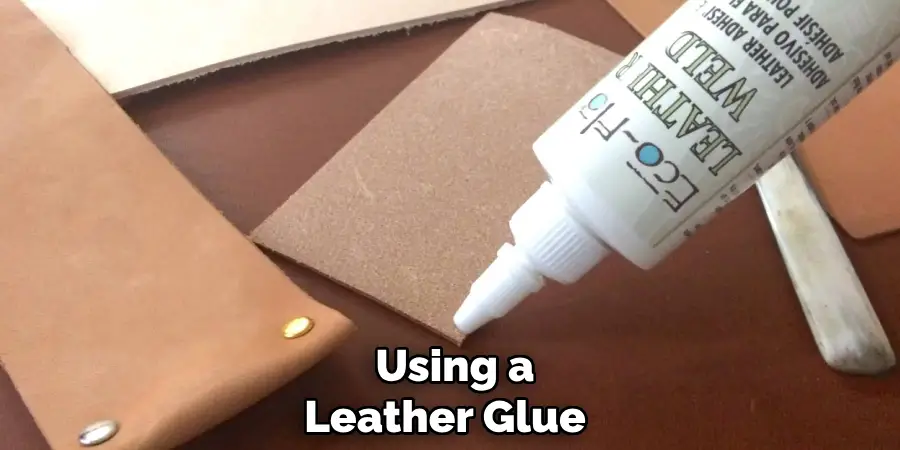
Once you have completed your design, secure the back of the embroidery by tying off any loose threads and using a leather glue or leather adhesive to seal the knots. This will prevent any unraveling in the future.
Precautions for How to Embroider on Leather
- Always wear protective gear when working with needles and leather. This includes gloves, eye protection, and a mask. Needles can easily slip on the tough surface of leather, causing injuries.
- Use a thimble to avoid pricking your fingers while pushing needles through the leather. The thick material can put a strain on your fingers, causing them to tire quickly. A thimble provides a protective barrier and makes it easier to push the needle through.
- Avoid using sharp needles when embroidering on leather. Sharp needles can easily puncture or tear the leather, ruining your design. Instead, use blunt-tipped needles specifically designed for embroidery on leather.
- Always test your thread before starting your project. Use a scrap piece of leather and stitch with your chosen thread to ensure it is the right thickness and tension for your design. This will prevent any mistakes or damage to your final piece.
- Choose a sturdy embroidery hoop that can securely hold the leather in place. A loose hoop can cause the leather to shift, resulting in uneven stitching. Make sure to adjust the hoop as needed throughout your project.
- Plan out your design in advance and mark it on the leather with a water-soluble marker. This will serve as a guide for your stitching and ensure accurate placement of your design.
- Take breaks throughout the process to give your hands and eyes a rest. Embroidering on leather can be a tedious task, so it’s important to take breaks to prevent strain or fatigue. This will also help maintain your focus and accuracy while stitching.

By following these precautions, you can ensure a smooth and successful embroidery project on leather. Remember to always approach this delicate material with care and patience for the best results.
Are There Any Techniques to Prevent the Leather From Stretching While Embroidering?
One of the most common concerns when embroidering on leather is the possibility of the leather stretching and distorting during the stitching process. This can be a major frustration, especially when working with intricate designs or delicate leather materials.
Fortunately, there are several techniques that can help prevent this issue and ensure your embroidery stays looking crisp and clean. Here are some tips to keep in mind when embroidering on leather:
1. Use a Stabilizer
A stabilizer is a material that is placed underneath the embroidery area to provide support and prevent stretching. For leather, it’s best to use a tear-away or cutaway stabilizer, as they will not leave any residue or marks on the leather once removed.
2. Secure the Edges
Before starting your embroidery, make sure to secure the edges of the leather fabric. You can do this by taping or gluing the edges to a piece of cardboard or using clamps to hold it in place. This will prevent any movement and help maintain the shape of the leather.
3. Use The Right Needle
It’s essential to use a sharp needle designed specifically for embroidering on leather. A dull or incorrect needle can cause unnecessary damage to the leather and result in stretching.
4. Embroider Slowly
Take your time when embroidering on leather, as rushing can lead to mistakes and uneven stitching. Going slow will also give you better control over your stitches and reduce the chances of stretching.
5. Use a Hoop
Using an embroidery hoop can provide added stability and prevent the leather from moving or stretching during stitching. Make sure to use a hoop that is slightly larger than your design, as this will allow for better tension.
By following these techniques, you can significantly reduce the chances of your leather fabric stretching while embroidering. Remember to always handle your leather with care and take your time when stitching to ensure beautiful and precise embroidery results.
How Can You Ensure That Your Embroidery Stitches Stay Secure on Leather?
Leather is a popular material for embroidery projects due to its durability and unique texture. However, embroidering on leather can be challenging as it requires different techniques and considerations compared to other fabrics. One of the most important concerns when embroidering on leather is ensuring that your stitches stay secure. Here are some tips on how you can ensure that your embroidery stitches stay in place when working on leather:
1. Use the Right Needle
The type of needle you use can make a huge difference when embroidering on leather. It is important to choose a sharp needle with a triangular point, like a chenille or tapestry needle. These needles are specially designed for piercing through tough materials such as leather without leaving holes.
2. Prepare Your Leather
Before starting your embroidery project, it is essential to prepare your leather. You can do this by rubbing beeswax or a bar of soap on the back of the area you wish to embroider. This will create a protective layer and prevent your stitches from pulling through the leather. It also makes it easier to remove any mistakes without damaging the material.
3. Use a Hoop or Stabilizer
Using a hoop or other stabilizing material is crucial when working on leather. This will help keep the leather taut and prevent it from slipping while you stitch. You can use either an embroidery hoop or a double-sided adhesive stabilizer that sticks to the back of your leather piece.
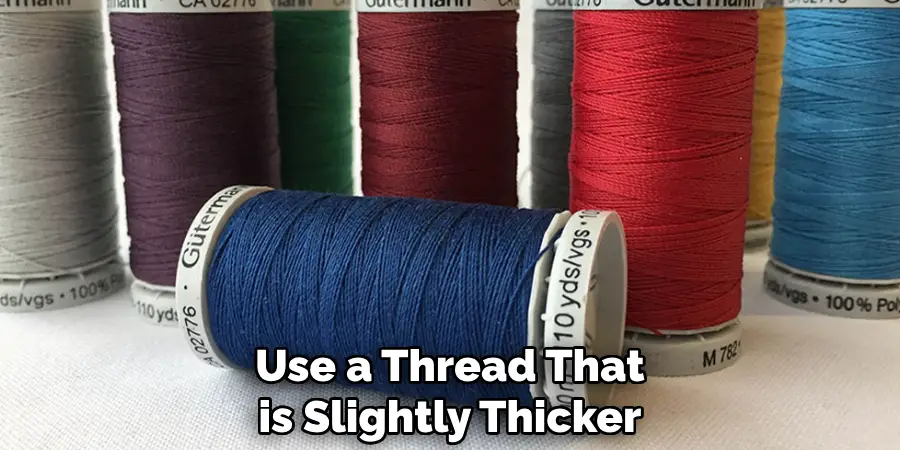
4. Choose the Right Thread
When embroidering on leather, it is best to use a thread that is slightly thicker and stronger than the usual embroidery thread. This will add more strength and stability to your stitches, ensuring they do not pull through the leather.
5. Secure Your Starting Knot
To secure your starting knot on leather, you can use a fabric glue or adhesive tape instead of tying a knot with the thread. This will ensure that the knot does not come loose while you’re stitching.
6. Avoid Dense or Complicated Stitches
When embroidering on leather, it is best to avoid using dense or complicated stitches as they can create too much tension on the fabric, causing it to pucker and warp. Instead, opt for simpler and lighter stitches that will be easier to secure on the leather.
With these tips in mind, you can ensure that your embroidery stitches stay secure on leather and create beautiful and long-lasting designs.
How Can You Protect Your Embroidered Leather Piece From Wear and Tear?
Embroidering on leather can be a challenging yet rewarding task. It requires careful handling and special techniques to ensure that the design is properly executed without damaging the leather itself. However, mistakes can happen even to the most experienced embroiderers, leaving you wondering if it’s possible to remove embroidery from leather.
The most common method to remove embroidery from leather is by using a seam ripper or small scissors to carefully cut the threads without damaging the leather. However, this method can leave behind holes or marks on the leather, especially if it’s thin or delicate.
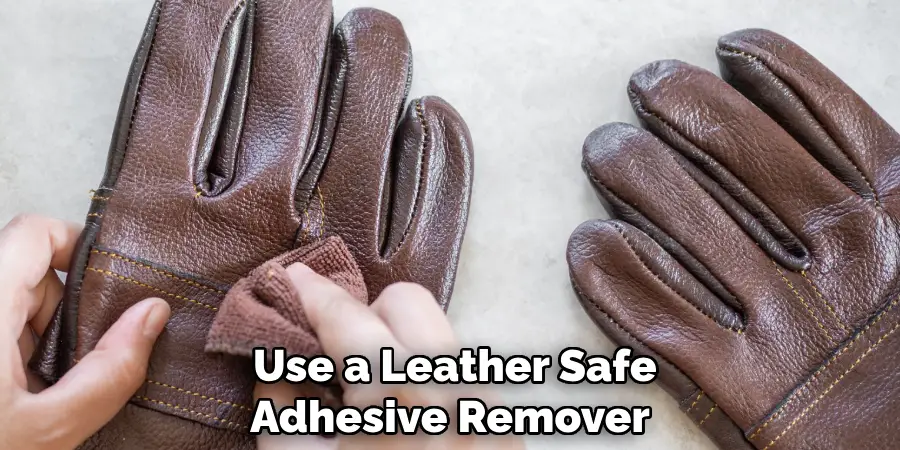
Another method is to use a leather-safe adhesive remover, such as rubbing alcohol or nail polish remover, to dissolve the glue used to attach the embroidery to the leather. This method requires patience and precision as it can also remove any dye or finish on the leather if not done carefully.
If you’re unsure about removing the embroidery yourself, it’s best to seek professional help from a leather expert or tailor. They have the skills and tools necessary to remove the embroidery without damaging your leather piece.
Conclusion
In conclusion, the art of embroidery on leather is a delicate and intricate craft that requires patience, practice, and attention to detail. While it may seem intimidating at first, with the right techniques and tools, anyone can create beautiful embroidered designs on leather. However, as with any skill or hobby, there are also some disadvantages to consider before diving into this craft.
One major disadvantage of embroidering on leather is that it requires specialized tools and materials. Unlike working with fabric, which can often be done with basic sewing supplies, embroidering on leather typically requires a specific type of needle and thread suitable for the thickness and durability of the leather.
These tools can be expensive to purchase and may not be readily available at your local craft store. I hope this article has been beneficial for learning how to embroider on leather. Make Sure the precautionary measures are followed chronologically.