
Are you tired of having to replace your headphones every few months because the leather starts to tear and crack? Don’t worry, there is an easy way to fix headphones’ leather and extend their lifespan.
From earbuds to DJs’ headphones, crocheting to crafting, leather is often used not just for its natural aesthetic but also for the durability it provides during regular, everyday use. While leather can often hold up well, prolonged and constant wear-and-tear may mean your pair of beloved headphones require a fix. Whether you want to save money or simply get more creative with your items, learning how to repair headphones and leather yourself is an activity that pays dividends in the long run.
We’ll talk through some ways you can repair and beautify your worn-out headphones so they look as good as new! Read on to learn more about how to fix headphones leather!
What Will You Need?
Before we get into the steps required to repair and fix the headphones’ leather, let’s discuss what materials you will need. It is recommended that you have the following:
- Leather glue or a leather patch kit.
- Cotton swabs or other cleaning tools like toothpicks for removing dirt from small crevices.
- A soft cloth.
- A pair of scissors for cutting leather patches if needed.
Once you have all the necessary items, it’s time to get started!
9 Easy Steps on How to Fix Headphones Leather
Step 1: Clean the Leather
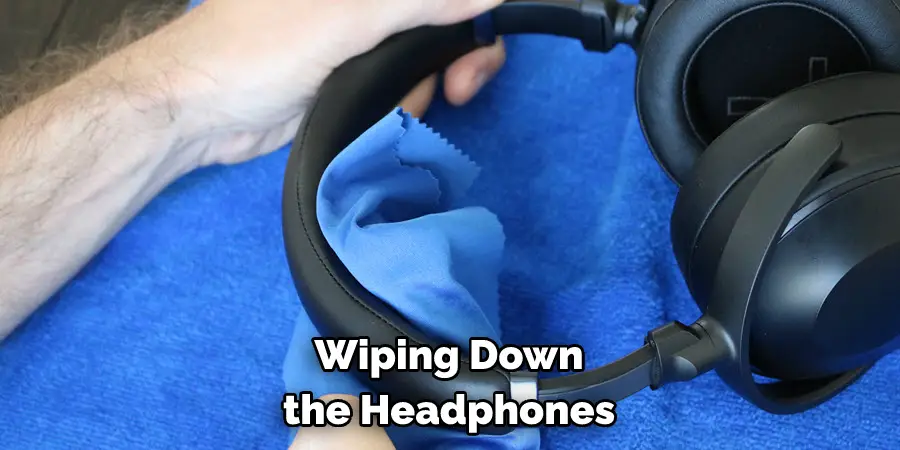
The first step in the process is to clean your headphones. This will help get rid of any dirt or dust that might be stuck on the surface, which can cause damage and create crevices in leather over time.
Start by wiping down the headphones with a damp cloth to remove any visible dirt and grime. Then, gently scrub away any more stubborn stains with a cotton swab dipped in warm water. Finally, use a dry cloth to wipe down the headphones once again until they are completely dry.
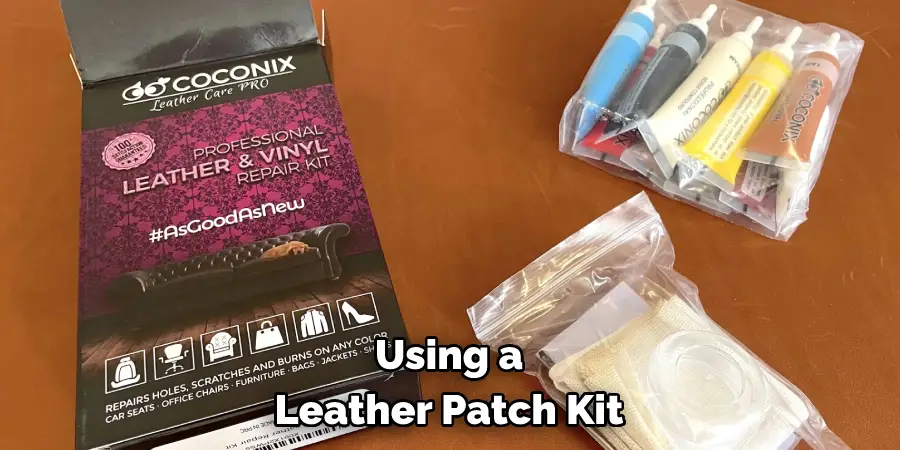
Step 2: Apply Glue or Patches
Once you’ve cleaned off the surface of your headphones, it’s time to apply glue or patches. If you are using a patch kit, cut out the shape of the leather patch to fit over the damaged area and peel off the backing. Then use either leather glue or a hot glue gun to affix it in place.
Step 3: Let It Dry
Once you’ve applied the adhesive or patch, let it dry completely. Depending on what kind of adhesive you used, this could take anywhere from a few minutes to several hours. Be sure to read the instructions that come with your product so you know how long it needs to sit before it is ready for use again.
Step 4: Add Finishing Touches
Once the adhesive or patch has had enough time to dry, it’s time to add any finishing touches. If you’re using a leather patch kit, use light sanding paper to smooth out any rough edges. You can also use a leather dye or polish to restore the original look of your headphones if desired.
Step 5: Test It Out
Now that you’ve completed all the steps on fixing the headphones’ leather, it’s finally time to test them out! Plug in your headphones and listen as you play some music – make sure there are no sounds of crackling due to uneven surfaces. If everything is still working perfectly, then congratulations – you’ve just fixed up your favorite pair of headphones!
Step 6: Maintain Your Headphones
To ensure that your headphones stay in good shape for as long as possible, it’s important to maintain them. Ensure you regularly clean the leather using a damp cloth and take care of any scuffs or scratches as soon as you notice them. With proper care, you can ensure your headphones look and sound great for years!
Step 7: Keep an Eye Out for Wear-and-Tear
Even if you take all the necessary steps to maintain your headphones, it’s still important to keep an eye out for any signs of wear and tear. Pay attention to creases, cracks, or scuffs that might be forming on the leather surface and fix them as soon as possible.
Step 8: Repair Any Broken Parts
In some cases, your headphones may have parts that are broken or missing. If this is the case, replacing them as soon as possible is important. Look for OEM parts from the manufacturer or get a replacement part from an online shop – just make sure to double check the compatibility before ordering.
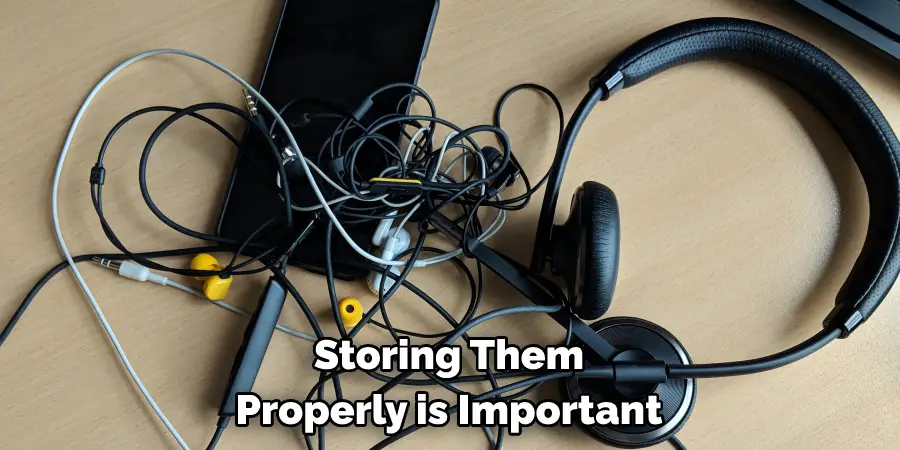
Step 9: Store Them Properly
When you’re not using your headphones, storing them properly is important. Keep them away from direct sunlight and never leave them in a damp or humid place for extended periods of time. It’s also best to avoid extreme temperatures, as these can damage the leather and cause the headphones to become brittle over time.
Following these guidelines on fixing headphones, leather can help you keep your favorite pair looking and sounding great for years to come. With some basic maintenance and care, you can make sure that your headphones last as long as possible – giving you the perfect soundtrack for all of life’s adventures!
5 Additional Tips and Tricks
1. Make sure to use clean clothes and cleaning products when wiping down your headphones. This will help you get rid of dirt, sweat, dust, and grime that can build up over time.
2. If your headset has a removable ear pad cover, take it off and wipe it down with a clean cloth or brush.
3. If you have leather ear pads on your headset, use a small amount of leather conditioner to keep them from cracking or drying out.
4. When attaching new foam tips to your headset, make sure they fit snugly without being too tight that they cause discomfort.
5. To keep the headphone wires from tangling, you can attach some velcro ties to them so that they stay organized.
By following these simple tips and tricks, you’ll be sure to keep your headphones in top condition for years to come! With the proper care and attention, you’ll also be able to properly fix any leather related issues that may arise over time.
5 Things You Should Avoid
1. Avoid using any harsh chemicals on your headphones, as they can damage the leather.
2. Don’t use a hair dryer to try and fix the leather, as this could cause further damage.
3. Avoid getting water or other liquids inside your headset, as it could also cause permanent damage over time.
4. Don’t twist or pull the wires of your headphones too tightly, as this can weaken them in the long run and cause them to break easily.
5. Never place your headphones directly in direct sunlight, near an open flame, or in a heated area which can result in unwanted discolorations and damage to the leather of your headset.
By avoiding these potentially damaging activities, you’ll be able to keep your headphones in good shape and properly fix any leather related issues that may arise.
Does Sweat Ruin Leather Headphones?
No, sweat will not ruin your leather headphones if you care properly. Sweat is actually fairly harmless when it comes to leather since it is made up mainly of water which can evaporate easily.
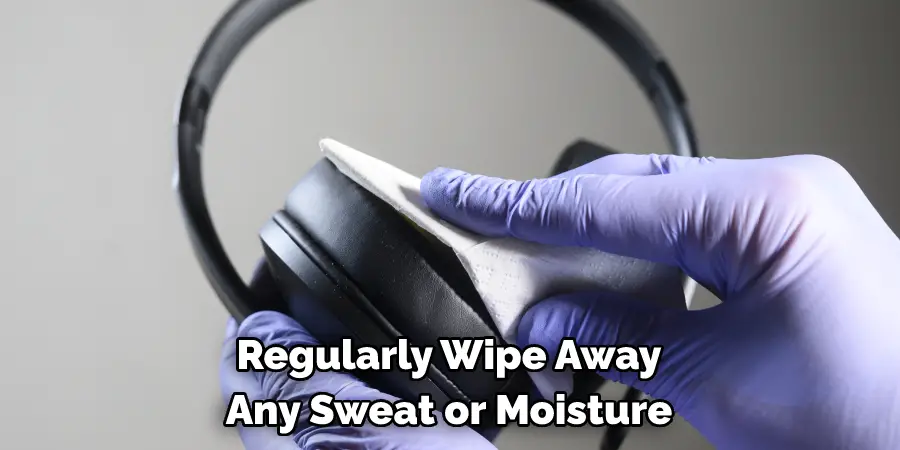
However, if the sweat accumulates and remains on the leather for extended periods without being wiped away, it could cause damage over time. Therefore, ensure that you regularly wipe away any sweat or moisture that builds up on your headset so that it does not seep into the material and cause unwanted discolorations or damage.
By following these tips, you’ll be able to preserve the quality of your headset and ensure that it stays in top condition for years to come!
Is Protein Leather Durable?
Yes, protein leather is a very durable material that can withstand wear and tear better than other types of leather. It is also highly resistant to water and most kinds of liquids, making it an ideal material for headphones, as it can help prevent any damage due to sweat or moisture build-up.
Protein leather is also very easy to clean and maintain, making it an excellent material for headphones. As long as you take proper care of your leather headset, it should remain in good condition for years to come.
With the right care and attention, protein leather is a great choice for headsets that will last you a long time! You can also use some of the tips listed above to help you properly fix any leather related issues that may arise over time.
Conclusion
In conclusion, DIY headphone leather repair is not as daunting a task as it may seem. All you need is the right materials, a few tools, and a bit of patience. Now that you have all the knowledge and advice on how to fix headphones’ leather, your next step is to get started! With just a little work and practice, you can easily restore your favorite old pair of headphones or give new life to an unloved thrift store find. Plus, this craft item provides a sense of accomplishment and brings a unique vintage charm to your home décor that you simply can’t buy.
Hopefully, the article on how to fix headphones leather has been informative and beneficial in your endeavor.
So take the leap and start fixing up those lovely leather details. Who knows? You might even find yourself loving the challenge so much that DIY headphone leather repair becomes your favorite hobby!