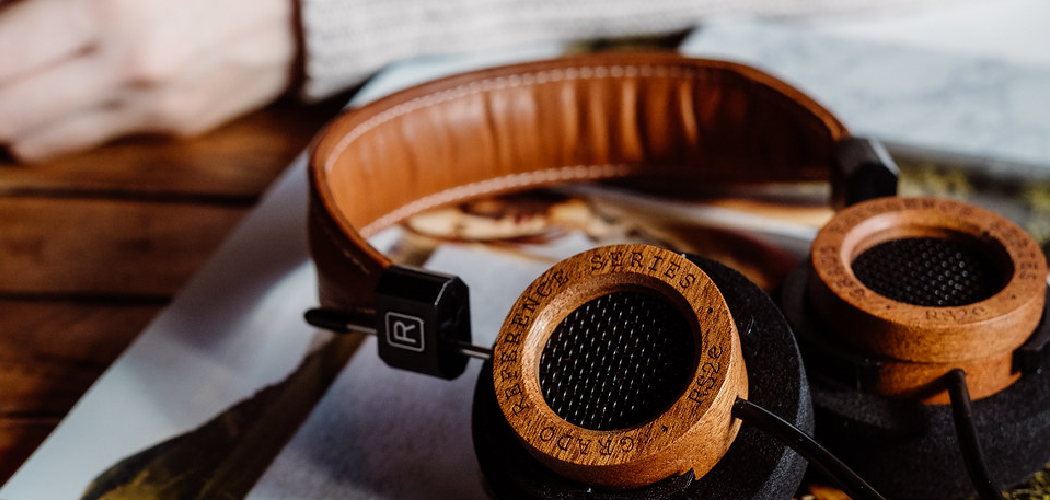
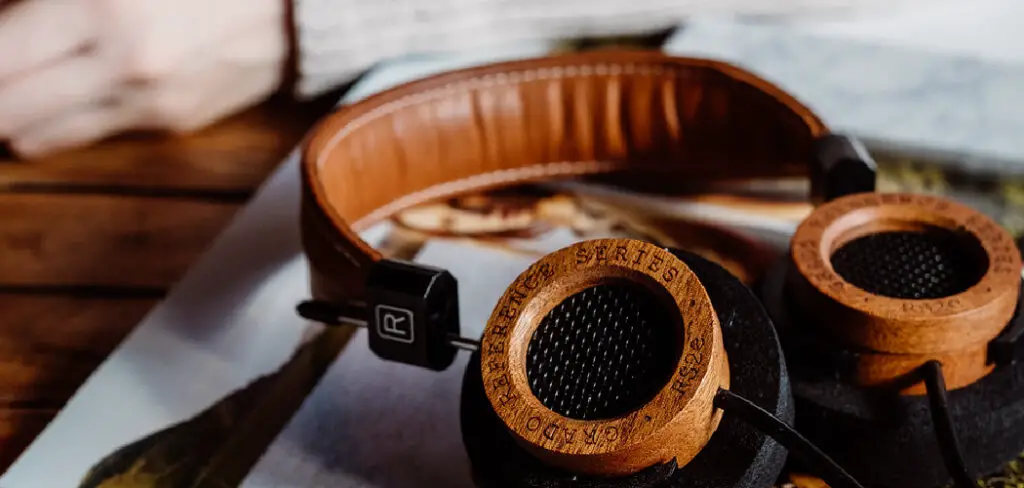
Are you looking for ways to keep your leather headphones clean? Well, you’re in the right place! Cleaning leather headphones can be tricky because of the delicate material, but luckily, there are easy steps you can follow to ensure they stay looking and feel like new.
Leather headphones can add an elegant, timeless touch to your listening experience – but they require a little extra attention when it comes to cleaning and maintaining them. You want to ensure that you take proper care of your leather headphones so they last for years to come.
This blog post will discuss the best methods for keeping your leather headphones clean and dirt-free while preserving their sound quality – from using special cleaning products to dusting with a microfiber cloth! Keep reading to learn more about how to clean leather headphones!
What Will You Need?
The first step to cleaning your leather headphones is gathering the right supplies. You’ll need the following:
- A soft, clean cloth
- A vacuum cleaner with a brush attachment
- Leather conditioner
- Clean water
- Mild dish soap or specialized leather cleaner (optional)
Once you’ve gathered your supplies, you are ready to start cleaning your headphones.
10 Easy Steps on How to Clean Leather Headphones
Step 1. Use Vacuum Cleaner:
Begin by using the vacuum cleaner with its brush attachment to remove any dust or dirt. Make sure to use a low suction setting, as leather is delicate and can be easily damaged. Be careful not to apply too much pressure while vacuuming, as this could scratch the surface.
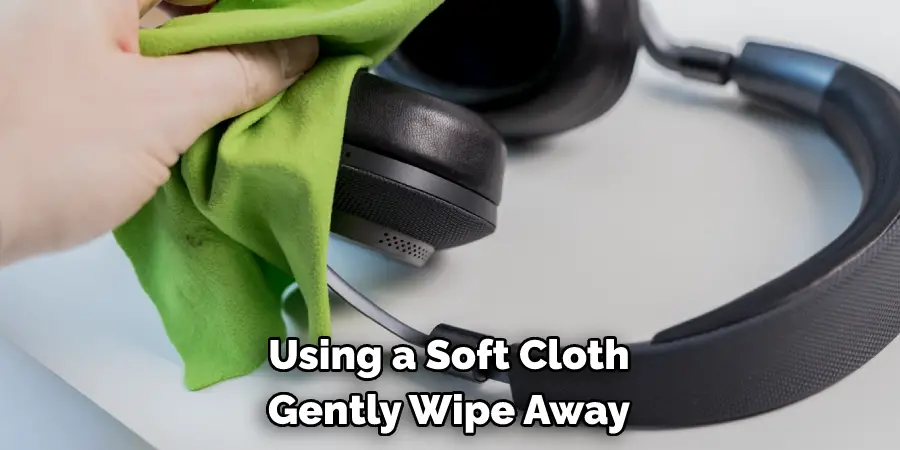
Step 2. Wipe Away Grime:
Using a soft cloth, gently wipe away any grime that has built up on the leather surface. You can use a mild dish soap or specialized leather cleaner if necessary to loosen dirt or grease. However, be sure to read the product instructions beforehand to make sure it is safe for leather.
Step 3. Dry the Headphones:
Once you have wiped away the dirt and grime, use a clean cloth to dry your headphones thoroughly. Be sure not to leave any cleaning solution residue behind, as this could damage the headphones over time. If you are using a commercial leather cleaner, make sure to follow the instructions on the product’s label.
Step 4. Apply Leather Conditioner:
Once your headphones are completely dry, apply a thin layer of leather conditioner – but only if recommended by the manufacturer! This will help keep them looking new and prevent cracking or fading from sun exposure over time. Follow the instructions on the product label for the best results.
Step 5. Let them Air Dry:
Let your leather headphones air dry before using them. This will help to ensure that they remain in good condition and extend their life. Repeat these steps as needed to keep your leather headphones looking great! Cleaning and conditioning your leather headphones every six months is a good rule of thumb, or when you notice dirt or grime collecting on the surface.
Step 6. Try Not To Get Leather Wet:
You should avoid getting your leather headphones wet as much as possible. If you do, make sure to dry them off with a soft cloth immediately. Water can damage the leather and cause it to crack over time – so it is best to keep them away from moisture.

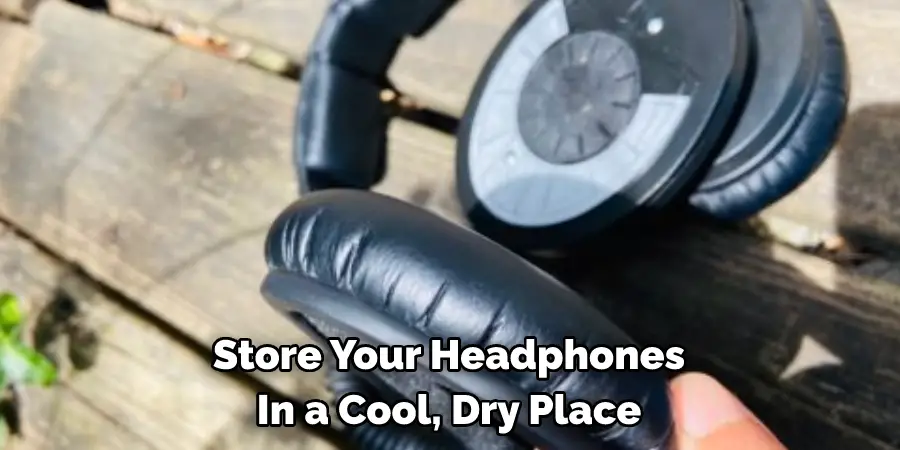
Step 7. Store Them Properly:
When not in use, store your leather headphones in an area that is cool and dry. The best way to store them is in their original packaging or in a protective carrying case where they will be safe from dirt and dust. This will help keep your headphones looking great for many years!
Step 8. Avoid Direct Sunlight:
Leather can easily fade when exposed to direct sunlight. Make sure to keep your headphones out of direct sunlight when not in use, or store them in a protective carrying case that will provide UV protection.
Step 9. Clean Regularly:
Make sure to wipe down your leather headphones with a clean cloth every few weeks to remove any dust or dirt buildup. This will help preserve their quality and extend their life. As stated above, you should also clean and condition them every six months to keep them looking great!
Step 10. Replace Damaged Parts:
If any parts of your leather headphones are damaged or worn out, make sure to replace them as soon as possible. This will prevent further damage and help keep your headphones functioning properly for longer. Additionally, you should always check the manufacturer’s instructions before attempting any repairs yourself – unless you are experienced with electronics repairs.
By following these easy steps, you can keep your leather headphones looking new and extend their life for many years! Make sure to take care of them properly, and they will serve you well.
5 Additional Tips and Tricks
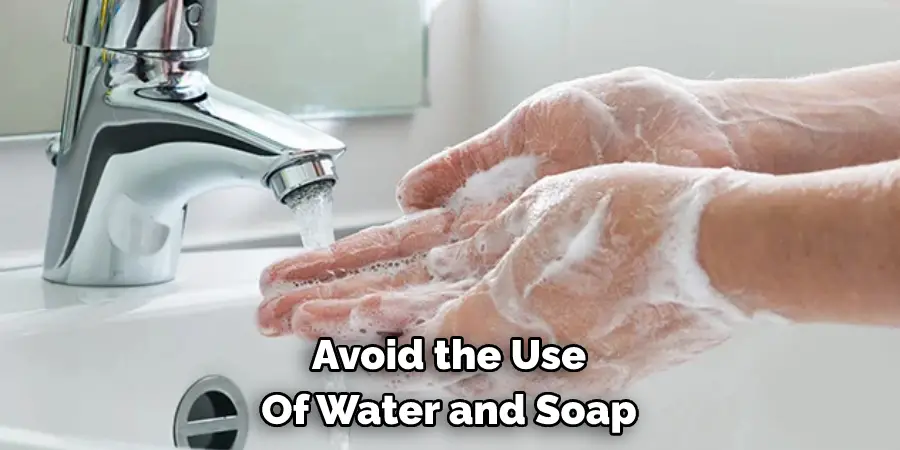
1. To remove a stain or discoloration from your leather headphones, use a non-abrasive cleaner. Avoid the use of water and soap, as this may damage the material over time.
2. If you’re looking for an easy way to clean your leather headphones without damaging them, try using a soft microfiber cloth and gentle rubbing motions. Make sure not to scrub too harshly – you don’t want to scratch the surface of your headphones accidentally!
3. To prevent dirt and grime from building up on your leather headphones, make sure to wipe them down after each use with a dry cloth. This will help keep them looking like new for longer periods of time and prevent any potential build-up of unwanted elements.
4. You can also treat your leather headphones by using natural oil-based products such as mink oil or lanolin. These will not only help to protect and restore the leather, but they also have a pleasant smell.
5. Follow the instructions with your leather headphones to ensure you are cleaning them properly. Doing this will ensure that you don’t cause any damage and keep your headphones in perfect condition for longer periods of time.
By following these five tips and tricks, you can easily keep your leather headphones looking like new! With just a bit of regular maintenance, you’ll have beautiful sounding music every time you pop on your
5 Things You Should Avoid
1. Never use harsh chemicals or abrasive cleaners on your leather headphones, as this may cause permanent damage.
2. Do not attempt to clean your leather headphones in the washing machine or dishwasher – this could severely damage them.
3. Avoid using bleach – it’s too strong and can break down the material of the headphones over time.
4. Refrain from using any wax-based products on your leather headphones (such as shoe polish), as this can clog up pores in the material and prevent it from breathing properly.
5. Try to steer clear of any alcohol-based cleaning solutions, as these have been known to dry out and crack leather over time.
Remember, when it comes to cleaning leather headphones, it’s best to use only non-abrasive and gentle cleaners and avoid anything too strong or harsh. With these tips in mind, you’ll be sure to keep your headphones looking like new for years to come!
By following the advice above, you can ensure that your leather headphones remain clean and pristine for as long as possible.
Why is the Leather on Your Headphones Peeling?
If your leather headphones are beginning to peel, it could be due to a few different reasons. It could be because of wear and tear over time, improper cleaning or storage techniques, or exposure to moisture. To prevent peeling, make sure that you store your headphones in a cool, dry place after use and avoid any harsh chemicals when cleaning them. Additionally, apply a leather conditioner to help keep the material supple and moisturized. With these steps in mind, you can easily keep your leather headphones looking like new!
By following the advice above on how to clean your leather headphones and understanding why they may begin to peel over time, you can ensure that they remain to look great for years to come! Keeping up with regular maintenance and proper storage techniques will help keep your leather headphones in top condition.
Conclusion
Now you have a clear understanding of how to clean leather headphones. With proper care, they should last for many years. Following the steps outlined in this article will ensure that your headphones always look their best.
You may also find it helpful to invest in a specific cleaner or polisher specifically designed for leather items such as this one. Such products can help protect your headphones against future damage and wear and tear. No matter which cleaning method you end up using, be sure to consider the material of your headphones before cleaning them.
With careful handling and attention to detail, you can keep your leather headphones looking great for much longer than expected! Now that you have all the tools you need, why not get crafty and create something special to go along with your favorite pair of leather headphones?