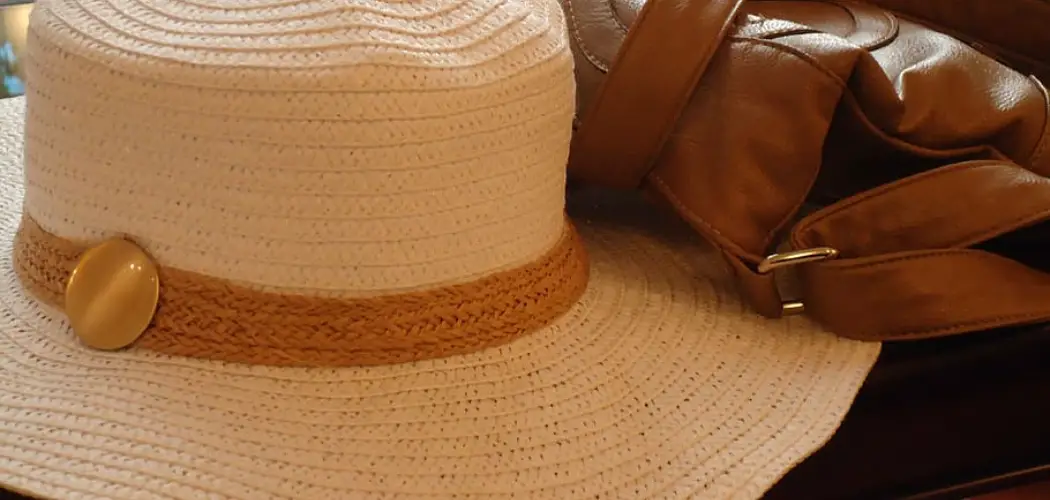
If you’re looking for a way to add some new life and style to an old, worn-down leather hat brim, then you’ve come to the right place! Whether it’s been through years of sun exposure or heavy wear that has left its mark in the form of tears, creases, and cracks, there is hope yet.
We’ll show you how easy it is to restore faded leather back to its former glory with just a few simple steps – all without breaking the bank!

From cleaning tips and tricks for removing stains to patching up torn areas and sealing them off from future damage – this article has everything you need to know about how to fix leather hat brim and looking like brand new again. So read on as we go over everything from start to finish.
Step-by-Step Guidelines on How to Fix Leather Hat Brim
Step 1: Cleaning the Hat Brim
The first thing you’ll want to do is give your hat brim a good deep clean. This will help to remove any dirt, grime, and oils that have built up over time and make it easier for you to apply any patches or sealants later.
To get started, grab some warm water and mild soap and mix them together in a bowl. Dip an old toothbrush into the mixture and begin scrubbing away at any dirt or stains that may be present on the brim. Once you’re done, rinse off the soap with a damp cloth and let it air dry before moving on to the next step.
Step 2: Patching Up Rips & Tears
If your hat brim has any rips or tears, you’ll want to patch them up as soon as possible. For small holes, you can use a leather repair kit that comes with its own adhesive and patch material.
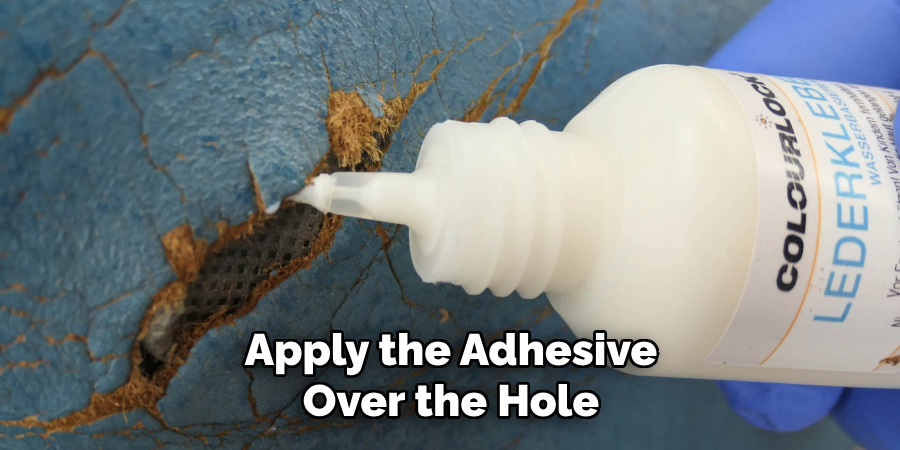
Apply the adhesive over the hole, then place the patch on top and press firmly to ensure it is properly secured. Alternatively, if you have a large tear, you can use a piece of leather or fabric to patch it up. Cut the material into the proper shape and size, then apply some glue or an adhesive like E6000 to secure it in place. Let it dry for 24 hours before moving on to the next step.
Step 3: Sealing & Protecting the Brim
Once you have patched up any rips and tears, the next step is to seal off the brim and protect it from future damage. You can do this by using either a leather or fabric sealant.
These come in spray form, so all you have to do is hold the can about 10 inches away from the brim and spray in an even layer across the entire surface. Once done, let it dry for 24 hours before wearing the hat again.
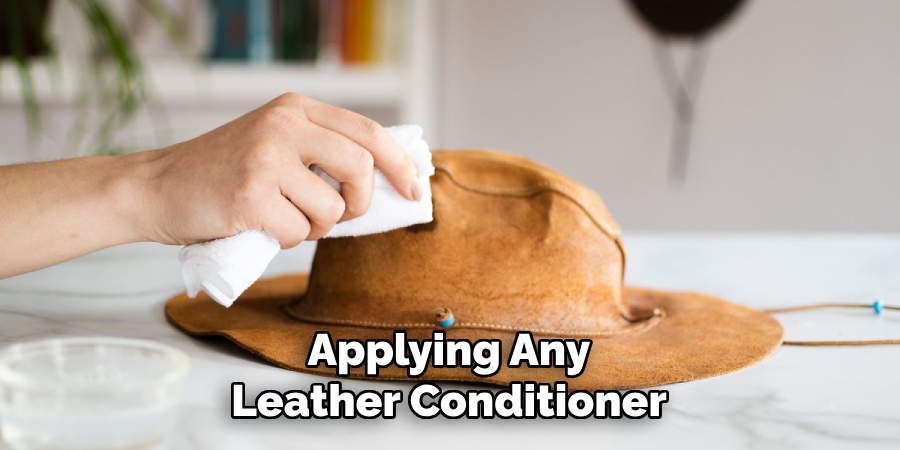
Step 4: Adding Some Shine to the Brim
The last thing you’ll want to do is add some extra shine and protection to your hat brim. You can do this by using a leather conditioner or polish, which will help restore its natural oils and give it an added layer of protection against the elements. Simply apply it with a soft cloth and let it sit for about 10 minutes before wiping off any excess with another cloth.
And there you have it – four simple steps that will help you fix your worn-down leather hat brim and make it look like new again! Why not give these tips a try today, and see how much of a difference it can make in your hat’s appearance? With just a few minutes of effort, you’ll be able to bring back the original shine and style to your leather hat. So give it a go and see what happens!
Additional Tips and Tricks to Fix Leather Hat Brim
1. Make sure to do a patch test on an inconspicuous area of the hat before applying any leather conditioner or cleaner. This will ensure that the product is compatible with your leather and won’t cause discoloration or damage to the material.
2. If you are going to use glue, be sure to apply it sparingly as too much can create a mess when it dries.
3. When using a leather conditioner, apply a small amount and work it into the material in gentle circular motions so that the product is evenly distributed.
4. If you are going to use wax, make sure to rub it gently until it forms a protective seal on the surface of the hat brim.
5. After applying any treatment or repair, allow the hat brim to dry naturally. Avoid using direct heat or sunlight to speed up the process as this may cause further damage to the leather.
6. When storing your hat after applying any treatment or repair, store it in a cool and dark place away from direct sunlight. This will help keep the leather supple and prevent fading or discoloration.
7. Finally, make sure to clean your hat regularly with a soft cloth and gentle leather cleaner. This will help prolong the life of the hat and keep it looking as good as new!
Following these tips and tricks should help you get your leather hat brim looking as good as new in no time! Remember, if you have any doubts or concerns about how to fix the brim of your hat, it’s always best to consult a professional. They will be able to assess the damage and advise on the best course of action for fixing it. Good luck!
Precautions Need to Follow for Fixing Leather Hat Brim
- Avoid using any harsh chemicals or cleaning agents as they may damage the leather permanently.
- Ensure that the area to be fixed is completely dry before starting the job. If it’s wet, let it air dry for a few hours first.
- Make sure you have all the necessary tools and materials ready before you start working on your hat.
- Take extra caution when handling sharp tools and needles to avoid any accidents or injuries.
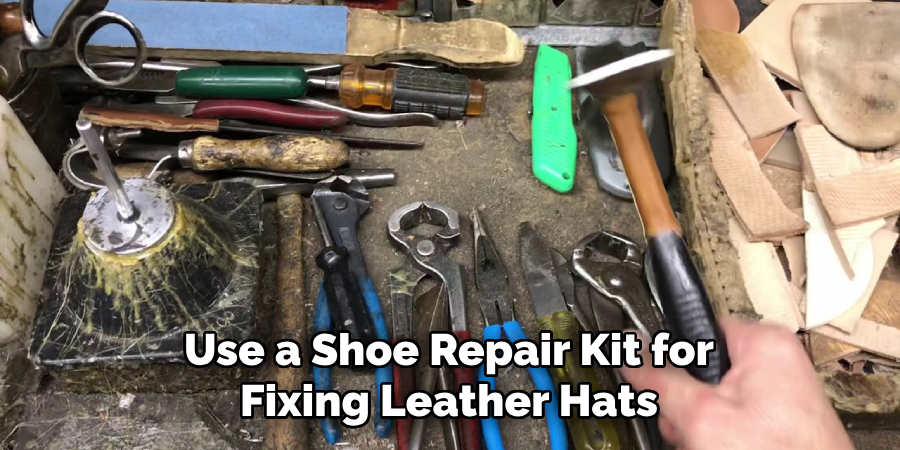
- If possible, use a shoe repair kit for fixing leather hats as it contains all the necessary items required for the job.
- For best results, take your hat to an experienced cobbler or professional leatherworker. They will be able to advise you on the best solution for restoring your hat brim.
- In case of any major damage, it is always a good idea to have a professional take a look at it and provide an expert opinion before attempting to repair the hat yourself.
- After successfully fixing the brim of your leather hat, be sure to condition it regularly using mild leather conditioner or cleaner. This will help maintain the hat’s natural shine and prevent further damage from occurring.
Following these precautions will help ensure that you are able to successfully fix the brim of your leather hat and keep it looking good for years to come.
Frequently Asked Questions
How Do I Clean the Hat?
To clean your leather hat, use a soft cloth and lukewarm water to gently wipe away dirt and grime. For tough stains, you can use mild soap like saddle soap. Be sure to rinse off any residue after using the soap and let the hat air dry before wearing it again.
How Do I Restore the Color of My Leather Hat?
To restore the original color of your leather hat, you can use a leather conditioner or dye. Be sure to test the product on a small area of the hat first, and do not apply too much pressure when applying it. You may also want to consider using protective sprays or waxes to keep the color from fading.
Is Wax Necessary for Leather Hats?
Yes, you should use wax on your leather hats to protect them from moisture and dirt. You can purchase special leather wax online or at a local store. Another option is to make your own wax with ingredients like beeswax, lanolin, and Vaseline.
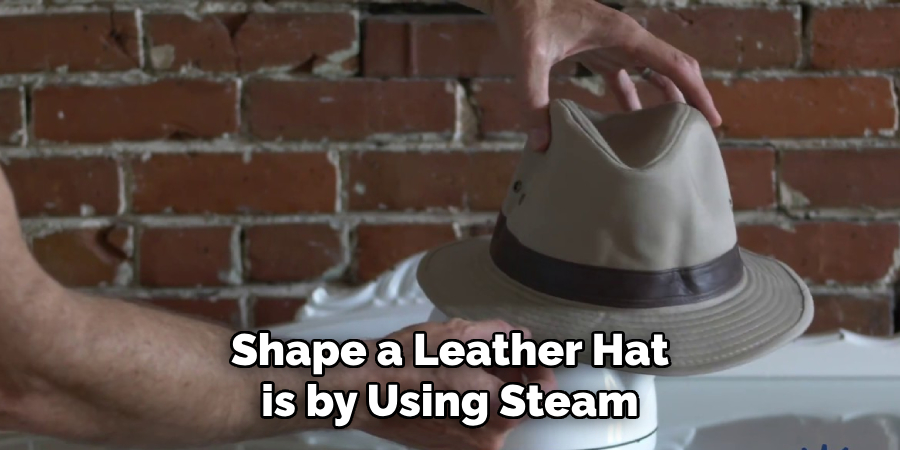
What is the Best Way to Shape My Leather Hat?
The best way to shape a leather hat is by using steam from a kettle or pot of boiling water. Hold the brim over the stream for several minutes, then use your hands to shape it into the desired form. You can also put it on top of an object like a ball or jug to help it keep its shape. Always let the hat cool before wearing it again.
Conclusion
To recap, leather hats can be a stylish and timeless option to rock for any occasion. If you are the proud new owner of a leather hat, a great way to save time and money is by learning how to do simple repairs yourself.
Leather hat repair involves methods such as mopping the brim with vegetable oil or repairing any cracks and creases with heat-activated patches or glue. You’ll also want to make sure that minor scratches don’t turn into larger problems over time – applying a coat of finishing oil every now and then will help protect your hat even further.
With proper care and maintenance, your favorite leather hat can look just like it did when you first purchased it. So if you’re looking to give your hats brim some TLC, take a few moments out of your day to whip up these easy-to-follow steps on “How to Fix Leather Hat Brim”! You won’t regret it!