
Are you trying to rescue your favorite pair of leather boots from an overly conditioned state? You’re not alone! Having too much conditioner on your leather shoes can create a sticky and stretched mess that ruins their shape. If you’ve found yourself in this situation, don’t worry – help is here!
In this blog post on how to fix over conditioned leather boots, we will discuss how to remedy over-conditioned leather boots by stripping away the excess product without compromising the quality of the material. Get ready to get your beloved boots back into tip-top shape in no time!
Necessary Materials
To fix over-conditioned leather boots, you will need the following materials:
- Leather Cleaning/Conditioning Product
- Soft Cloth
- Water
- Sponge
11 Step-by-step Guides on How to Fix Over Conditioned Leather Boots
Step 1: Strip Away Excess Conditioner
The first step is to strip away any excess conditioner that may have built up on your shoes. Start by using a soft cloth and warm water to carefully remove excess conditioner from the leather.
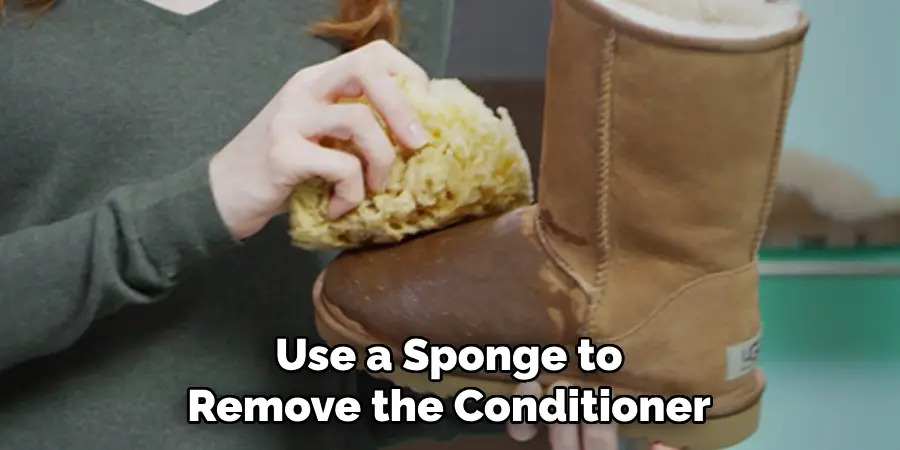
Scrub gently but firmly in circles to make sure any residue is removed. If necessary, use a sponge to remove the conditioner from any crevices or hard-to-reach areas of your boots.
Step 2: Rinse Away Remaining Conditioner
Once you have finished scrubbing away the excess conditioner, rinse off your shoes with warm water and pat them dry with a soft cloth. This will help ensure that all of the remaining product is removed from the leather material.
It’s important to make sure you don’t leave any residue behind, as this can cause further problems down the line. But don’t worry – you’re almost finished!
Step 3: Apply Leather Cleaning Product
Now it’s time to apply a cleaning solution specifically designed for use on leather boots. You can find these products at most shoe stores or online retailers. Make sure to read the instructions before applying so that you know how much product to use and how to apply it correctly. It’s best to use a small amount and work it in with circular motions.
Step 4: Allow the Cleaning Solution to Sit
Once the cleaning solution has been applied, allow it to sit on your shoes for a few minutes so that it can do its job and start breaking down any remaining conditioner residue. This step is essential, as it allows the product to work its magic and really dig deep into the leather.
It should be noted that the amount of time necessary for this step varies depending on the product you are using, so make sure to check the instructions for specific guidelines.
Step 5: Rinse with Water
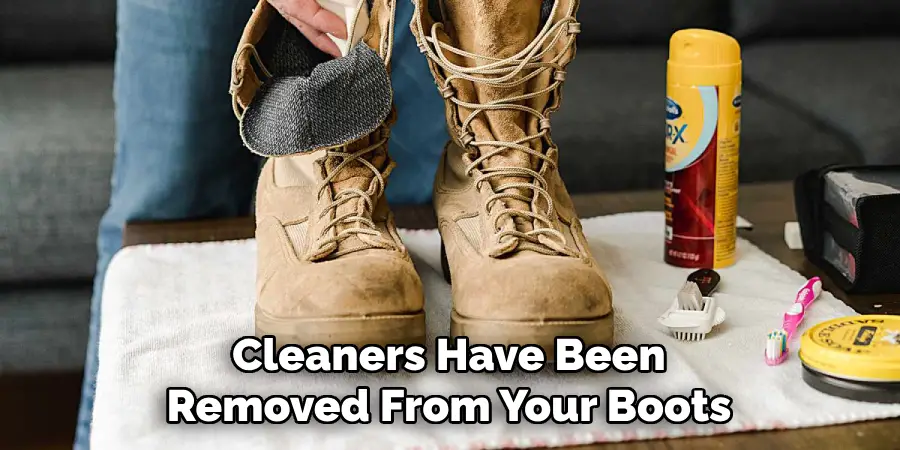
After allowing the cleaning product to set, rinse away any excess product using warm water and a sponge or cloth. Make sure that all of the cleaners have been removed from your boots before proceeding. If necessary, repeat this step until all of the product has been removed. But don’t over do this step as it can strip your boots of necessary oils. Otherwise you may need to condition them again.
Step 6: Apply Conditioner
Now that you have removed all of the excessive conditioners, you can now re-apply a new layer of leather conditioner. This time use only half as much as you normally would to make sure you don’t over-condition your shoes.
It’s also important to make sure that you evenly distribute the conditioner on all surfaces of your boots to ensure even coverage. This will help keep your boots from becoming overly conditioned again in the future.
Step 7: Buff and Shine
Once the conditioner has been applied, use a soft cloth or sponge to buff it into the leather material. This will help restore the shine of your boots and keep them looking their best. It’s important to be gentle here, as too much force can cause damage to the leather. But don’t worry – you can always use a bit of muscle if necessary! It should only take a few minutes to get the job done.
Step 8: Allow Conditioner to Dry
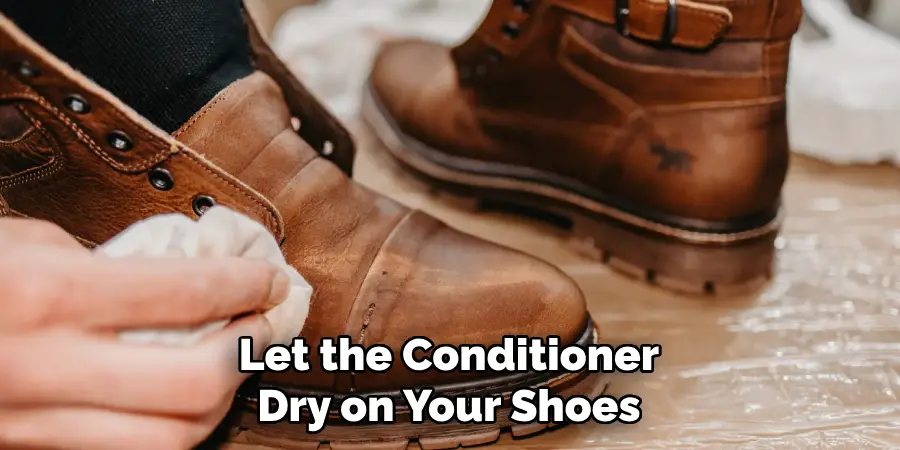
Let the conditioner dry on your shoes for at least 20 minutes before wearing them again. This will ensure that they are properly conditioned and ready for wear. Although it may be tempting to put them on immediately, resist the urge! This step is essential if you want your boots to look their best over time.
Step 9: Test Boots
Before you go ahead and put your newly conditioned boots back on, take a few minutes to test them out by walking around in them on a clean surface. Pay special attention to any areas that may have been damaged by excessive moisture. It’s important to ensure that your boots don’t have any weak spots or areas of wear before putting them back on. This will help keep your feet safe and comfortable.
Step 10: Clean and Polish
If you find any imperfections, clean the affected area with a damp cloth or sponge and then polish it with an appropriate cleaner and polisher. This will help restore the original shine to your boots without damaging them further.
It’s important to make sure you are using the right type of product for your boots, as some products can damage leather. But don’t worry – you can easily find a suitable product at your local shoe store.
Step 11: Wear Boots
Once you are satisfied with how your boots look and feel, you can now wear them proudly! Just make sure to apply conditioner every few months and avoid getting too much water on your boots in order to keep them looking their best for years to come.
This simple 11-step process is all you need to know about how to fix over-conditioned leather boots. With a little bit of love and attention, your boots will remain comfortable and stylish for years to come. Happy shoeing!
By following these steps on how to fix over conditioned leather boots carefully, you should be able to fix over-conditioned leather boots easily.
However, if you are still having trouble, it may be best to take your shoes to a professional shoe repair specialist for help. With the right tools and approach, you can restore your boots back to their original condition in no time!
Do You Need to Use a Professional?
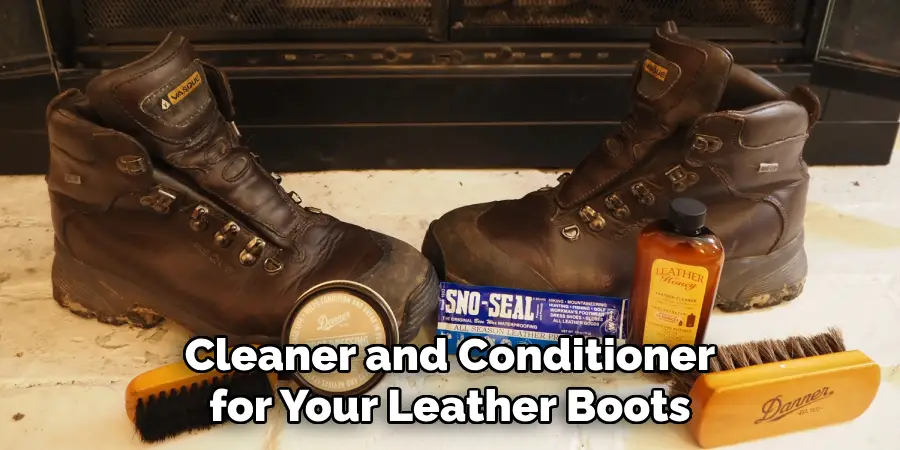
If you’re still having trouble with your over conditioned boots and can’t seem to get them back into shape, it may be time to call over-conditioned. A quality shoe repair specialist will have the tools and knowledge needed to get your shoes looking like new again. They can help you find the right cleaner and conditioner for your leather boots, as well as provide advice on how to care for them properly in the future.
How Much Will It Cost?
The cost of professional leather boot repair will vary depending on the extent of the damage, the type of leather, and your geographic location. However, most repair services will charge between $20 and $50 for a full service. It’s important to keep in mind that you may incur additional costs if your repair requires new parts or special equipment.
Frequently Asked Questions
Q: How Often Should I Condition My Leather Boots?
A: Generally speaking, you should condition your leather boots every three to six months. This will help keep the material healthy and protect it from cracks, scratches, and other damage.
Q: Can I Use Any Kind of Cleaner on My Leather Boots?
A: No! It’s important to use a leather cleaner specifically designed for shoes. Household cleaners can strip away important oils from the leather, leaving your boots susceptible to cracking and damage over time.
Q: What Are The Best Ways To Prevent Over-Conditioning My Boots?
A: The best way to avoid over conditioning is to only apply a thin layer of conditioner when needed, and never use more than what is recommended on the product label. Additionally, make sure that you are cleaning off any excess conditioner regularly as this will help prevent it from building up on the leather material.
Q: Can Over Conditioned Leather Boots Be Fixed?
A: Yes! By following the steps outlined in this article, you should be able to restore your leather boots back to their original condition. However, if the damage is too severe, it may be best to seek professional help.
Conclusion
After reading this article, you should have all the tools to properly take care of how to fix over conditioned leather boots your leather boots. Use the right cleaner and conditioner so your boots last longer, and never store them in an area with too much heat or humidity.
Lastly, get into the habit of regularly protecting your leather boots from any serious damage by following a few simple steps.
Remember that taking care of leather items is a form of self-care — you’re making the effort to look good and stay comfortable on the outside, and as a result, it’ll show through how you feel on the inside! So go forth and embrace your favorite pair of leather boots — they’ll thank you for it.
