Are you working on an arts and crafts project that requires a leather cord? If so, ensuring your cords are in the best condition possible for a good result is important.
If you’re a craft enthusiast, chances are you’ve been presented with the problem of needing to straighten out the leather cord. This can be an especially daunting task if you’re trying to use it in intricate art projects – maybe with jewelry design or scrapbooking – as having wonky edges will disrupt the appearance of your project. The good news is that, while it may seem difficult, there are easy and efficient ways to make sure your leather cord lays flat and pristine through any artistic process!

In this blog post, we’ll go over everything about how to straighten leather cord in order to get the job done quickly. So if you want a smooth leather cord for all of your crafting needs, read on!
What Will You Need?
Before you get started, it is important to ensure you have all the necessary tools. Here is a list of materials that you will need:
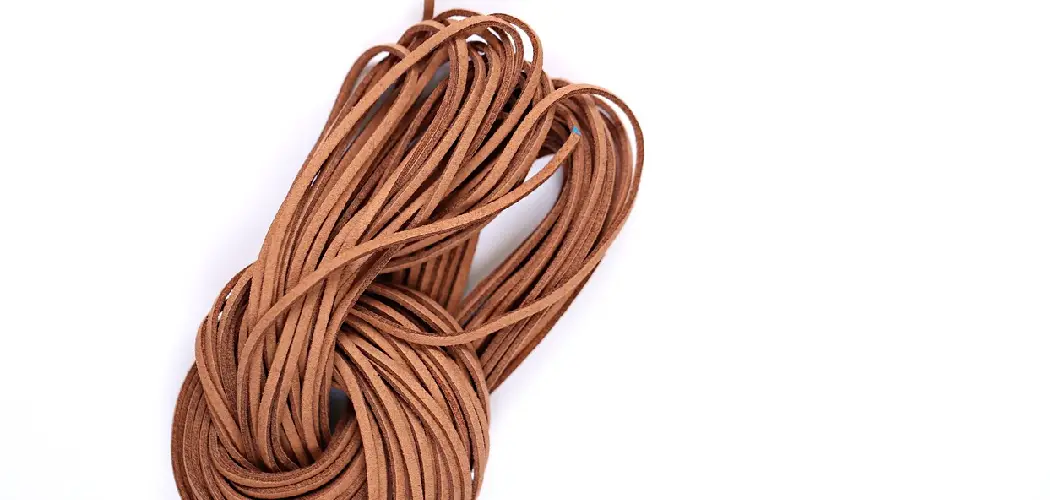
- Leather cord
- Iron
- Towel or cloth
Now that you have all the necessary items let’s go over what needs to be done.
Is It Safe to Straighten the Leather Cord?
Yes! Straightening the leather cord with a few simple steps is safe and easy. However, it is important to be careful when using the iron. Make sure that you are aware of your surroundings and use the correct heat setting for your specific type of leather cord.
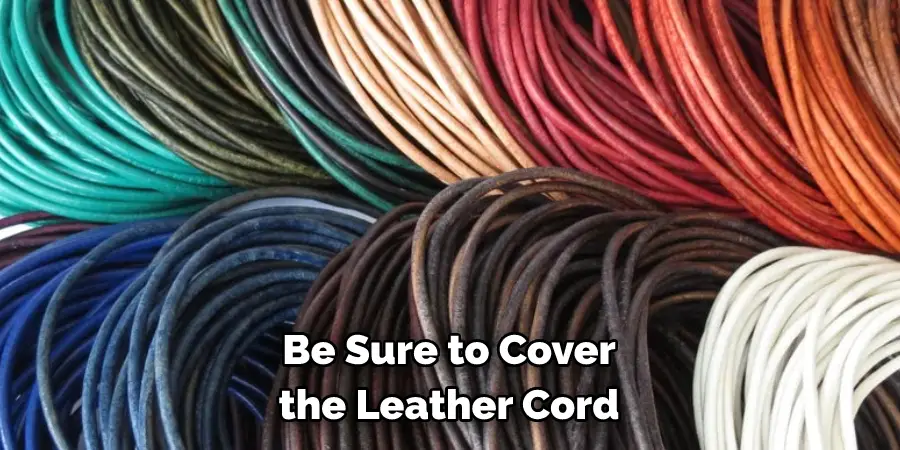
Additionally, be sure to cover the leather cord with a cloth or towel before applying heat. This will help prevent any potential damage that may occur from direct contact with the iron. Overall, make sure to use caution when straightening your leather cord.
Now that you have all the necessary tools and know it is safe to do so, let’s get into how to straighten leather cord.
10 Easy Steps on How to Straighten Leather Cord
Step 1. Lay Down the Leather Cord:
Start by laying the leather cord on a flat, heat-safe surface, such as an ironing board. You can also use a towel or thick cloth on the table for extra protection. It will be easier to iron the cord if it is laid out straight and not in too small of a space.
Step 2. Prepare the Iron:
Turn your iron to the lowest setting and allow it to heat up. It is important that the iron not be too hot, as this might cause damage to the leather cord. If you are unsure of the heat setting, start with a low setting and gradually increase it until you find the right one for your specific type of leather cord.
Step 3. Place the Cloth:
Place a thin cloth or towel over the cords before you begin ironing them down. This will help protect both the iron and your leather cord from any potential burning or damage. Try to cover as much of the surface area as possible.
Step 4. Iron One Side of The Cord:
Starting at one end, carefully move the iron back and forth along the length of your leather cord until it begins to look straightened out. Be sure to keep an eye on the temperature of your iron throughout this process, as pressing too hard with a hot iron can cause permanent damage to your leather cord. As you are ironing, the cloth will help ensure that any heat damage is minimized.
Step 5. Flip The Cord:
Once one side of the leather cord is straightened out, carefully flip it over and repeat the same process on the other side. Don’t forget to place the cloth over the leather cord before you start ironing again. As before, be sure to keep an eye on the temperature of your iron throughout this process.
Step 6. Move to Smaller Areas:
If there are any areas of your leather cord that are still curved or bent, you can use a small tip iron to get into those harder-to-reach places. This will help ensure that all parts of your cord lay flat and even when finished. Additionally, you can use the cloth to help shape and mold the leather cord for any desired look.
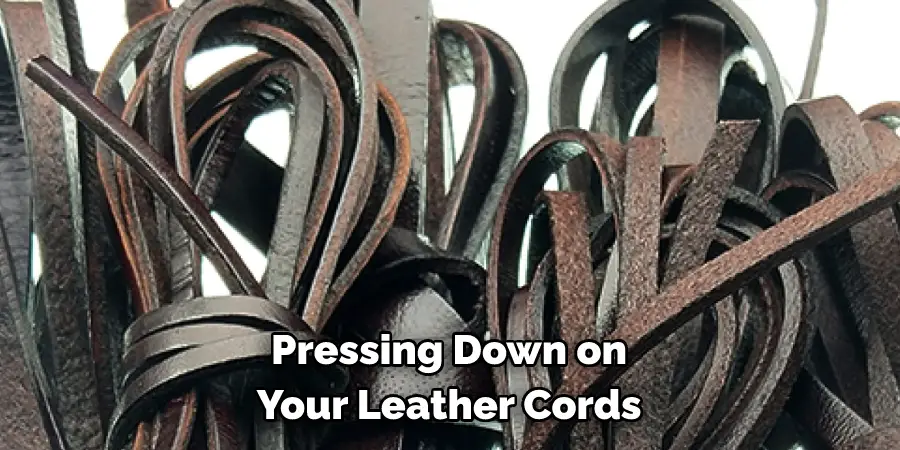
Step 7. Remove Towel/Cloth:
When you’re done pressing down on your leather cords, remember to remove the towel or cloth from beneath them before turning off your iron. You can also use a small brush to smooth out any bumps or creases. You can repeat steps 4 to 7 if needed until your leather cords are completely straightened out.
Step 8. Allow to Cool:
Once you finish ironing, allow your leather cord to cool completely before handling it. This will ensure that it holds its shape and stays straightened out. Be careful not to touch the leather cord while it is still hot, as this can cause damage.
Step 9. Trim/Cut As Needed:
If any parts of your leather cord are still too curved or bent, you can trim off those areas with scissors or a craft knife until the desired shape is achieved. Use caution when cutting, as this can be difficult to undo. Otherwise, you can leave it as is and skip this step.
Step 10. You’re Done!:
And just like that – you’ve successfully straightened out your leather cord! Now all that’s left to do is start crafting with it and admire the results of your hard work! Remember, if you ever need to straighten out a leather cord in the future, just follow these easy steps, and you’ll have it done in no time.
By following these simple steps, you’ll be able to get your leather cord straightened out quickly and easily – no professional tools or equipment are required! So don’t be intimidated by the task – if you have the right materials, anyone can successfully straighten the leather cord.
5 Additional Tips and Tricks
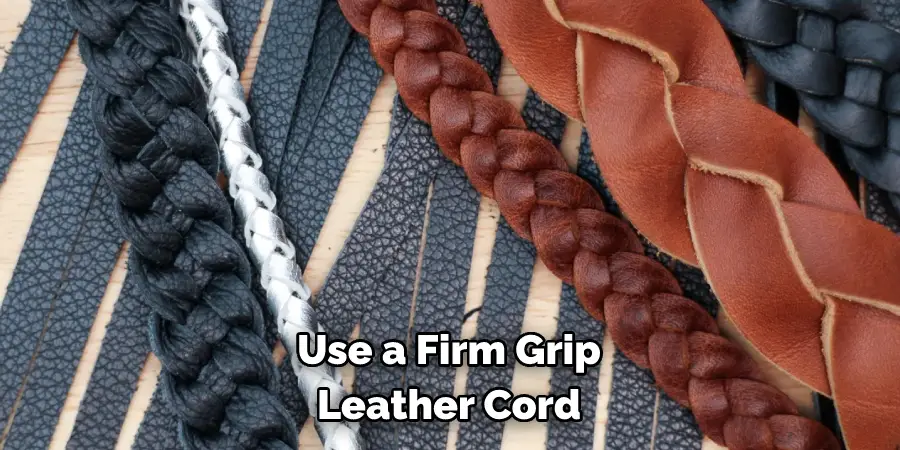
1. When straightening the leather cord, make sure to use a firm grip, but not so much that it causes the cord to stretch out.
2. Be patient and don’t rush the process – getting the desired results may take some time.
3. Use a cloth or textured surface for added friction to help straighten your leather cord.
4. If you find that your cord is still kinked, try using a hair dryer on its low setting; this will help reduce any remaining kinks in the cord.
5. To prevent future kinking, make sure to store your leather cords in an area where they won’t get tangled or bent up, such as a box or pouch. Taking good care of your leather cords can ensure they remain straight and tangle-free for years to come!
The process of straightening leather cords doesn’t have to be difficult; with a few simple steps and some patience, you can easily straighten any kinks in your leather cord. Just remember to be gentle, use a firm grip, and take your time – you’ll have straight leather cords in no time!
5 Things You Should Avoid
1. Don’t use excessive force – this can cause your leather cord to stretch and become damaged.
2. Avoid heating the cord with a heat source other than a blow dryer; using too much heat can cause it to discolor or even melt.
3. Don’t leave kinks in your cords for extended periods of time, as this can make them more difficult to straighten over time.
4. Don’t attempt to straighten very thick leather cords without assistance, as they may be too difficult to handle alone.
5. Finally, don’t store your leather cords in areas that are humid or damp; these conditions can lead to mold and mildew growth on your cords, which can cause them to become brittle and more difficult to straighten.
By following these simple tips, you can easily keep your leather cords straight and tangle-free for years to come! With a bit of patience and care, you’ll be able to enjoy the beauty of your leather cord without any kinks or tangles getting in the way.
Can You Get Leather Cord Wet?
Although it is possible to get leather cords wet, it is not recommended. Leather can become brittle and discolored when exposed to moisture, especially for extended periods of time. If you do need to clean your leather cord, a damp cloth should be used – never submerge your leather cord in water or use harsh chemicals!
Additionally, dry the cord completely before storing it away; this will help prevent mold or mildew growth. By taking these precautions, you can ensure that your leather cord remains in pristine condition for years to come.
Overall, straightening the leather cord is a relatively easy process – with patience and the right tools, your cords look new in no time!
What Causes Leather to Wrinkle?
Leather can become wrinkled for a variety of reasons, such as being exposed to too much moisture or not being stored properly. Poor quality leather is also more susceptible to wrinkles, as the fibers are weaker and less able to withstand wear and tear.
Incorrect handling can also cause your leather cord to wrinkle; if you’re not careful when straightening it, you may accidentally create kinks in the material that will be difficult to remove.
The best way to avoid wrinkles is by taking good care of your leather cords; store them in an area where they won’t be disturbed or exposed to extreme temperatures; make sure they are completely dry before storing them away. And handle them with care.
Conclusion
Crafting with leather can be a fun and fulfilling hobby, and by understanding how to straighten leather cord you’ll be able to create a wide range of projects. It does require some patience and strength, but the results are completely worth it. With practice, anyone can master the technique of straightening a leather cord in no time at all.
Hopefully, the article above was able to provide you with the knowledge and tips needed for successfully straightening your leather cord.
Whether your plans are for jewelry, a keychain, or some other type of craft item, you’re sure to feel proud showing off your piece after following the instructions in this blog post. So, what are you waiting for? Get started on your next project and enjoy the results of your hard work! Happy crafting!