
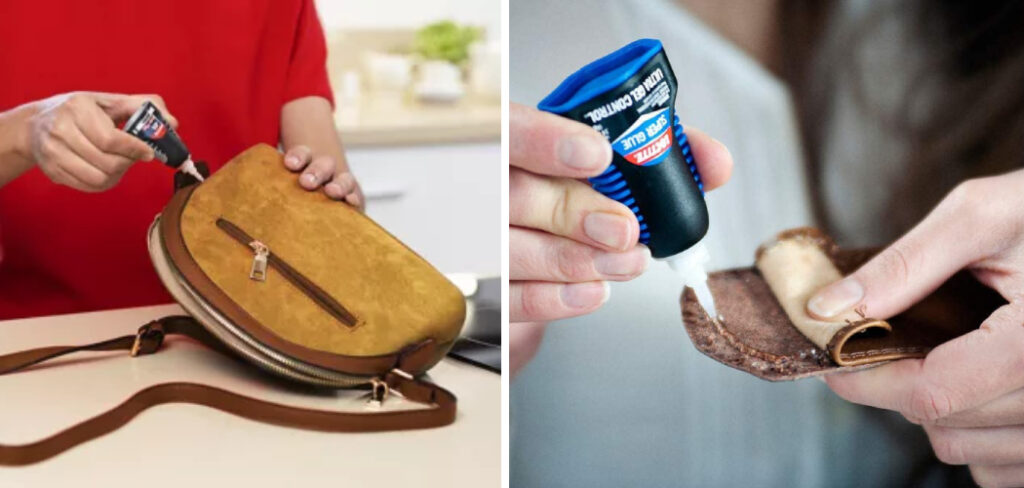
When it comes to repairing leather items or working on leathercraft projects, knowing to glue leather properly is essential. Whether you need to fix a torn leather bag, reattach a loose leather sole on a shoe, or create intricate leather crafts, using the right adhesive and technique is crucial for a durable and seamless bond.
In this article, we will explore various tips and methods on how to glue leather effectively. From selecting the appropriate adhesive for your specific project to preparing the leather surface and ensuring a strong and long-lasting bond, we will provide you with a comprehensive guide to mastering the art of gluing leather.
With the right knowledge and skills, you’ll be able to tackle any leather repair or craft project with confidence and achieve professional-looking results.
Importance of Knowing Gluing Leather
Knowing to glue leather is an essential skill for those who work with leather regularly, such as tailors, shoe makers, and upholsterers. Leather is a durable material that can be used in a multitude of projects, from furniture to clothing. It is important to know the correct way of applying adhesive on leather so that your project will last and look professional.
Gluing leather requires the right type of adhesive, a clean surface, and the correct technique. The wrong kind of adhesive or application errors can ruin a project, so it is important to know how to glue leather properly.
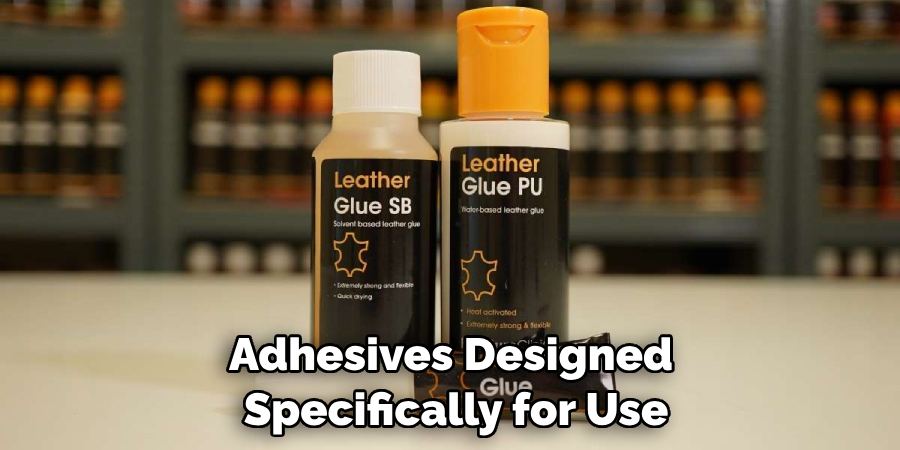
Adhesives designed specifically for use on leather are best because they will provide strong bonds that retain flexibility and resist moisture. These adhesives may be stronger than regular glues, but require more time during preparation and drying stages.
When applying adhesive to leather, it is important to ensure that the surfaces are thoroughly cleaned first with an alcohol-based solution such as rubbing alcohol or nail polish remover.
This will help prevent any remaining dirt or residue from interfering with the bonding process. Then apply an even layer of adhesive to both surfaces and allow the glue to dry before pressing them together. This will help ensure a strong bond between the two materials.
Types of Adhesive Suitable for Leather
When looking for the right glue to use on leather, it’s important to choose an adhesive that will bond securely and won’t damage or discolor the leather. The best type of glue to use on leather is a flexible polyurethane adhesive like Barge All-Purpose Cement. This type of glue is designed specifically for bonding leather, rubber, canvas, and other materials with similar textures and surfaces.
It dries quickly and creates a strong bond without leaving any residue or damaging the material. For smaller projects where flexibility isn’t a concern, cyanoacrylate glues (aka “Super Glue”) also work well on leather.
These glues dry very quickly and are ideal for smaller repairs such as broken straps or cracks. For larger projects, contact cement is another option that can be used. This type of glue forms a strong bond when applied and should be allowed to dry for several hours before use.
Whichever adhesive you choose, make sure it’s specifically designed for bonding leather or other similar materials. Applying the wrong type of glue could cause damage to your leather project and leave you with a mess to clean up!
It’s also important to test any new glues on an inconspicuous area of the material first so that you can see how it reacts before using it on the entire project. With the right adhesive in hand, you’ll be able to complete all of your leather projects with ease!
10 Ways How to Glue Leather
1. Choose the Right Adhesive:
Selecting the appropriate adhesive is crucial when it comes to gluing leather. Leather is a unique material that requires specialized adhesives designed to provide strong and durable bonds.
Look for adhesives specifically formulated for bonding leather, such as leather glue or leathercraft cement. These types of adhesives are often flexible, water-resistant, and capable of withstanding the demands of leather applications.
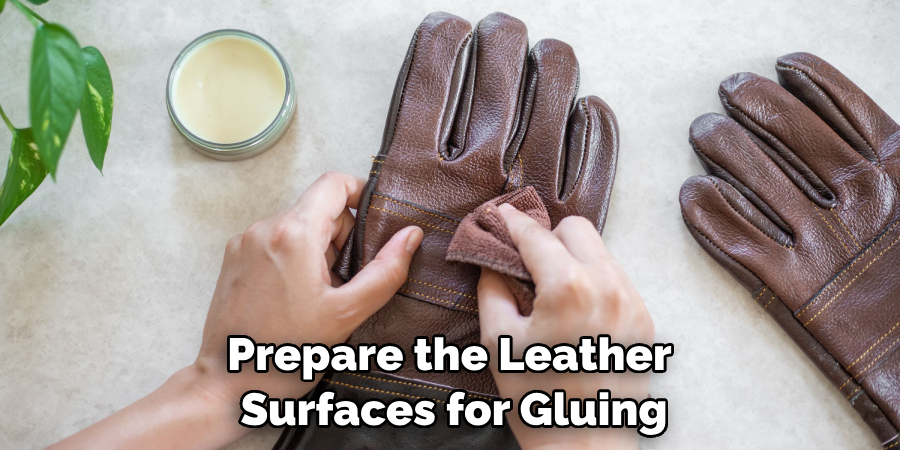
2. Prepare the Leather Surfaces:
Before applying the adhesive, it’s important to prepare the leather surfaces for gluing. Clean the surfaces thoroughly to remove any dirt, oils, or residues that may hinder proper adhesion. Use a mild leather cleaner or a damp cloth to gently wipe down the surfaces. Allow the leather to dry completely before proceeding with the gluing process.
3. Test the Adhesive:
Conducting a small test on a hidden or inconspicuous area of the leather is advisable before applying the adhesive to the entire project. This test allows you to evaluate the adhesive’s performance and compatibility with the specific type of leather you are working with.
Apply a small amount of adhesive and let it dry according to the manufacturer’s instructions. Check the bond strength and ensure that the adhesive does not discolor or damage the leather.
4. Apply the Adhesive:
Apply the adhesive to one of the leather surfaces using a small brush or an applicator specifically designed for applying glue. It’s important to apply a thin, even layer of adhesive to ensure proper bonding. Avoid excessive application, as it can result in messy bonds and interfere with the overall appearance of the finished project.
5. Allow for a Tacky Phase:
Once the adhesive is applied, allow it to reach a tacky phase. This refers to the point where the adhesive is still slightly wet but sticky to the touch. The tacky phase allows the adhesive to develop optimal bonding properties. Refer to the adhesive manufacturer’s instructions for the recommended tacky phase duration, as it can vary depending on the specific product.
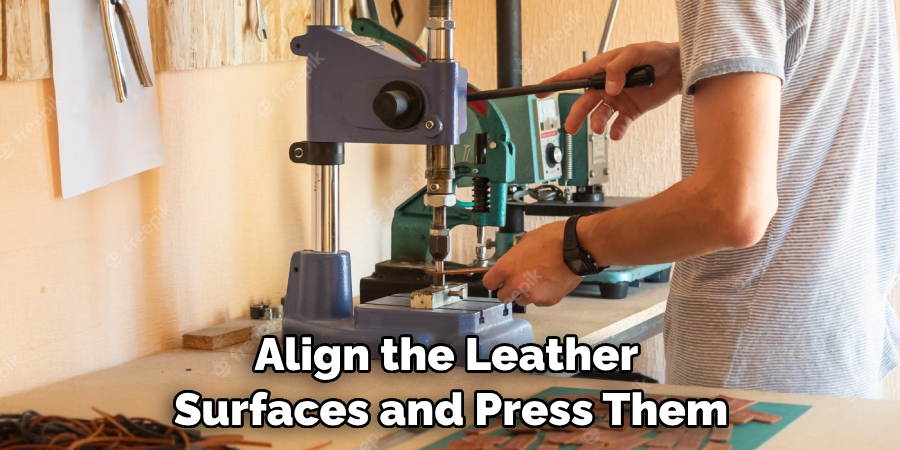
6. Press the Surfaces Together:
When the adhesive reaches the tacky phase, carefully align the leather surfaces and press them together firmly. Apply even pressure to ensure maximum contact between the surfaces. Take care to align the pieces correctly since repositioning after contact can weaken the bond. If necessary, use your fingers or a roller to smooth out any air bubbles or wrinkles.
7. Clamp or Hold the Pieces Together:
To enhance the bond strength, consider clamping or holding the glued pieces together. Use spring clamps, C-clamps, or binder clips to secure the edges.
Alternatively, if the size of the bonded area allows, you can use your hands or hold the pieces firmly for the recommended drying time specified by the adhesive manufacturer. This ensures that the adhesive cures properly and the bond becomes strong and secure.
8. Allow Proper Drying Time:
The drying time can vary depending on the adhesive and the size of the bonded area. It is crucial to follow the manufacturer’s instructions for the recommended drying time. During this period, avoid subjecting the bonded leather to stress or strain. It’s essential to allow the adhesive to fully dry to ensure a strong and durable bond.
9. Trim Excess Adhesive:
Once the adhesive is completely dry, inspect the bonded area for any excess adhesive. Use a sharp craft knife or scissors to carefully trim away any visible adhesive residue. Take caution not to cut into the leather or damage the bond while trimming. This step helps achieve a neat and clean final appearance.
10. Finish and Protect the Leather:
After gluing, consider applying a leather finish or conditioner to the bonded area. This step helps protect the bonded leather and enhances its appearance. Follow the instructions provided with the specific finish or conditioner product you choose, and apply it to the bonded leather according to the manufacturer’s recommendations. This final touch helps maintain the integrity and beauty of the leather over time.
Things to Consider When Gluing Leather
Before gluing leather, it is important to think about the application of the glue and its effects on the project. Here are some considerations to keep in mind:
1. Make sure you use a strong adhesive that is specifically designed for leather. Different types of leather require different glue types, so make sure you get one that’s suited for your material.
2. Prepare the leather for gluing by cleaning it using a soft cloth or a vacuum cleaner to remove any dust or dirt from the surface. Then use an emery board to sand away any tear marks, cracks, or blemishes on the leather’s surface.
3. Test out your glue in an inconspicuous spot first before applying it to the entire surface of the leather. This will help you gauge how much is needed and if the glue is strong enough for your project.
4. Apply the glue evenly and carefully with brush strokes that are meant to “push” rather than “pull” so as not to cause wrinkles in the material.
Conclusion
Learning how to glue leather is an incredibly useful skill that you can use for projects ranging from arts and crafts to repairs. It’s much simpler than it might seem; all you need are the right tools and products, some guidance, and dedication.
With just a few simple steps, anyone can learn how to successfully glue leather with ease. Armed with this knowledge, there’s nothing stopping you from completing all sorts of amazing projects using this easily workable material.