Are you looking for a quick and easy way to remove rivets from leather? If so, then this blog post is perfect for you! Removing rivets from leather can be quite challenging if you don’t have the right tools or techniques, but with a few simple steps and some helpful tips, it can also be one of the easier things that you do.

In this blog post on how to remove rivets from leather, I’ll go over several easy methods to help get those pesky little metal fasteners out of your favorite item of clothing or accessory without damaging any of the precious leather material. So grab your tools and let’s get started!
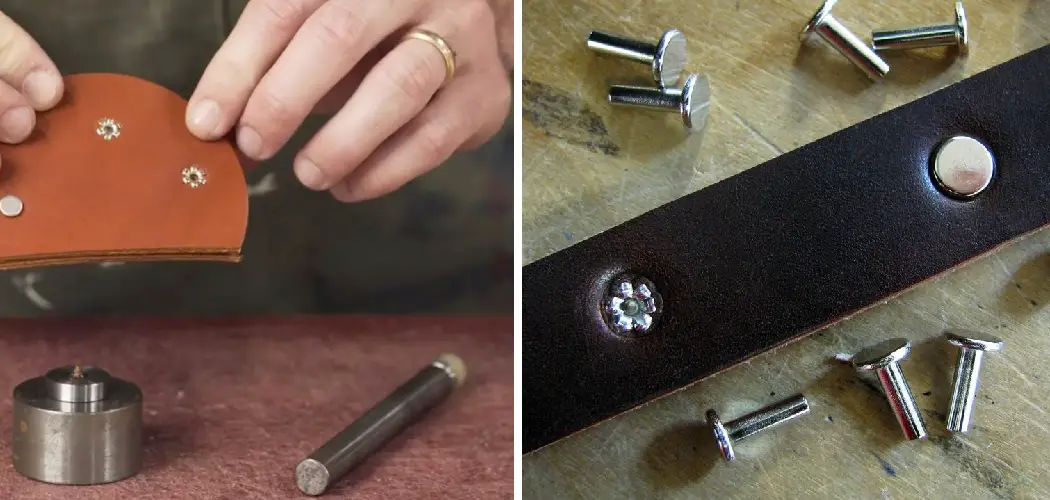
What Are Rivets?
Rivets are small metal fasteners typically used to affix two or more pieces of leather material together. They provide a very strong hold that is difficult to break, which is why they’re so popular in fashion and leatherworking. However, when it comes time to remove them, you’ll need the right tools and techniques if you want to do it without causing any damage to the leather.
11 Step-by-step Instructions on How to Remove Rivets From Leather
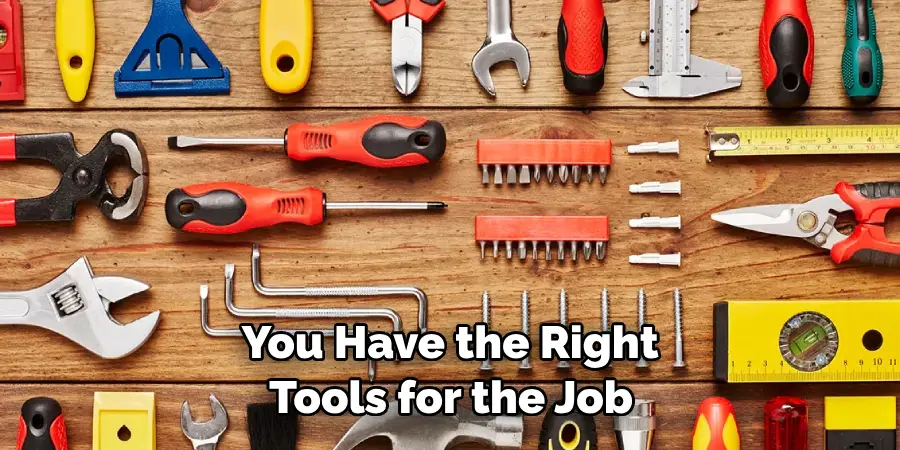
Step 1: Gather Your Tools
Before you can proceed with removing rivets, make sure you have the right tools for the job. These include a drill bit and an awl or other sharp tool that can fit into the hole in the leather where the rivet is located.
If you don’t have an awl, a sharp pointy object such as a pair of scissors will work. This is important because you need something thin enough to fit into the small hole in the leather. It’s also good to have a small hammer handy.
Step 2: Prepare Your Work Area
Once you have the tools ready, make sure that your work surface and area are clean and clear of any other items that could get in the way. Also, make sure to wear protective gear such as goggles and gloves to protect yourself from any splinters or debris.
But most importantly, be sure that you have your drill bit and awl at the ready. If you don’t, then the rest of this process won’t work. This is an important step to ensure that you don’t accidentally damage the leather while removing the rivet.
Step 3: Mark the Rivet
Using a pen or marker, mark where the rivet is located on the leather item so that you can easily find it again after drilling. This will also help you avoid accidentally drilling into an unrelated part of the leather material. However, make sure that you don’t press the pen too hard as this could cause permanent damage. It is also important to make sure that the drill bit you are using is the right size for the rivet.
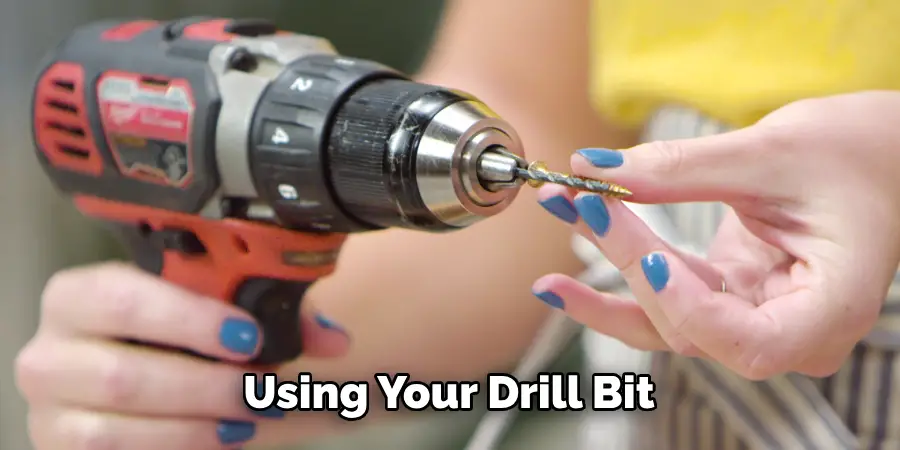
Step 4: Drill Around The Rivet
Once you’ve marked where the rivet is located, begin to drill around it using your drill bit. Make sure to drill slowly and carefully so that you don’t accidentally go too deep or cause any damage to the leather material. But it’s also important to make sure that you go deep enough so that the rivet is completely drilled out. If you don’t go deep enough, then the rivet won’t come out and the process will become much more difficult.
Step 5: Insert The Awl
Once you’ve drilled around the rivet, insert an awl or other sharp tool into the hole in the leather where the rivet is located. This should loosen up the rivet’s grip on the material. This step is important because it helps to ensure that the rivet comes out easily and without damaging the leather or surrounding area.
It is also important to make sure that your awl is the right size for the hole. If it’s too small, then you won’t be able to loosen the rivet and if it’s too big, then you may cause unnecessary damage.
Step 6: Pry Open With Pliers
Using a pair of pliers, gently pry open the now-loosened rivet from both sides of the leather item until it comes completely out of its hole. Be careful not to tear any of the leather material as you remove the rivet.
It is also important to make sure that the rivet is removed completely so that no pieces remain in the leather. It’s best to use pliers that are the right size for the rivet you’re removing so as not to cause any unnecessary damage. But if you don’t have the appropriate size, then using a small hammer can help loosen the rivet.
Step 7: Smooth Out The Area
Once you’ve removed the rivet, use a file or other abrasive tool to smooth out any nicks or burrs that may have been left around the area where it was located. This will help to prevent any further damage from occurring in the future. If necessary, you can also use a wet cloth to help clean up any residue left behind by the drilling process. This is an important step and it should not be skipped.
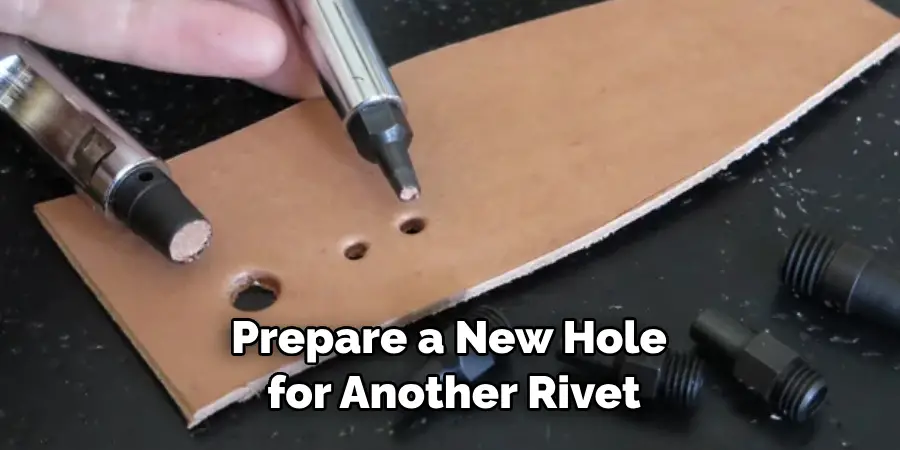
Step 8: Prepare a New Hole
If needed, prepare a new hole for another rivet by punching one with an awl or other sharp tool. Make sure it is slightly smaller than the old one so that the new rivet won’t be too loose in its place.
It is also important to make sure that the hole is smooth so that the new rivet won’t be sticking out or uneven. This will help to ensure a secure fit for the new rivet. But make sure not to punch it too hard as this could damage the leather material.
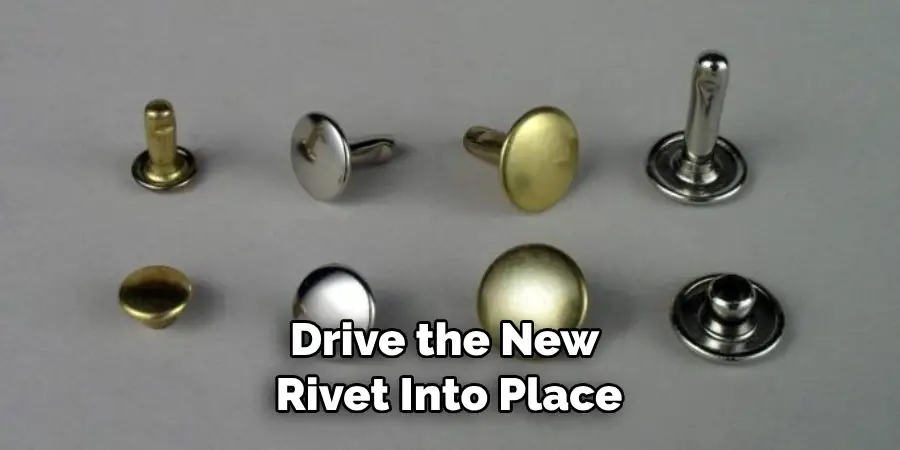
Step 9: Insert The New Rivet
Insert your new rivet into its newly prepared hole and use a hammer or other tool to drive it into place. Make sure it’s inserted firmly so that it won’t come loose again.
It’s also important to make sure that the rivet is inserted correctly so that it won’t protrude out of the leather material; otherwise, this could be a source of irritation, especially if the rivet is located in an area that will come into contact with your skin. It’s best to use a rivet setter and anvil for this process.
Step 10: Smooth Out The Area Again
Once you’ve inserted the new rivet, use a file or an abrasive tool once more to smooth out any nicks or burrs left around its area. This will help the new rivet stay in place longer without becoming loose again. It’s also important to make sure that you don’t accidentally damage the leather material.
Step 11: Repeat As Needed
If necessary, repeat these steps for any other rivets that need to be removed from your leather item. With practice and patience, removing rivets from leather can become easier over time!
This is an important skill to have for any leatherworker or craftsperson, as it can help save time and money on repairs. Always practice safety when using sharp tools and remember to always wear protective gear. With the right techniques, you can successfully remove rivets from leather with ease!
Hopefully, this blog post has been helpful in teaching you how to remove rivets from leather. Be sure to follow these steps and tips, and you should have no trouble getting those pesky fasteners out of your favorite item of clothing or accessory!
Frequently Asked Questions
Q: What Tools Do I Need to Remove Rivets From Leather?
A: You’ll need a drill bit, an awl or other sharp tool, a pair of pliers, and a hammer or other tool to drive the new rivet into place.
Q: Is It Difficult to Remove Rivets From Leather?
A: Removing rivets can be challenging if you don’t have the right tools or techniques. However, with practice and patience, it can become much easier over time.
Q: Will Removing Rivets Damage The Leather Material?
A: If done incorrectly, removing rivets from leather can cause damage such as tearing or fraying of the material. However, by following these steps carefully and using the right tools, you should be able to remove them without any damage being done to your item.
Q: Can I Use These Steps To Replace Rivets As Well?
A: Absolutely! Once you’ve removed the rivet, simply follow steps 8-11 to insert a new one into its place.
That’s all there is when it comes to removing rivets from leather! If you have any further questions or need more help with this process, feel free to reach out and we’ll be happy to assist. Good luck and happy crafting!
Conclusion
We hope that this blog post on how to remove rivets from leather has been helpful and informative for you. By following the steps listed above, it is fairly straightforward to remove a rivet from leather without much difficulty or damage. Of course, make sure you use using the right tools and take extra caution when working with any type of rivet.
Furthermore, it may even be worthwhile to consult with an experienced professional if you’re feeling unsure or overwhelmed as they should be able to provide more detailed advice specific to your own project. Finally, don’t forget to check out our next blog post on how to make sure your employees are working from home! Good luck with whatever project you’re tackling!