Want to jazz up your favorite leather jacket or add personality to a plain crossbody purse? Iron-on patches are the perfect way to creatively customize your accessories and give them extra flair.

Ironing on patches is a versatile way to dress up anything from your favorite denim jacket to your leather bag. Not only can you use these statement pieces of fabric for their decorative value, but they can also be used as sturdy symbols of something meaningful to you.
Whether you’re using them to cover existing holes and marks or simply want an eye-catching design, these patches are easy to apply and can last for years if done correctly.
With the right tools and techniques on how to iron on patches on leather, you’ll be able to iron on any patch design you desire onto leather material in no time! In this blog post, we will guide you through the process of how to easily and safely do so without ruining either the fabric or patch.
Why Do You Need to Iron on Patches on Leather?
1. Easy to Apply
You may have heard of patches that are “iron on” but don’t know exactly why. Iron-on patches are popular because they’re easy to apply and can last for years if done correctly. They add a personal touch to your clothing, accessories, or fabric items without having to sew them on. As long as you’re using the right tools and techniques, you can quickly and easily apply any type of patch to leather.
2. Affordable Decorative Options
Iron-on patches are a great way to add some flair to your favorite items without breaking the bank! Plus, if you’re feeling crafty, you can make your own patches with materials you already have on hand, like fabric scraps or felt.
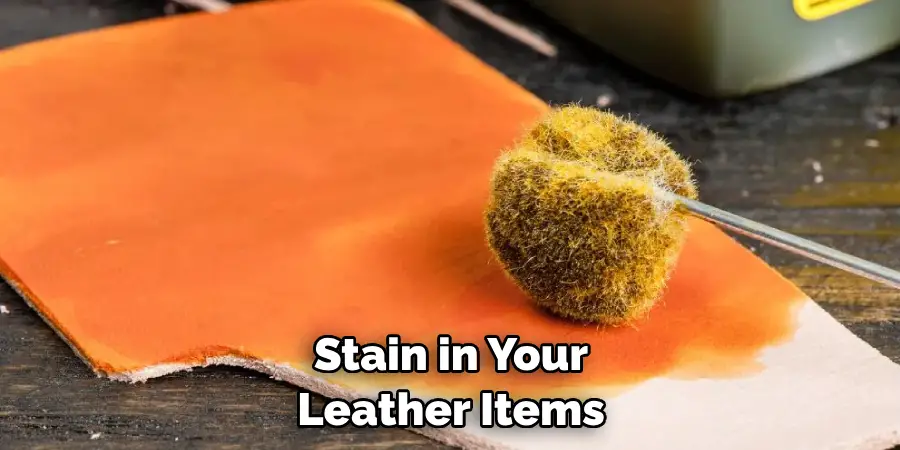
3. Preserve Your Leather Items Long-Term
If you’ve ever had a hole, tear, or stain in your leather items, iron-on patches can be a great way to preserve them for years to come. This is especially helpful if the item has sentimental value or is an expensive piece of clothing.
Now that you know why ironing on patches to your leather items is a great idea, let’s get into how to do it! Below, we’ll provide detailed instructions on the process.
Tools You Will Need:
- A clean cloth or sponge
- Ironing board
- Iron with adjustable heat settings
- Patches (fabric, metallic, or leather)
10 Instructions on How to Iron on Patches on Leather
1. Cover the Leather
To begin, lay your leather item on an ironing board and cover it with a clean cloth or sponge. This will protect the item from direct contact with the iron and its heat. Also, make sure the area you’re going to apply your patch is free of dirt or debris.
2. Set Iron Temperature
Next, set your iron to a low heat setting and allow it to heat up completely while you prepare the patch for application. If necessary, adjust the temperature according to the type of material that your patch is made of. For example, leather or metallic patches may require a higher heat setting than fabric or felt.
3. Position the Patch
Once the iron has heated up, position your patch in its desired spot on the item and make sure it’s facing the right way before you start ironing. For best results, make sure the edges of your patch are completely flat and not overlapping any other material.
4. Press with Iron
Now, press the hot iron on top of the patch for approximately 10-15 seconds in a circular motion. Be sure to apply pressure evenly throughout the area so that it adheres to the fabric properly. Carefully lift the iron off the fabric and inspect to make sure that all sides are secure.

5. Cool Down & Reapply Pressure
Once you’ve lifted the iron, let your item cool completely before reapplying any pressure. This will ensure that the patch has enough time to adhere properly and won’t come loose.
6. Secure the Edges
If necessary, use a pair of scissors to trim any excess material around the edges of your patch. This will make it look more polished and help secure it in place for a longer period of time. The edges should be flush with the material of your item.
7. Apply Heat Again
Once you’ve secured the edges, turn your iron back on and reheat it to a low setting. Reapply the same pressure as before for about 10-15 seconds and then lift off again. Repeat this process until you’re satisfied with the coverage of your patch.
8. Check for Security
After you’re done ironing, let your item cool down completely and then inspect it to make sure that all sides are secure. If there are any areas that seem weak or loose, apply more heat and pressure until they adhere properly.
9. Repeat on the Other Side
When you’re satisfied with the patch on one side of your item, turn it over and repeat the same process on the other side. Make sure you use a low heat setting to avoid any unnecessary damage to your leather item.
10. Enjoy Your New Look!
Once you’ve completed the process, your item should have a neat and polished look. Now, you can enjoy your newly patched leather item for years to come. Also, if you ever want to remove the patch, just follow the same process in reverse, and it should easily come off.
And there you have it! Now that you know how to iron on patches to leather items, you can make any of your cherished pieces look brand new again. We hope this guide has been helpful in teaching you how to iron on patches on leather. With a little bit of patience and effort, you can easily give your leather items a new and stylish look.

7 Safety Precautions to Take Before Ironing on Patches
When it comes to ironing on patches onto leather, there are certain safety precautions that must be taken in order to ensure the best results. Here are 7 tips for ensuring safety when applying patches to leather:
1. Always read and follow package instructions before starting. It is important to make sure you are using the correct iron settings for the patch material you are working with. The instructions should also provide information about the right temperature for the leather being used.
2. Prepare your work surface before you begin. Make sure the ironing board is clean, free of debris, and dust-free. Iron on a protective sheet protects the leather from heat damage and ensures even heat distribution throughout the patch application process.
3. Use an appropriate iron for the job. It is important to use an iron that has adjustable heat settings and will not cause damage to the leather or the patch material. A steam setting should also be available, as this helps to keep the leather moist and ensure the patch adheres properly.
4. Test a small area before the full application. This will help you determine if the heat settings are correct and that everything is working properly. If it looks like the patch is not adhering to the leather, be sure to adjust your iron temperature accordingly.
5. Avoid pressing too hard with the iron when applying a patch. Too much pressure can cause damage to the leather and ruin the patch. It is best to use light, even pressure, when applying a patch.
6. Do not leave your iron unattended. As with all heated appliances, it is important to stay alert and keep an eye on the progress of the application process. Also, be sure to unplug the iron when you’re finished.
7. Allow the patch to cool down before moving it. Patches can take several hours to fully cure and adhere to leather, so leaving them in place for at least 24 hours is recommended. Doing this will help ensure that your patches are secure and remain as long as possible.
When it comes to ironing on patches to leather, these safety precautions should be followed in order to achieve the best results and ensure that your patches remain secure for years to come. By taking the time to read directions, prepare a workspace properly, and test a small area before continuing, you can ensure successful patch application and get the most out of your leather.
Conclusion
Crafting your own clothes and accessories is a fun and rewarding activity. Ironing on patches to leather is an excellent way to express yourself and add some extra personality to the item.
At first, it might feel daunting, but with practice, you’ll become a master of iron-on patches for leather items in no time. With patience and attention to detail, the results look impeccable. Furthermore, anyone can do it without spending a fortune at the tailor or investing in expensive tools that you’ll use only once.
And so with this comprehensive guide from start to finish – gathered from professional advice – you’re prepared to make patches on your favorite leather items look as good as new! So why not give it a try?
Show off your creative skills with this guide on how to iron on patches on leather, and get ready to be pleasantly surprised by the amazing results! Don’t forget to share pictures of your beautifully crafted item with us!