
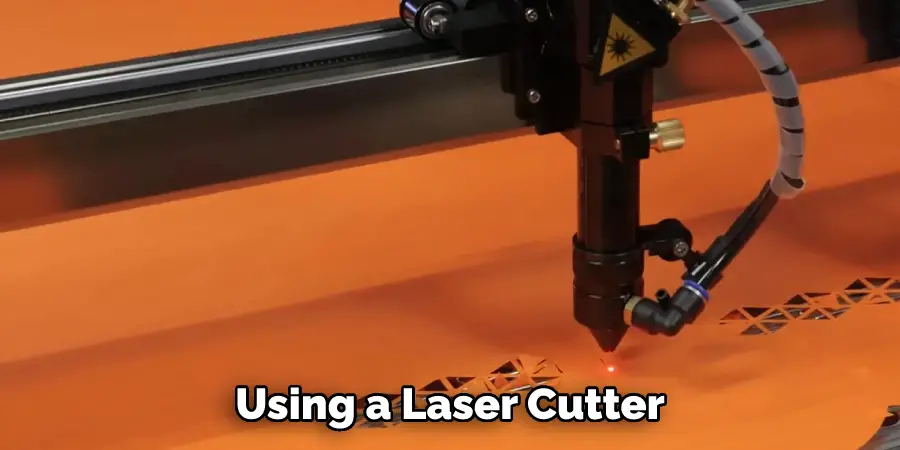
Laser-cutting leather is a great way to produce precise, detailed designs with minimal effort. It can be used to create intricate patterns or shapes that would be difficult to achieve with other methods of cutting. Laser-cut leather offers greater accuracy and consistency than other methods, such as scissors or knives. Laser cutting also allows for higher precision when cutting complicated shapes and is faster than traditional methods.
The advantages of using a laser to cut leather are numerous. First, it is quick and efficient compared to other cutting methods, such as hand tools, die-cutting, or even traditional blade cutting. This can greatly reduce labor costs and the time required to produce goods. Additionally, the precision of laser-cutting machines makes it possible to achieve intricate designs with complex shapes. You can find step-by-step instructions on how to laser cut leather in this blog article.
Step-by-step Instructions for How to Laser Cut Leather
Step 1: Inspect the Leather
Make sure the leather is free of any dirt or debris. Check for any imperfections or damage that could affect the outcome of the laser-cutting process.
Step 2: Prepare the Leather
Preparing the leather involves removing any moisture content from it by drying it in a warm area. The leather should also be conditioned with appropriate oil to ensure it is flexible and able to accept the laser-cutting process.
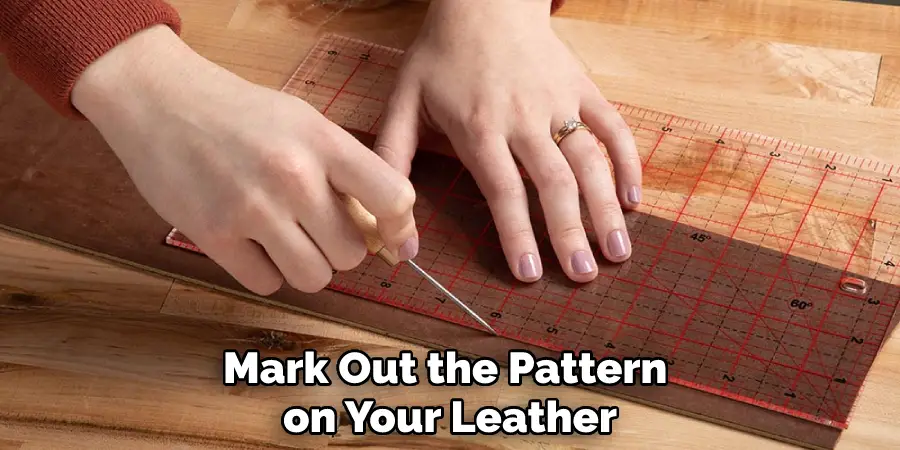
Step 3: Mark Out the Pattern
Mark out the pattern on your leather using a marker or pencil. The marks should be clear and accurate so you can easily cut them along during the laser cutting process. Secure the leather to a cutting board or other suitable surface to ensure it does not move while the laser cutter operates.
Step 4: Set The Laser Cutter Settings
Use the appropriate settings for your laser cutter and adjust them according to the thickness of the leather and any other factors like heat or power levels. Verify that the settings are correct before continuing with the process. Start the laser cutter and let it warm up for a few minutes. Once the machine is ready, move the laser head to where you want it to begin cutting.
Step 5: Cut Through The Marked Out Pattern
Slowly cut through the marked-out pattern on your leather using the laser cutter. Be careful not to cut too quickly or at an angle, as this could cause damage to your leather. Once you have finished cutting through the marked-out pattern, remove any excess pieces of leather from the cutting board and dispose of them safely.
Step 6: Clean Up The Area
Carefully clean up the area where you have been cutting the leather. Remove any dust or debris that might be left behind. Once all your pieces are cut, you can finish the leather by staining, dying, or gluing it together to form the desired shape and design.
By following these steps, you can easily achieve professional results when laser-cutting leather. With some practice and a bit of experimentation, you should be able to produce amazing pieces every time.
8 Safety Tips for How to Laser Cut Leather
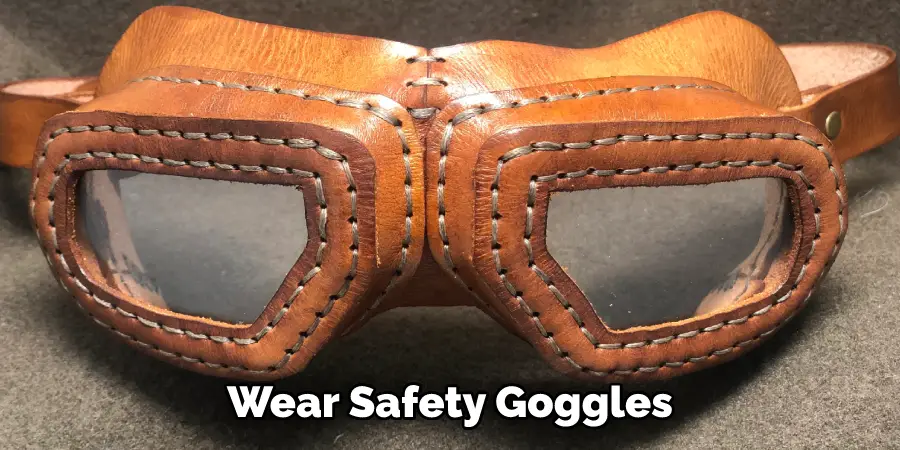
- Wear safety goggles for eye protection.
- Ensure the leather is properly treated with flame-retardant chemicals to reduce fire risk.
- Avoid cuts on your hands by wearing gloves and protective clothing such as long sleeves and pants while cutting the leather.
- Ensure that the laser is securely fastened to prevent it from shifting and causing an accident.
- Monitor the laser beam to ensure that it is not overfocusing or reflecting off the leather’s surface, as this can cause a fire.
- Keep a fire extinguisher nearby in case of any accidents or fires occurring during the cutting process.
- Disconnect all power to the laser before making any adjustments.
- Check the ventilation in your workspace to ensure that smoke and fumes are properly vented away from you during the cutting process.
Following these safety tips can help ensure a safe and successful leather laser-cutting experience.
How Do You Prepare Your Leather Before Beginning the Laser Cutting Process?
Before beginning the laser cutting process, there are a few steps that you need to take to prepare your leather for cutting. First, ensure your leather is clean and free from dirt or any other debris. Let the leather dry naturally before laser cutting if it is wet or damp. You should also avoid using commercial leather conditioners, as they can contain oils that may interfere with the laser-cutting process.
Next, you’ll need to create a vector design that will be used as your guide when laser-cutting your leather. You can do this using a computer program or by hand if you prefer. Make sure to use precise measurements and sharp details so the design will transfer correctly when laser-cutting. If you’re using a computer program, make sure to save the design in an SVG or DXF format so the laser cutter can read it.
What Are the Safety Considerations When Using a Laser Cutter to Cut Leather?
Safety should be the main priority when using a laser cutter to cut leather. Laser-cutting machines use beams of intense light energy, which can be dangerous if not handled properly. Before starting a project involving a laser cutter, ensure you understand the risks and how to minimize them. First and foremost, protective eyewear must always be worn when operating a laser cutter. This is because the light beams emitted from the cutting tools can cause eye damage if viewed directly.
Additionally, it’s important to keep other people out of the room while using the machine to avoid accidental contact with hazardous materials. When setting up the workspace, make sure that the leather material is firmly secured and that it won’t move during cutting.
This will prevent it from flying away from the machine and potentially harming you or your workspace. Additionally, keep any other flammable materials like paper, plastic or fabric away from the laser cutter to avoid accidental burning.
Are There Any Special Techniques That Can Be Used to Ensure a Good Quality Cut?
Yes, you can use a few tips and techniques to ensure a good quality cut when it comes to laser-cutting leather. First, make sure your work area is clean and free of debris. Removing any dust or residue that may be present will help the laser beam move smoothly along the edges of the leather piece being cut.
It is also important to use a setting that is suitable for the leather you are working with. There are many types of leather, and different settings will be required depending on its specific characteristics.
For example, thinner or more delicate leathers require a lower laser power setting in order to prevent any burning or scorching of the material. It is also important to use a cutting edge that is appropriate for the job. A sharper blade or nozzle will result in smoother, more precise cuts and help reduce any jagged edges or fraying.
What Types of Results Can You Expect After Laser Cutting Leather?
Depending on the thickness and type of leather you are working with, laser cutting results can vary. Thicker leathers may result in a more melted or charred effect. The thicker the leather, the longer it will take for the laser to cut through it. On thinner leathers, you may get a cleaner cut with less of a charring effect.
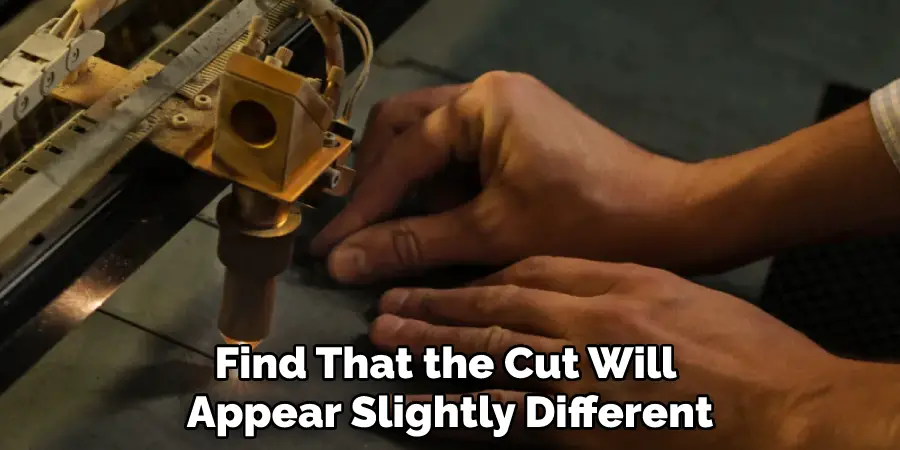
When laser cutting leather, you may also find that the cut will appear slightly different than what it does on paper. The laser itself heats up the leather, so rather than having a clean-cut edge like with paper, there could be some small fraying or burning along the edge of the cut.
No matter the leather’s thickness or type, you should see a smooth, clean cut with minimal charring or fraying. The exact results will depend on the laser settings and power you use for your project. You may need to adjust these settings in order to get the desired results. Overall, there should be no surprises when it comes to laser-cutting leather. With the right settings, you should be able to get consistent results with minimal charring or fraying.
What is the Best Way to Clean and Maintain a Leather Laser Cutter?
The best way to clean and maintain a leather laser cutter is to regularly dust it off and keep the cutting bed free from debris. It is also important to lubricate moving parts such as rollers, belts, and bearings to ensure the machine runs properly. You may want to consult the owner’s manual for your particular machine for specialized maintenance.
In addition to regular maintenance, using the correct settings for cutting leather with a laser cutter is important. When adjusting the power and speed settings on your machine, make sure you use settings appropriate for cutting leather. Depending on the type of leather you are working with, you may need to adjust these settings to ensure that you get the best results.
What Are the Most Common Mistakes New Users Make When Attempting to Laser Cut Leather?
One of the most common mistakes new users make when attempting to laser cut leather is not adjusting their settings correctly. The laser must be set at a strength and speed that will accurately cut through the leather without burning it. If the setting is too low, it won’t cut properly; if the setting is too high, it may burn the leather. Another mistake new users make is not preparing the leather correctly before beginning to laser-cut it.
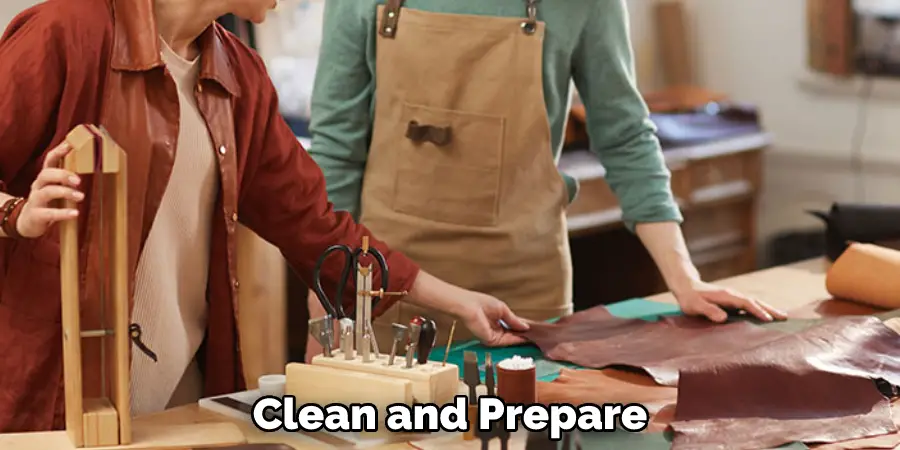
It’s important to take the time to clean and prepare the leather so that it will be smooth, even, and ready for cutting. If there are any blemishes or imperfections in the leather, they must be removed before laser cutting. New users may also fail to pay attention to the type of leather they are using for their projects.
Different types of leather require different lasers and settings depending on the thickness and texture of the material. If a user attempts to laser-cut a type of leather that is not compatible with their machine, they could end up damaging it.
Conclusion
One of the main disadvantages of cutting leather is the cost. Laser-cutting machines are expensive and require ongoing maintenance to keep them running properly. Additionally, it can be difficult to find one with the correct settings for cutting leather specifically, which further adds to the total cost.
In conclusion, laser cutting leather is a great way to add intricate and unique designs to your leather-crafted projects. With the help of a laser cutter, you can quickly and easily create complex patterns and shapes that would otherwise be difficult or impossible by hand. It’s important to take the time to properly prepare your leather before laser cutting in order to achieve the best results.
This includes selecting the right type of leather, setting the correct laser cut settings, and properly taping the design onto your leather. I hope reading this post has helped you learn how to laser cut leather. Make sure the safety precautions are carried out in the order listed.