Fiebing’s Leather Dye is a popular and reliable product that allows you to add vibrant color to your leather goods while also conditioning and protecting them. Whether you want to restore the color of an old leather item or customize a new one, Fiebing’s Leather Dye offers a versatile solution for all your leather coloring needs.
But how do you use it effectively? In this guide, we will explore the step-by-step process of how to use Fiebing’s leather dye to achieve professional-looking results. From preparing the leather surface to applying the dye, setting the color, and finishing with a protective sealant, we will cover all the essential techniques and tips for using Fiebing’s Leather Dye effectively. With the right approach, you can transform your leather items into beautifully colored and protected pieces that will stand the test of time.
What Is the Best Way to Apply Leather Dye?
When applying Fiebing’s leather dye, it is important to take your time and follow the instructions carefully. The best way to apply the dye is with a soft brush or cloth. Before applying the dye, thoroughly clean and dry the surface of the leather.
Once you have done this, apply a thin layer of Fiebing’s Leather Dye with a soft brush or cloth in an even manner. Allow for complete drying between each coat until desired color is achieved – up to 3 coats may be necessary for saturated color. Finally, when finished applying all coats, allow for thorough drying before using treated product.
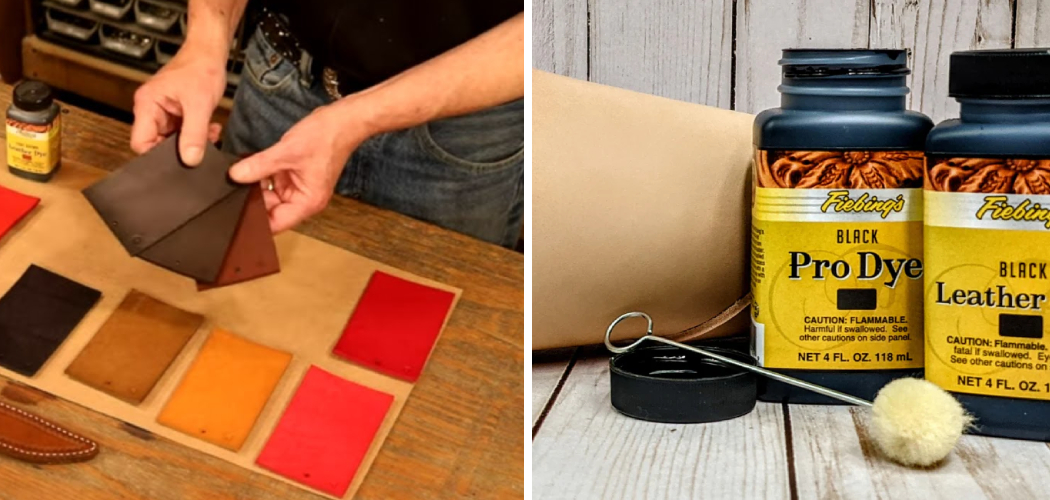
It is also recommended that you test any new dyes on scrap pieces of leather before making final applications on garments or other items. This will allow you to test the color and finish before committing to that particular color or finish. With proper application techniques, Fiebing’s Leather Dye provides long-lasting vibrant color for your leather goods!
Can You Dilute Fiebing’s Leather Dye with Water?
Yes, you can dilute Fiebing’s Leather Dye with water. To do so, mix the one-part dye and three parts of water in a container. Make sure to stir the mixture well and make sure it is completely blended together before applying it to the leather surface.
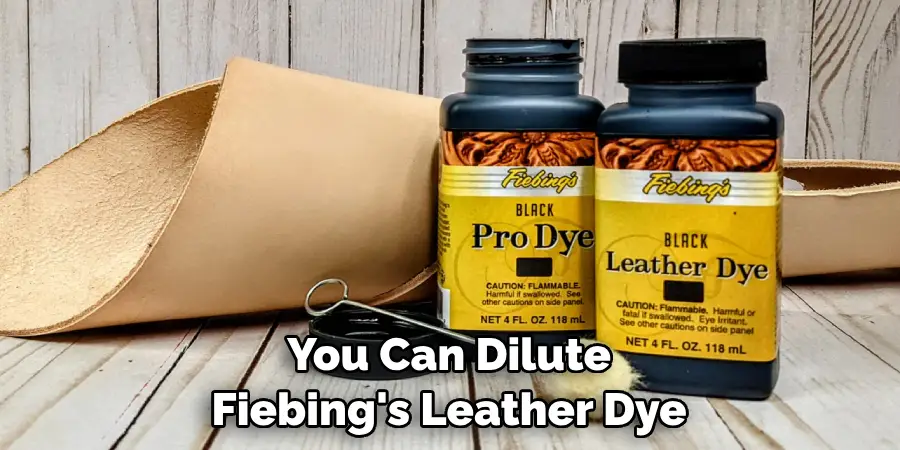
You may need to use more than one coat of diluted dye to achieve your desired color results. For maximum color saturation, start with two or three coats of undiluted dye and then finish off with two coats of diluted dye.
Remember that when using any type of leather dye, always perform a test patch on an inconspicuous area first before beginning your project. This will allow you to check how the color looks and ensure it is what you want before moving ahead with the entire project.
When using Fiebing’s Leather Dye, make sure to wear protective gear, including gloves and a dust mask. When applying, use either a brush or an applicator sponge to work the dye into the leather in even strokes.
Always work from one side to another with broad strokes, making sure to get all the cracks and crevices thoroughly covered with dye. After applying the dye, allow it to dry completely before buffing it out with 0000 steel wool or a soft cloth. This will ensure that you’ve achieved an even and uniform color saturation throughout your project.
10 Methods How to Use Fiebing’s Leather Dye
1. Prepare the Leather Surface
Before applying Fiebing’s Leather Dye, it’s essential to prepare the leather surface properly. Start by cleaning the leather thoroughly to remove any dirt, dust, or grease that may affect the dye’s adhesion. You can use a leather cleaner or a mixture of mild soap and water to clean the leather. Gently rub the leather surface with a soft cloth or sponge, being careful not to scratch or damage the leather. Once the leather is clean and dry, you can proceed to the next step.
2. Test the Dye on a Small Area
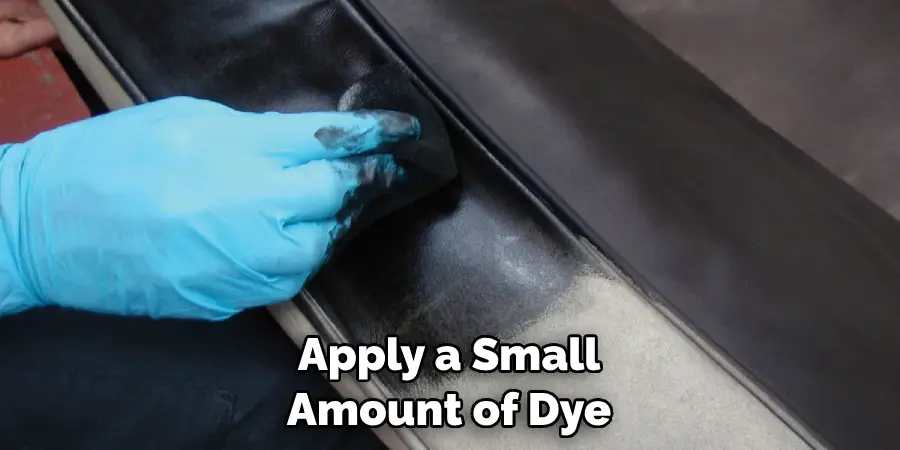
It’s always a good idea to test Fiebing’s Leather Dye on a small, inconspicuous area of the leather before applying it to the entire surface. This will allow you to check if the color is to your liking and if the dye is compatible with your leather item.
Apply a small amount of dye to a hidden area and let it dry completely. If you are satisfied with the color and the leather does not show any adverse reactions, you can proceed to the next step.
3. Apply the Leather Dye
Shake the bottle of Fiebing’s Leather Dye well before use to ensure that the dye is properly mixed. Then, using a sponge, brush, or cloth, apply the dye evenly to the leather surface in smooth, even strokes.
Be careful not to apply the dye too thickly, as it may result in an uneven or streaky finish. Start from one end of the leather item and work your way to the other end, making sure to cover all the desired areas with the dye. Take your time and work in small sections, ensuring that the dye is applied evenly.
4. Allow the Dye to Dry
After applying the Fiebing’s Leather Dye, allow it to dry completely before proceeding to the next step. The drying time may vary depending on the type of leather, humidity, and temperature, but generally, it takes about 15-30 minutes for the dye to dry to the touch.
Avoid touching or rubbing the leather surface while the dye is drying, as this may cause the color to smudge or smear. It’s best to let the leather item sit undisturbed in a well-ventilated area until the dye is completely dry.
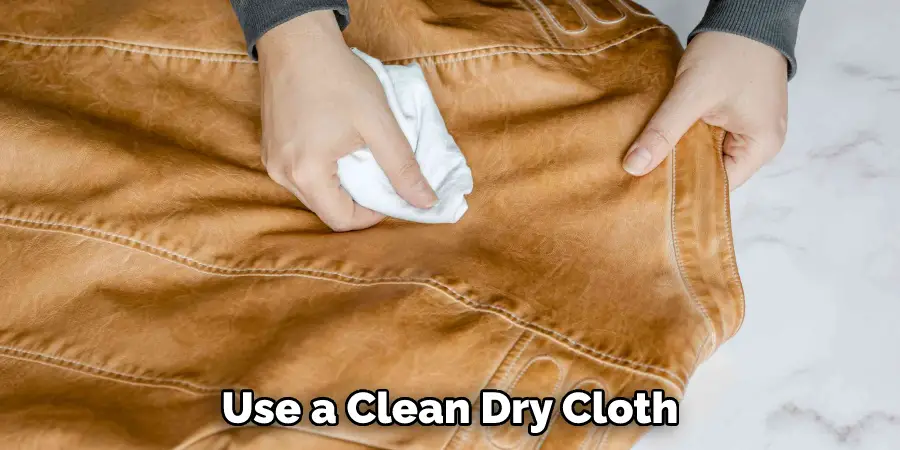
5. Buff the Leather Surface
Once the Fiebing’s Leather Dye is dry, you can use a clean, dry cloth or a soft brush to buff the leather surface gently. Buffing helps to remove any excess dye, smooth out the color, and achieve a more polished finish.
Use circular motions and apply gentle pressure to avoid scratching or damaging the leather. Continue buffing until the desired shine is achieved. If you want a higher gloss finish, you can use a leather conditioner or a leather finishing product after buffing.
6. Apply Additional Coats for Intense Color
If you want a more intense color, you can apply additional coats of Fiebing’s Leather Dye. Allow each coat to dry completely before applying the next one. Applying multiple coats will help build up the color and achieve a richer, deeper tone. However, be careful not to apply too many coats, as this may result in an unnatural or overly saturated appearance. It’s important to find the right balance to achieve the desired color intensity.
7. Set the Dye with Heat
To make the Fiebing’s Leather Dye more permanent and durable, you can set the color with heat. Using a heat source such as a hairdryer or a heat gun, gently heat the leather surface after the dye has dried. The heat will help the dye penetrate deeper into the leather fibers and set the color.
Be careful not to overheat the leather or hold the heat source too close to the leather surface, as this may cause the leather to become dry or brittle. Keep the heat source at a safe distance and move it around to ensure even heat distribution.
8. Seal the Dye with a Leather Finish
After setting the dye with heat, it’s recommended to seal it with a leather finish to protect the color and extend the longevity of the dye. Fiebing’s offers a range of leather finishes, such as leather topcoats, leather sheen, or leather balm, that can be applied over the dye to provide a protective barrier.
Follow the instructions on the leather finish product for application, and apply it evenly over the dyed leather surface. The leather finish will not only protect the dye from fading, but also add a nice shine and enhance the overall appearance of the leather item.
9. Customize with Different Techniques
Fiebing’s Leather Dye offers a versatile solution for customizing leather items with different techniques. Apart from the traditional method of applying the dye with a brush or sponge, you can also experiment with other techniques to achieve unique effects.
For example, you can try using a cotton swab or a toothbrush to create texture or patterns on the leather surface. You can also dilute the dye with water or alcohol to create a lighter, more translucent color or use multiple colors to create a custom blend.
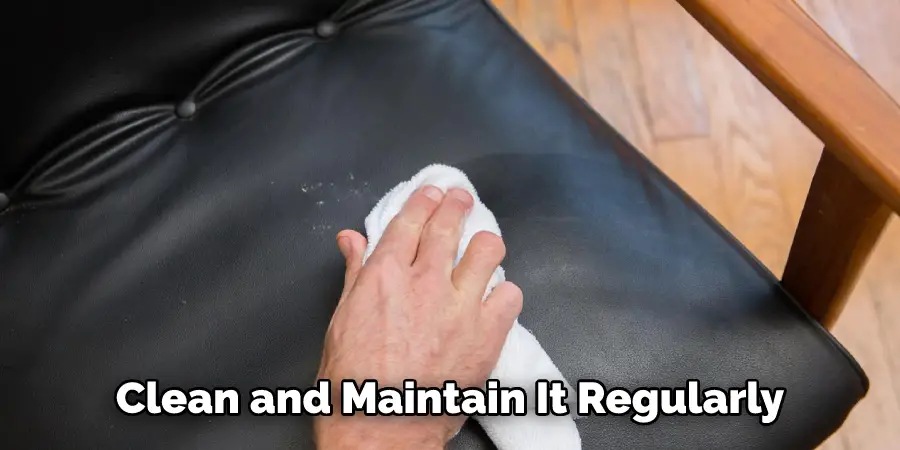
10. Clean and Maintain the Leather Item
Once you have successfully dyed your leather item with Fiebing’s Leather Dye, it’s important to clean and maintain it regularly to keep the color looking fresh and vibrant. Clean the leather surface regularly with a leather cleaner or a mild soap and water solution to remove dirt, dust, and debris.
Avoid using harsh chemicals or abrasive cleaners that may damage the dye or the leather. After cleaning, apply a leather conditioner or a leather balm to keep the leather soft, supple, and moisturized.
Conclusion
With these instructions, you are now better equipped to learn how to use Fiebing’s Leather Dye to make all of your leather projects more lustrous, colorful, and stylish. So the next time you need a dye for your leather crafting projects, look no further than Fiebing’s Leather Dye! The unique composition of Fiebing’s allows for fast and easy coverage for a smooth and even look.
There is likely no better coloring choice out there when it comes to working with genuine or faux leather materials, so why wait any longer? Start dyeing today – and enjoy adding beauty and brilliance to your favorite leather-based works of art!