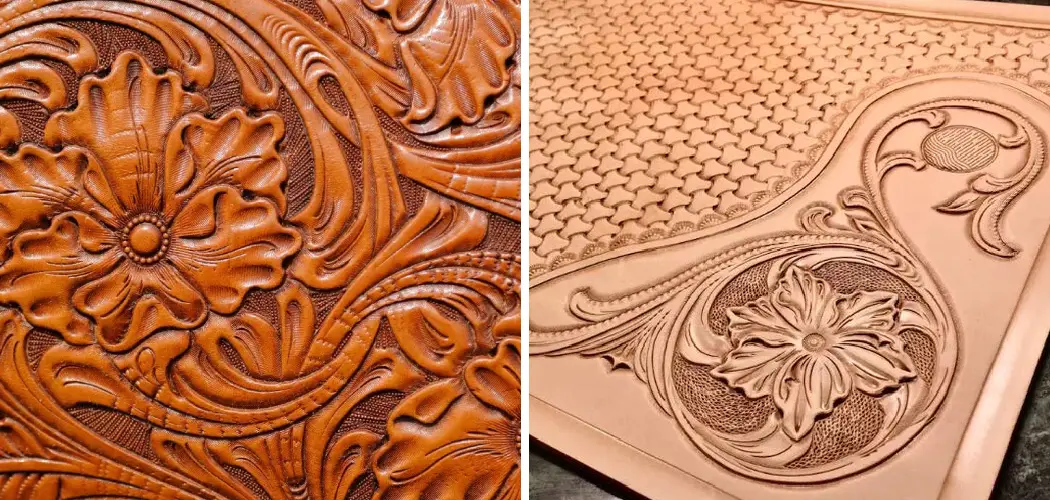
Leather tooling is a fun and rewarding activity that can help you create beautiful leather art pieces. Anyone can learn how to use leather tools with the right tools, techniques, and materials. Leather tooling allows you to bring your designs to life uniquely. You can use leather as an artistic medium to create intricate patterns and shapes that will last for generations.

Leather tooling is a craft that has been a part of many cultures for centuries. It involves cutting, embossing, and dyeing leather to create intricate patterns and shapes. Leather tooling can be used to make both practical items such as wallets or covers and decorative items like keychains or trinkets. In this blog post, You will learn in detail how to leather tooling.
Tools You Will Need
- Leather
- Awl
- Hammer
- Stitching Pony
- Swivel Knife
- Beveler/Edger Tool
- Pricking Iron
- Round Knife
- Groover Tool
- Creaser Tool
- Skiver Tool
- Edge Finishing Tools (Slipper, Slicker, Edge Beveler, Burnisher, Stick and Spacer)
Step-by-step Instructions for How to Leather Tooling
Step 1: Inspect
Choose a piece of vegetable-tanned leather that is thick enough to handle the pattern you wish to create. Inspect the hide for holes, tears, or imperfections, then turn it over to identify which side should be used as the tooling surface.
Step 2: Make Prepares
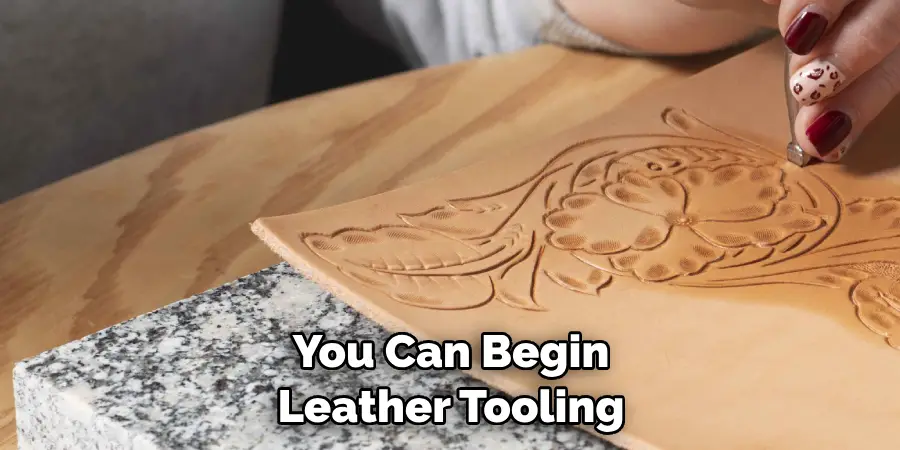
Next, remove dirt and oil from the leather surface with a damp cloth. Then, lightly dampen the leather’s backside to make it more pliable – this will help you create cleaner detail lines in your design. Use a ruler and pencil to draw out the pattern you plan to create. Use a swivel knife or wood-burning tool to trace the design and create a template if necessary.
Step 3: Test the Pattern
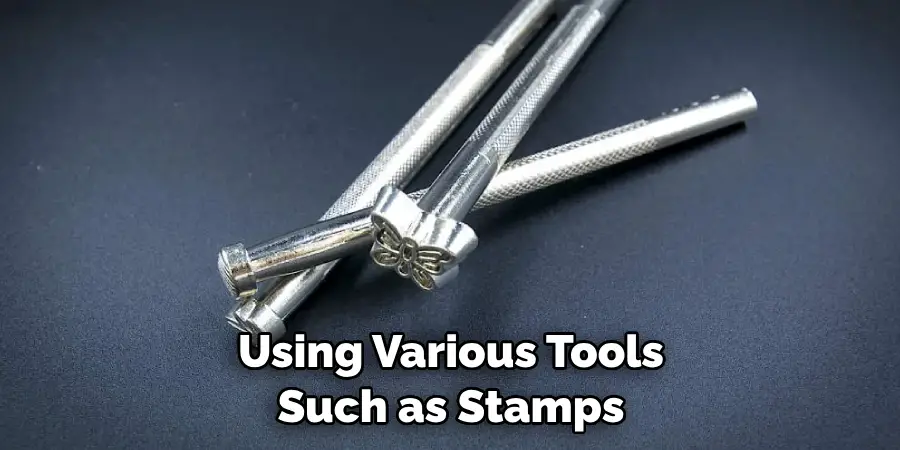
Once you’ve established the outline of your pattern, test it out on a scrap piece of leather or foam board to make sure it looks how you want and will work with your tools. Choose the tools you need to create your leather tooling. Popular tools include mallets, swivel knives, decorative stamps, and bevelers. Depending on your design type, you may also want to use a hammer and awl for finer details.

Step 4: Trace Pattern Onto Leather
Using the template you created, trace your design onto the leather’s tooling surface using a pencil. To ensure accuracy, use a swivel knife to cut away any excess material around the lines of your pattern. Once your design is ready, begin to work on it with the tools you choose. If using a mallet and swivel knife or any other cutting tools, keep the blade at an angle so you don’t cut too deep.
Step 5: Beveling
If your design has curved edges, use a beveled tool to add soft curves to the leather. This will help create a more professional look and feel for your leatherwork. Once you’ve finished tooling the leather, use a damp cloth to remove any excess material around the pattern. Then, use a heat gun or other drying methods to set the pattern in place and help it maintain its shape over time.
Step 6: Add the Finishing Touches
Finish your leatherworking project with some of the optional finishing touches. If you’d like to add color to your piece, consider using a colored leather dye or other natural staining methods. Alternatively, you can use waxes and polishes to protect and condition the leather.
Now that you have all the necessary steps and materials, it’s time to start creating beautiful leather masterpieces. With patience and practice, your leatherworking skills will only improve.
Precautions for How to Leather Tooling
- Ensure the area you work in is well-lit and clear of any items that could obstruct your view or present potential hazards.
- Wear eyewear to protect against flying particles or metal shavings, which can cause serious eye injuries.
- Wear gloves when handling leather tools to prevent skin irritation and cuts from sharp edges.
- Secure the item you are working on properly, so it will not slip or move while being worked on.
- Always disconnect electrical power before beginning work on any leather project to avoid electric shock or other injuries from potential contact with exposed wires and metal parts.
- Avoid over tightening screws when assembling components, as this can make it difficult to remove them later.
Once you have taken the necessary precautions, you can begin leather tooling! Several techniques may be used depending on the type of leather project you are working on.
How Can Beginners Learn More About How to Leather Tooling?
If you are a beginner to leather tooling, there are a variety of resources available online and in stores that can help get you started. Various books and videos provide step-by-step instructions on different leather projects and tips and tricks for achieving the desired effects with your tools.
In addition, some craft stores offer classes or special workshops focusing on leather tooling techniques. Attending these classes can provide an opportunity to learn from experienced artisans and observe their process up close.
How Can You Give Your Finished Product a Professional Look?
Leather tooling is a great way to give your finished product a professional look. It’s an art form that dates back centuries, and with the right tools, you can easily create designs on leather items of all shapes and sizes. Here are some tips to get started:
- Select the Right Tools: Choose the right tools for your desired look. For simple designs, basic leather stamps and carving knives will suffice. For more complicated work, consider getting a professional set of tools such as burnishers, swivel knives, pricking irons, and groovers.
- Pre-stamp Your Design: When starting with tooling, pre-stamping is an easy way to get an accurate design on your leather item. Use a pre-stamped leather template to guide your design, and trace it onto the item with tracing paper or transfer paper.
- Get Creative: Once you’ve mastered the basics of leather tooling, you can start getting creative! Try using different materials like grommets, studs, and rivets to give your design an extra touch.
- Don’t Forget the Finishing Touches: Once you’ve finished tooling, it’s important to finish the item with a leather sealer or dye properly. This will help protect the item from moisture and fading over time.
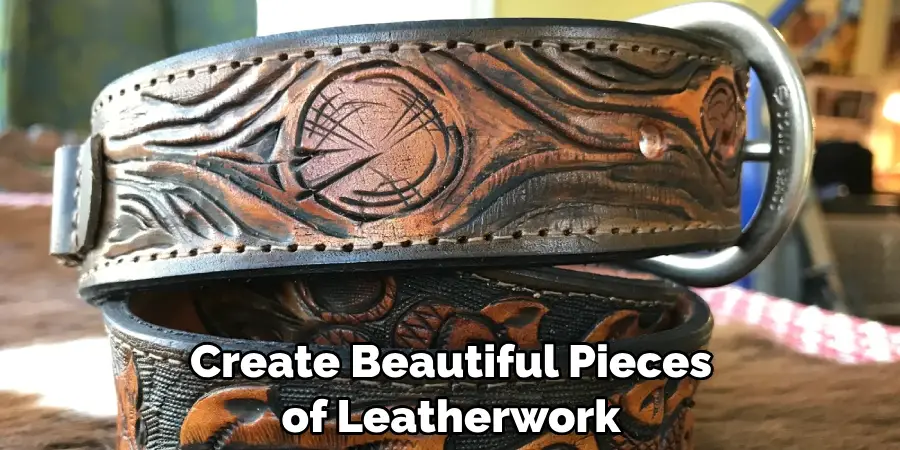
With a little practice and the right set of tools, you can quickly create beautiful pieces of leatherwork. Whether it’s a wallet, belt, bag, or something else, leather tooling is the perfect way to give your finished product a professional look.
How Long Does It Take to Complete a Leather Tooling Project?
Leather tooling projects can vary greatly in terms of complexity and size. Generally speaking, the more complex the project, the longer it will take to complete. For smaller projects such as wallets and purses, one or two days may be enough time to finish.
It could take weeks or even months to complete larger projects like saddles and bags that require intricate patterns and shapes. When starting a leather tooling project, planning and giving yourself plenty of time is important. If you wait until the last minute, you may find that you don’t have enough time to finish the project properly.
As with any craft or art form, practice makes perfect, and if your goal is to create something beautiful, then it’s worth taking the extra time to ensure everything is perfect. Before starting any project, it’s a good idea to research and familiarize yourself with the various leather tooling techniques available.
Learning how to properly use traditional tools such as swivel knives, mallets, and even stamps can help you create unique designs that stand out. Even if you don’t have access to traditional tools, modern alternatives can help you achieve the same level of detail.
What Special Techniques Can You Use to Create Unique Effects With Your Leather Tooling Projects?
Leather tooling can provide some truly unique effects, and the possibilities are only limited by your creativity. Here are a few of the techniques that you can use to make your leather crafting projects stand out:
- Embossing: This technique involves pressing a design into the leather with a mallet or hammer to create an embossed effect. You can use various tools such as stamps, chisels, rollers, and other specialized tools to achieve this effect.
- Carving: This technique is the opposite of embossing; instead of pressing the design into the leather, you remove the material to create a negative image. A range of carving tools, such as knives, gravers, and chisels, can be used to achieve this effect.
- Stamping: This technique uses stamps of various shapes and sizes to stamp patterns onto the leather surface. By varying the pressure and depth of your stamping, you can create a wide range of effects, from subtle impressions to bold designs.
- Painting: You can use a variety of paints and dyes to add color to the leather. This is a great way to add contrast and texture to your design, and it makes your projects stand out from the crowd.
- Tooling: Tooling is another popular technique used in leatherworking. This involves using various tools such as stamps, punches, bevelers, and swivel knives to create intricate patterns on the leather surface.
You can create unique art pieces from your leatherworking projects by mastering these techniques! With practice and experimentation, you can soon create amazing effects with your tools.
Conclusion
In conclusion, leather tooling is a great way to create beautiful, durable designs on your leather pieces. It requires skill and practice to get the hang of it, and you can use many different techniques.
With patience and dedication, you can turn ordinary leather pieces into something that stands out from the crowd. If you’re looking for an art form that will last you a lifetime, leather tooling might be the right choice.
Leather tooling is an art form with a rich history passed down through generations. It’s an enjoyable hobby and can even become a profitable side business if you choose to pursue it. Reading this post has helped you learn how to leather tooling. Make sure the safety precautions are carried out in the order listed.