Kydex is fast becoming the go-to material for making durable, lightweight products. It’s easy to shape, provides excellent protection, and won’t corrode or rust like metal materials. Whether you’re looking to make a custom holster or tackle box, learning to shape Kydex can open up many possibilities when customizing your projects.

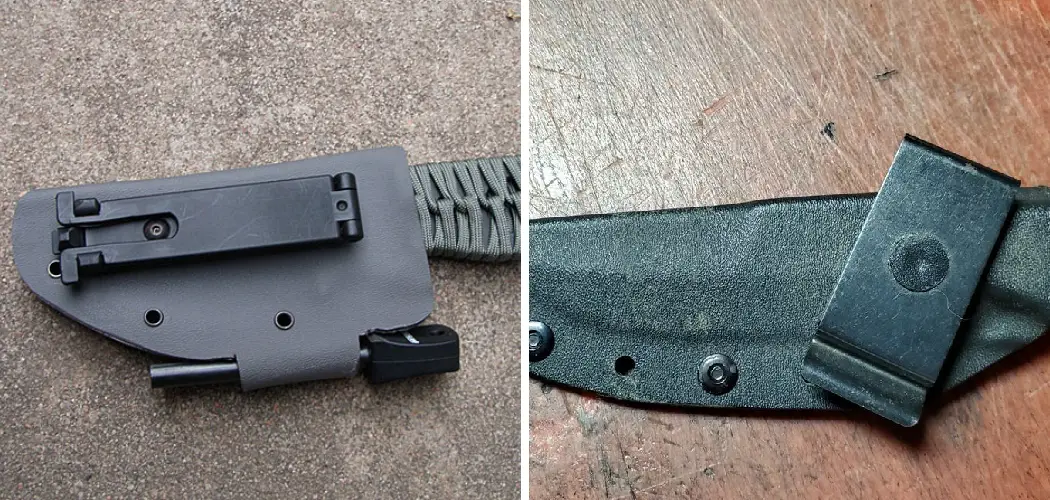
Kydex is a material commonly used in place of leather for holster and sheath making. It’s lightweight, durable, and easier to shape than leather. Shaping Kydex involves heating the plastic and forming it into a desired shape. This process can be done at home with some basic tools and patience.
Knowing to shape Kydex will allow you to create custom holsters and sheaths for any firearms or knives. In this blog post, You will learn in detail how to shape kydex.
Tools You Will Need
- Heat Gun
- Kydex Sheet
- Scissors or Shears
- Bench Vise
- Handheld Drill and Bits
- Utility Knife
- Protective Gloves, Goggles, and Apron
- Tape Measure or Ruler
- File Set
- Sandpaper in a Variety of Grades
- Belt Sander
- Metal Brayer
Step-by-step Instructions for How to Shape Kydex
Step 1: Inspect the Kydex Sheet
When starting the process of shaping Kydex, the first thing to do is to inspect the sheet. Be sure to check for any cracks or scratches that may have occurred during shipping. It’s also important to remember that thicker sheets require more time for shaping and forming.
Step 2: Prepare Your Work Area
Find a flat work surface with plenty of space for you to be able to move the Kydex around as needed. Ensure there’s a safe place to store your tools while not in use, and secure any clamps or other tools with something like a C-clamp so they don’t slip off the table.
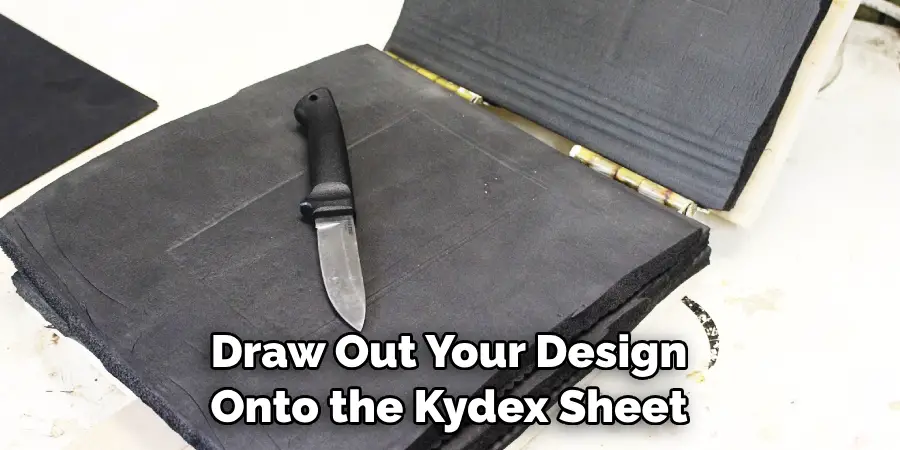
Now it’s time for the fun part! Use a marker to draw out your design onto the Kydex sheet. Be sure to use enough pressure to make the lines you make visible after heat-shaping the Kydex. If unsure how your design will look, experiment with different shapes and sizes on scrap sheets before committing to your final design.
Step 3: Heat the Kydex Sheet
To shape the Kydex, you will need to heat it. Use a torch or an oven (set at low temperatures) to heat the sheet until it becomes pliable and soft enough for shaping. Be cautious when handling the heated Kydex since it can be hot.
Once your Kydex is pliable enough, you can form it into your desired shape with a jig or clamp. Be sure to check the heating process and adjust the temperature periodically.
Step 4: Cool the Kydex Sheet
Once your desired shape has been formed, it’s time to cool it down. You can do this by draping a wet towel over the Kydex or letting it sit overnight in a cool area. Once your Kydex has cooled down and hardened in its new shape, trim any excess material with a utility knife and sand any rough edges to ensure it’s perfectly smooth.
Step 5: Prep for Finishing
To get a professional-looking finish on your Kydex, prep the surface before applying any finishing materials. Use a soft cloth and rubbing alcohol to remove dirt or debris from the Kydex. Now it’s time for the final step – adding your desired finish to the product.
You can use either a spray-on finish or liquid paint for this. The finish can range from matte to glossy, depending on the type of product you’re making.
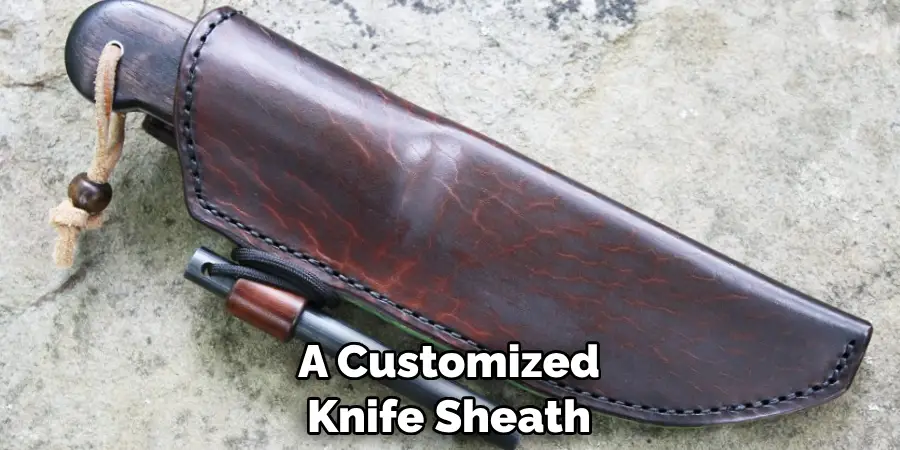
Once your Kydex is finished, it’s time to put it to use! Whether making a holster for a gun or a customized knife sheath, you’ll enjoy the fruits of your labor for years to come. Whether you are just starting with this material or have been working with it for a while, these instructions will help ensure that your projects go smoothly and turn out great.
Safety Precautions for How to Shape Kydex
- Wear safety goggles and gloves when handling Kydex to protect your eyes and hands from small pieces generated by the cutting or shaping process.
- Ensure your workspace is properly ventilated before beginning any work with Kydex, as it can give off toxic fumes if heated too quickly or for too long.
- Always use a respirator mask when working with Kydex and keep it on until the project is complete.
- Heat slowly and evenly over large areas to prevent warping or other deformations in the material.
- Use clamps, weights, or other restraining techniques to ensure accuracy while shaping Kydex.
- Keep all tools and equipment clean and in good working condition to ensure they operate properly.
- Ensure all edges are smooth and finished properly before use, as any uneven edges may cause discomfort or injury when worn.
Kydex is an incredibly versatile material that can be used for various projects, from holsters, sheaths, and cases to protective covers for electronics. With the right safety tools and precautions, you can create unique shapes and forms with Kydex to suit your needs.
What is the Best Technique to Use When Shaping Kydex?
Shaping Kydex requires special techniques and tools to achieve the desired effects. The most popular technique is thermoforming, which involves heating and forming the material around a mold.
This allows you to create precise shapes only possible with specialized equipment. If you’re new to shaping Kydex, there are some basic tips to remember. First, you’ll need the right materials and tools.
A heat gun is essential for thermoforming Kydex, and a mold that fits the size and shape of your design specifications. Secondly, use proper safety precautions when working with heated elements like the heat gun.

When heating Kydex, it’s important to heat it gradually. This is done by moving the heat gun in a circular motion and slowly increasing the temperature until the material becomes malleable. Once the Kydex has reached its softening point, apply pressure to shape it around the mold.
As it cools, it will retain its shape. When working with Kydex, using the correct adhesive is also important. Adhesives are available in liquid or tape forms and should be applied before heating. This helps ensure a more secure bond between the material and the mold when it cools.
How Can You Make Sure That the Finished Shape Is Uniform and Consistent?
If you are looking to shape Kydex for a specific project, several things can be done to ensure that the result is uniform and consistent. The first step is to create a template of your desired design on paper or cardboard. This will help you visualize the finished product and serve as a guide when shaping the material. You should leave an extra margin of at least one inch when creating the template.
The next step is to cut and trace the template outline onto the Kydex sheet, ensuring that all details are exact. If needed, use a ruler or straight edge to ensure accuracy. Once cut out, sand down any uneven edges to ensure a smooth finish.
Finally, the Kydex must be heated up for it to become malleable. This is done with a heat gun or other heating device and requires moving the device in slow circles over the material. Make sure that all areas are heated evenly, ensuring consistent results.
What Should Be Taken Into Consideration When Shaping Thick or Thin Sheets of Kydex?
When shaping Kydex, your sheet’s thickness and material should be considered. You may need more force when cutting and forming the material for thicker or heavier sheets. On the other hand, if you are working with thinner sheets, you can take a more gentle approach when shaping it. It’s also important to consider the material’s density when forming Kydex.
The denser the material, the more difficult it will be to shape it correctly. For instance, if you use a high-density material such as nylon or leather, you may need to use more force when shaping it than with a softer material like polypropylene.
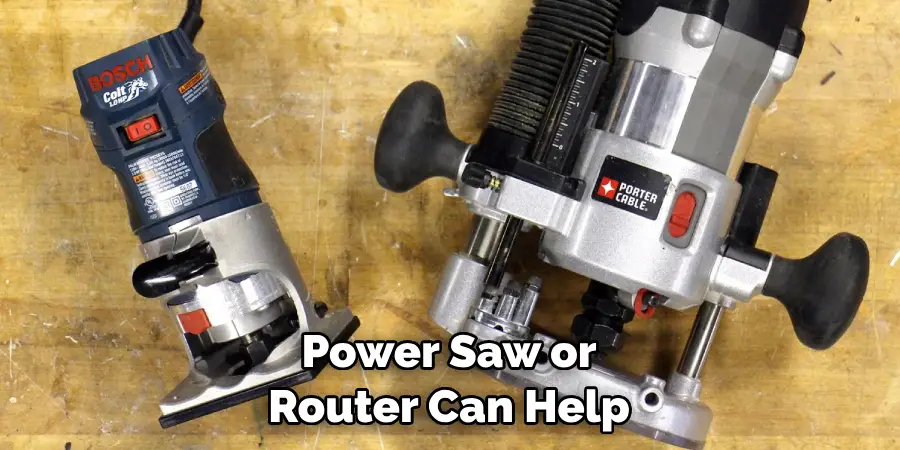
Additionally, if your sheet is too thin, it may not hold up well when heated or bent. Another important factor to consider when shaping Kydex is the type of tool you’re using. A circular saw or router can help speed up the process and provide more precise results if you are forming larger sheets of material.
Conclusion
In conclusion, shaping Kydex offers a great way to create durable, custom products. It’s an easy-to-use material with plenty of benefits, including its lightweight design and ease of use. You can shape Kydex into any design you’d like with the right tools and techniques. Whether you’re looking to create a unique item for yourself or to gift it to someone special, using Kydex is the way to go.
Not only is it durable and straightforward to shape, but plenty of tips and tricks are available online so that you can get started right away. With commitment and the right knowledge, you can create something unique and long-lasting. This article has been beneficial for learning how to shape kydex. Make Sure the preventive measures are followed chronologically.