Wrapping a sword handle with leather is an ancient practice used to provide a more comfortable grip and improved control during sword fighting. If you’ve ever encountered an old medieval-style sword, it was likely adorned with a beautiful leather-wrapped handle that provided protection from the elements as well as providing style and elegance.
In this blog post, we’ll explore the basics of how to leather wrap a sword handle so that you can add your own personal touch to any weapon in your collection! Whether you’re looking for something custom or simply need some instructions on recreating classic styles, this comprehensive guide will teach you everything you need to know about the process.
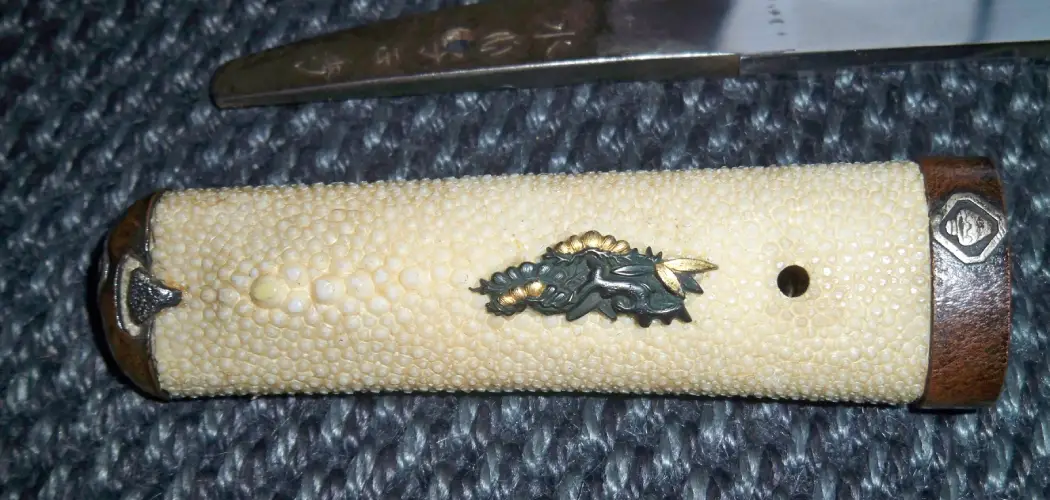
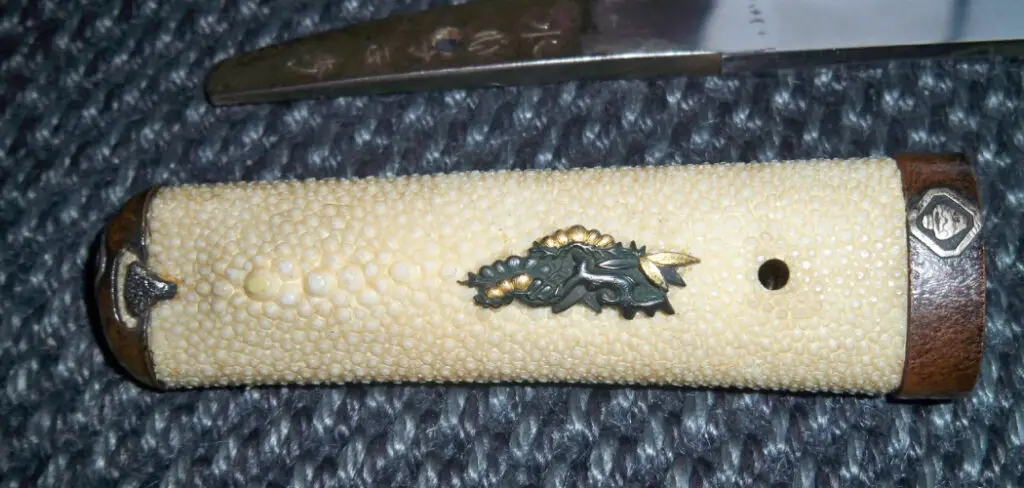
What Material Is Used to Wrap a Katana Handle?
When wrapping a katana handle, the traditional material used for the wrap is rayon or cotton. This type of material provides both a strong and tight grip around the handle as well as good insulation against shock and heat from the blade itself. In some cases, genuine leather may be used to give a more luxurious look to the finished product.
However, genuine leather is more difficult to wrap and often requires professional assistance. No matter what type of material is chosen for the wrapping, it should be of high quality in order to ensure that the handle is securely wrapped and will last a long time. The material should also fit snugly around the sword’s handle so that there are no gaps or wrinkles in the wrapping.
Finally, the material should be chosen with care in order to ensure that it will look good and complements the overall aesthetic of the sword. By taking these things into consideration when choosing a material for wrapping a katana handle, you can make sure that your sword is well-protected and looks its best.
Once the correct material has been selected, it is important to make sure that the handle wrapping is done correctly. Start by measuring the length of the handle and then cutting the wrap material to size. The wrap should be folded in half with the cut edges at each end lined up together.
A needle and thread can then be used to stitch along one side of the fold. It is important to ensure that the thread is tight and that it does not unravel. Once the stitching has been completed, the wrap can then be stretched around the handle in a spiral pattern, tucking any excess material between each loop of leather or fabric. The wrap should be stitched together at the end to hold it securely.
10 Methods How to Leather Wrap a Sword Handle
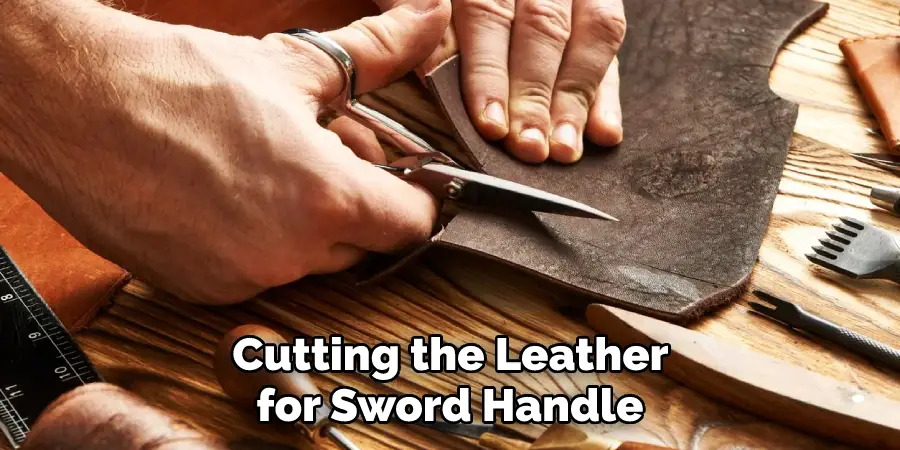
1. Cut the Leather to the Desired Length:
Start by cutting the leather to the length of the handle. Make sure you account for some extra at the end. Cut the leather a little bit longer than you need because it will shrink over time, and you want to make sure there is enough wrap on the handle.
If you are using an extra-long strip of leather, use a ruler to measure against the handle and mark where you will cut. However, if you are using smaller strips, measure the handle and then use scissors to cut them.
2. Secure the Leather on the Handle:
Use pins or staples to keep the leather in place on the handle. Make sure that you secure it firmly for a tight fit. Once the leather is secured, use a small hammer to make sure that all of the pins or staples are tight in place. Start from the center and work your way out. Make sure to drive the pins or staples into the handle at an angle, so that they are secure and less likely to come loose.
When you are done, the leather should fit snugly on the handle. Although leather is typically a soft material, it can be difficult to secure the ends of the handle. To finish off your work, use small rivets or Chicago screws to make sure that the leather does not come loose. This will also add a professional touch to your work.
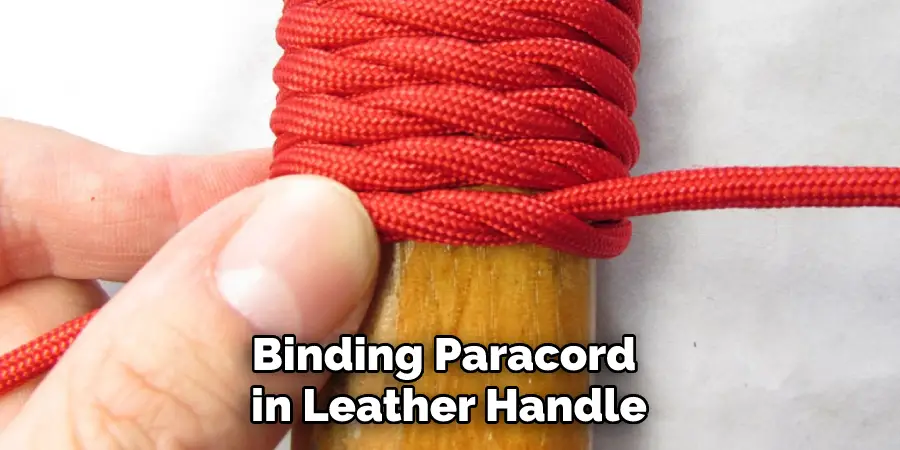
3. Bind with Paracord:
Start by binding one end of the leather with a paracord. Make sure you measure and cut the cord accordingly, leaving enough slack for tying multiple knots. When you’re ready, tie two knots in the cord to secure it to the leather. Repeat this step for each side of the handle.
Next, you’ll need to begin the wrapping process. Start by looping the paracord around both sides of the handle and use your fingers to guide it in a tight, even pattern. This will create the beginnings of the handle wrap. Keep in mind that you should always be pushing the cord up, securing it tightly, and looping it around the handle.
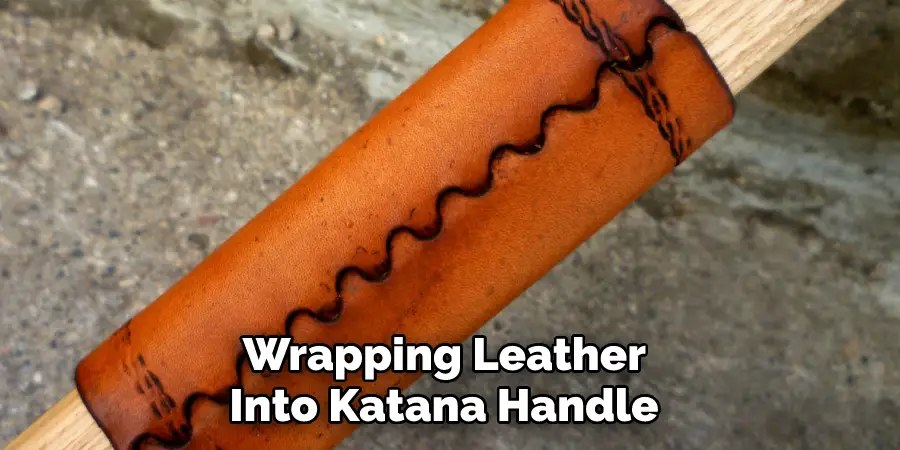
4. Begin Wrapping from One End:
Begin wrapping from one end starting at an angle so that there is no gap between each wrap of leather around the handle. Overlap each layer slightly as you work your way up, adding more tension to ensure a snug fit around the handle. As you wrap, continually adjust the tension of the leather strips to ensure a better grip and smoother look.
Secure each layer with tiny stitching as you make your way up the handle. This will ensure that the leather stays in place and won’t slip off while you are handling the sword. Once you have reached the desired length, cut off any excess leather and tuck it under the last wrap.
5. Secure Wrap With More Paracord:
When you reach the end of your leather wrap, secure it with more paracord. Tie a couple of knots to make sure that the leather stays in place and does not move around. Afterward, cut off the excess paracord with scissors or a knife.
While doing this, make sure to keep tension on the leather wrap so that it does not loosen up. This should give you a nice and secure handle for your sword. And you’re done! With your new leather-wrapped sword handle, you can now add a bit of style and personalization to your sword.
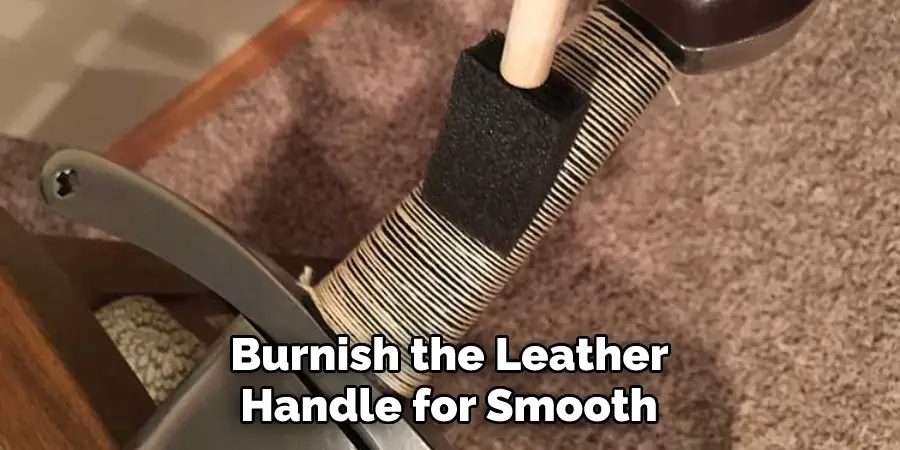
6. Burnish With Hot Spoon:
To finish off the wrapping, use a hot spoon to burnish and smooth out any bumps or indentations on the handle. This will give it a professional look and improve its overall appearance. Start with a low flame, and move the spoon in circular motions over any areas that are not completely smooth. This will help to even out the wrapping and make it look uniform.
Use caution when performing this step to avoid burning or damaging the leather or your hands!
7. Seal Leather With Beeswax:
Once you are done burnishing, seal your leather wrap with beeswax or another oil-based product. This will help protect it from getting wet or damaged over time and keep it looking great for years to come. Spread the beeswax evenly over the entire surface, taking care to get into all of the creases and corners.
You can use a cloth or brush to apply the wax, and you can use a heat gun or hairdryer to help it soak in. Allow the wax to dry completely before handling the sword. You’re finally finished! Enjoy your beautiful new sword handle and admire your handiwork.
8. Add Leather Accents:
If desired, add leather accents to the wrap, such as tassels or beads. This will help make your sword handle look even more unique and give it a more decorative appearance. Secure the tassels or beads with leather glue or a few stitches. You can also add a small piece of leather to the bottom of the wrap to complete the design.
Once you are happy with the look of your sword handle, set it aside to dry completely before using it. With a few simple steps, you can easily create a beautiful and unique sword handle wrap. Enjoy the end result and proudly show off your work!
9. Attach Pommel and Cross guard:
Once you have finished wrapping the handle, attach the pommel and cross guard to complete the look of your sword. Make sure that they are secure and in place before using them for any type of activity. Secure the pieces by using a strong adhesive such as epoxy or hot glue. Allow it to dry fully before testing out your newly wrapped sword handle.
10. Enjoy Your New Sword Handle:
You’re done! Now enjoy your new sword handle with its beautiful leather wrap. You can now show off your masterpiece at renaissance fairs or reenactments with pride!
Frequently Asked Questions
What Are Sword Handles Wrapped With?
There are a few different ways that sword handles can be wrapped. A few popular methods are wrapping the handle in leather, with a layer of cotton or paper sandwiched in between, or even using a cloth strip. Whatever the method, it is important to make sure that the wrap is tight and does not loosen over time. This will help to keep your sword handle sturdy and protect it from wear and tear.
Can You Use Wd40 on Swords?
Unfortunately, WD40 cannot be used on swords as it is a petroleum-based product. It is possible to clean swords with a variety of other cleaners, but WD40 should not be used as it may damage the finish.
Is Vaseline Good for Swords?
Vaseline is not typically recommended for use on swords, as it can cause the sword to become slippery and harder to handle. However, if you are using Vaseline to protect the blade from moisture or oxidation, it is generally safe to use. Be sure to test a small section of the blade first to make sure that the Vaseline will not cause any damage. If you have any other questions or concerns about using Vaseline on your sword, be sure to consult with a professional swordsmith or weapon expert.
Why is My Sword Rusting?
Swords can rust for a number of reasons, including exposure to moisture, metal corrosion, and microorganisms. When swords start to rust, it is important to clean the weapon thoroughly and inspect it for signs of damage. If the sword appears to be in bad condition, it may be best to replace it.
Conclusion
Now that you have learned to leather wrap a sword handle go out and give it a try! With some practice, you’ll be able to create beautiful, unique sword handles that are sure to impress. Remember to always take your time and use high-quality materials for the best results.
If you have any other questions about to leather wrapping a sword handle, or if you want to learn more about how to leather wrap a sword handle, be sure to check out our other blog posts. Thanks for reading!