
Playing music is all about wearing your heart on your sleeve, and when it comes to guitar straps, nothing does that quite like the look and feel of genuine leather. If you’re looking for a hands-on DIY project, why not make yourself a custom leather guitar strap? Not only will this give you an original way to show off your own unique style—it’s also sure to impress everyone else in the band!

In this post, we’ll take a deep dive into everything you need to know about creating your own one-of-a-kind leather guitar strap. So read on for all our tips and suggestions on how to make a leather guitar strap, from choosing the right leather type through construction techniques and finishing touches.
Can You Make Leather Guitar Strap Yourself?
Yes, it’s possible to make your own leather guitar strap. Once you understand the basic process of leatherworking and what materials and tools are needed, you’ll have everything you need to get started crafting an impressive piece of work.
The great thing about making a leather guitar strap is that it provides a unique opportunity for self-expression. With the right skills and a bit of creativity, you can make something that celebrates your unique brand of style or serves as an ode to your favorite artist.
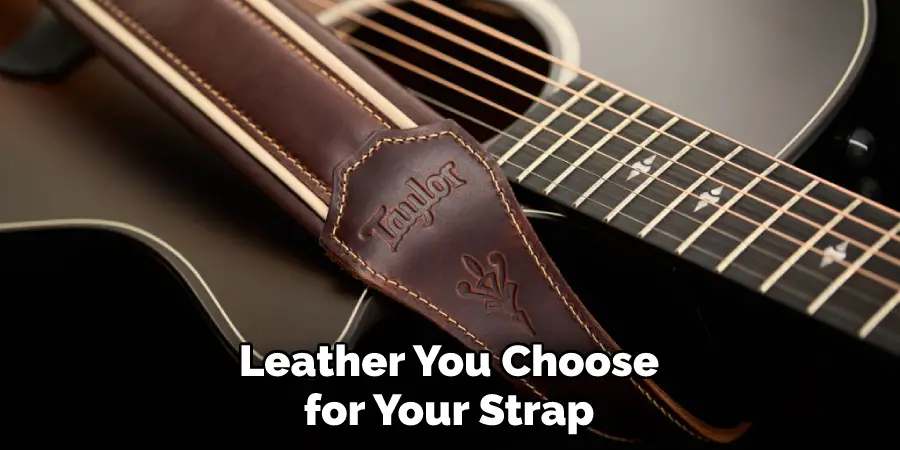
Choosing the Leather Type
The type of leather you choose for your strap will have a significant effect on how it looks and feels. For example, cowhide is the most common, but it can be too stiff for some types of guitar straps (it’s more suitable for larger items like belts). Sheepskin and buckskin are both softer options that won’t dig into your shoulder.
You should also consider where the leather comes from, as this affects its strength and durability. Vegetable-tanned leather is generally considered to be of higher quality than chrome-tanned leather. Avoid bonded or machine-pressed leathers, which are not as strong and will quickly lose their shape over time.
Design and Measurements
The design of your leather guitar strap will depend entirely on your own personal taste. You can either choose an existing pattern or create one from scratch. If you’re feeling creative, you could even try to incorporate some decoration, such as tooling or embossing on the surface of your leather strap.
When it comes to measurements, you’ll need the length of the strap (usually between 50-60 inches long) as well as its width and thickness. If your leather is too thick, then it won’t be comfortable to wear, so it’s important to make sure you get the right dimensions for your needs.
Required Items
Once you’ve got your leather, pattern, and measurements sorted out, the next step is to gather all the necessary tools and items for construction. You’ll need
- A cutting mat (or cardboard) for making clean cuts of your material
- A ruler or measuring tape; an awl or piercing tool
- Needles and thread
- Two D-rings (for attaching the strap to your instrument)
- A hammer or mallet.
10 Tips on How to Make a Leather Guitar Strap
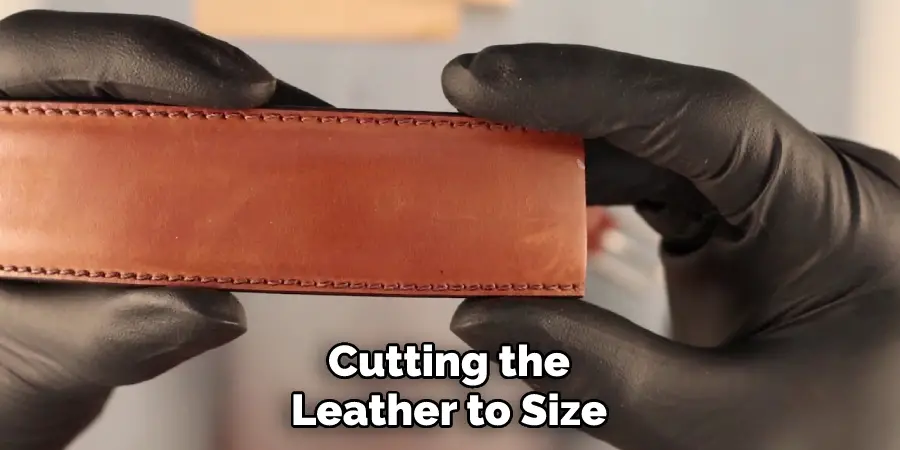
1. Cut the Leather
Start by cutting the leather to size using a sharp blade or rotary tool. If possible, use a mat or piece of cardboard to prevent damage to your worktop. Cut it to the length you need for your strap, plus a few extra inches to allow for trimming.
2. Create Holes
Use an awl or piercing tool to make the holes along the length of your leather strap. Make sure they’re evenly spaced and not too close together, as this can weaken the material. Be careful not to over-punch the holes, as this can cause them to tear.
3. Attach D-Rings
Attach the two D-rings at either end of your strap using a hammer or mallet (or other suitable tools) to make sure they’re secure. Make sure they’re facing the same direction and that they’re in line with each other.
4. Thread Needles & Sew
Thread the needles with a strong, durable thread, and make sure to knot them at the end. Now you can start sewing your strap together by inserting the needle through one hole and out another, repeating until you reach the end of your strap.
5. Cut Edge Slits
Cut small “V” notches along the edges of your strap to help it hold its shape better. This will also give it a more finished and polished look. The edge slits should be spaced evenly and cut at a 45-degree angle.
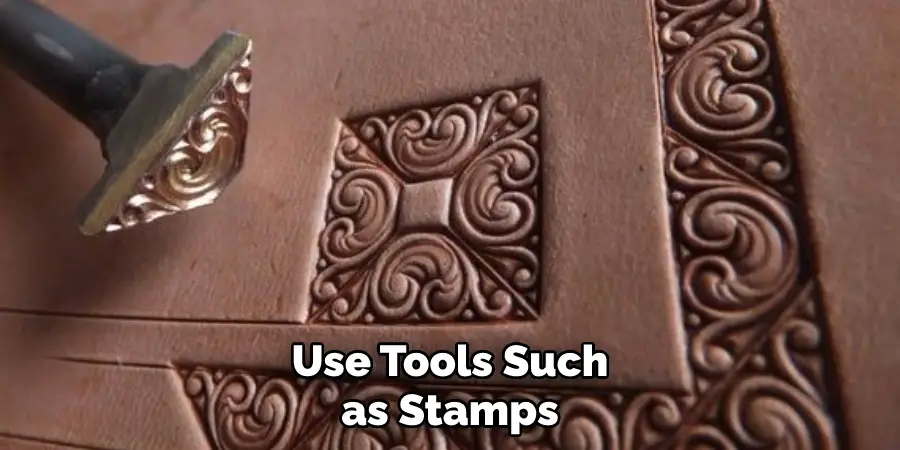
6. Add Decoration (Optional)
If you want to add some extra flair to your strap, you can use tools such as stamps, punches, or stencils to create patterns on the surface of your leather. Make sure to practice on a scrap piece of leather before working on the strap itself.
7. Trim Excess & Polish
Trim off any excess material from your strap and use a damp cloth to clean off any dirt or dust that may have accumulated on the surface of your leather. If desired, you can also apply a protective polish for added shine and protection.
8. Secure the Ends
To make sure that your strap stays securely in place, use a leather punch to create two holes at either end. This will allow you to attach it to your instrument using a guitar strap button or another suitable method.
9. Attach Strap Buttons
Attach the strap buttons to your instrument and thread the ends of your strap through the holes. Make sure to use a strong knot (such as a square knot) to ensure that it is secure and won’t come undone.
10. Enjoy Your Creation!
You’ve made it – you now have your very own handmade leather guitar strap! Now all that’s left is for you to enjoy playing with your new accessory and show it off to everyone you know.
Once you’ve mastered the basics of making a leather guitar strap, why not experiment with different designs, colors, and textures? You can even try embellishing your creation with decorations such as tooling or embossing on the surface of your leather strap.
8 Tips for Making the Leather Guitar Strap Fashionable
- Paint the Strap. Using paint to add color and design to the leather guitar strap is a great way to make it fashionable. Paint can be applied in patterns, words, or simply an interesting hue of color. It would look best if you use paint that is specifically made for painting leather.
- Embellish the Strap With Stitching. Using different stitches, such as zigzags, French knots, and blanket stitches can add an interesting and unique touch to your guitar strap. Make sure the thread matches the color of your leather or contrasts it nicely for an added flair.
- Emboss It With a Special Design. You can emboss the leather strap with a unique design using various tools, like stamps or hydraulic presses. This will create an eye-catching effect and make your guitar strap stand out from the rest.
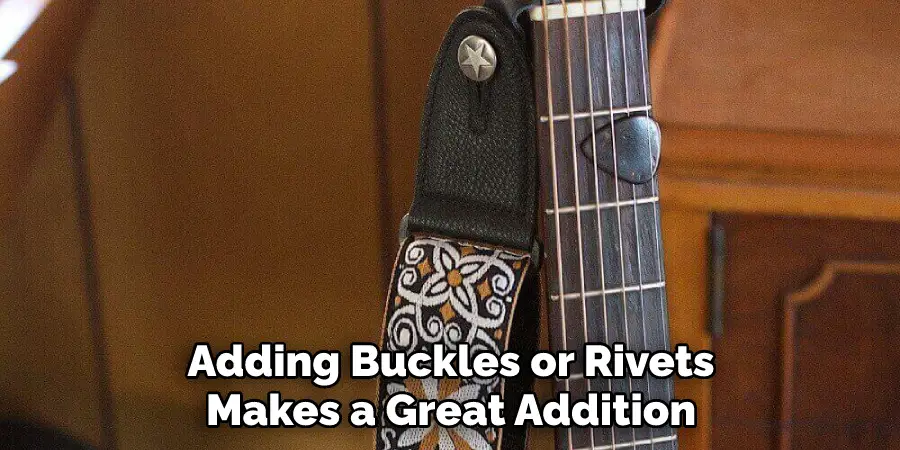
- Add Some Hardware to the Strap. Adding buckles or rivets makes a great addition to the strap and adds an extra bit of fashion. You can also experiment with different shapes and sizes of buckles or rivets to create a more interesting look.
- Use Contrasting Fabrics. Incorporating fabric into the design is another way to make your guitar strap fashionable. Using two different fabrics in one design creates an interesting contrast and adds a unique touch.
- Create a Beaded Design. Beads can add a fun, eye-catching element to the strap. You can use different shapes and sizes of beads to create intricate designs with various colors and textures.
- Embellish It With Fringe or Tassels. Fringe or tassels are the perfect way to add a fashionable touch to your guitar strap. You can use different materials such as leather, fabric, or beads when making fringe or tassels.
- Use a Tooling Technique for Added Detail. Tooling is a way of using small tools and dies to create intricate designs on leather straps. This technique can add an extra bit of detail and fashion to your guitar strap. With these tips, you will be sure to create a fashionable and unique leather guitar strap!
Conclusion
Making a guitar strap from leather is no small endeavor, but it’s rewarding to watch the outcome – an instrument that lives in harmony with its keeper. Finding the right design and pattern for you takes practice and experimentation but, if you take your time and use the resources this article on how to make a leather guitar strap has provided, you could be on your way to creating a beautiful leather guitar strap.
When all else fails, remember that there are numerous professionals who specialize in crafting incredible leather items – look them up to get some guidance. Even if the craftsmanship isn’t conducted by your own hand, you can still enjoy the fruits of their labor with pride, knowing that they have made something unique just for you.
So delve into the world of leatherworking; before long, you can put forth another quality accessory for your trusted instrument.