
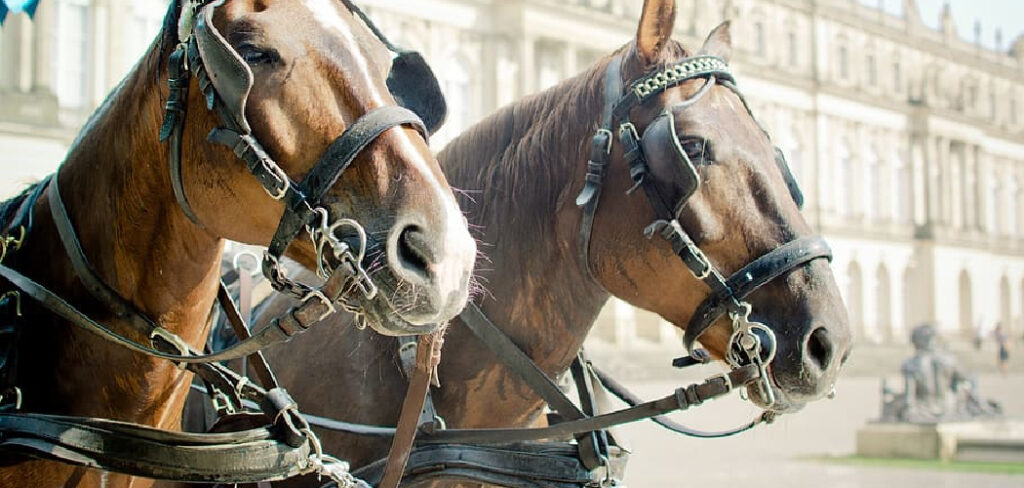
In the annals of human history, the art of horsemanship has always held a revered place. From ancient civilizations to modern equestrian pursuits, the bond between humans and horses has endured through the ages. Among the many facets of this enduring relationship, the crafting of a war bridle stands out as a testament to both function and craftsmanship.
In this comprehensive guide, we will delve into how to make a war bridle, exploring the historical significance of this unique piece of tack and the intricate steps involved in its creation. Whether you’re an experienced equestrian or simply curious about the traditions that surround horse culture, this article will provide you with valuable insights into the time-honored craft of fashioning a war bridle.
The Historical Significance of War Bridles
War bridles have long played an important role in human history. Used for centuries by warriors and soldiers alike, these bridles were designed to help control a horse during battle or war time.
They allowed the riders complete control over their steed while providing protection from harm. During ancient times, war bridles could be highly ornate, made of precious metals and jewels, and symbolizing the rider’s status. Even today, they remain a popular choice for horses that may be used in combat or military training.
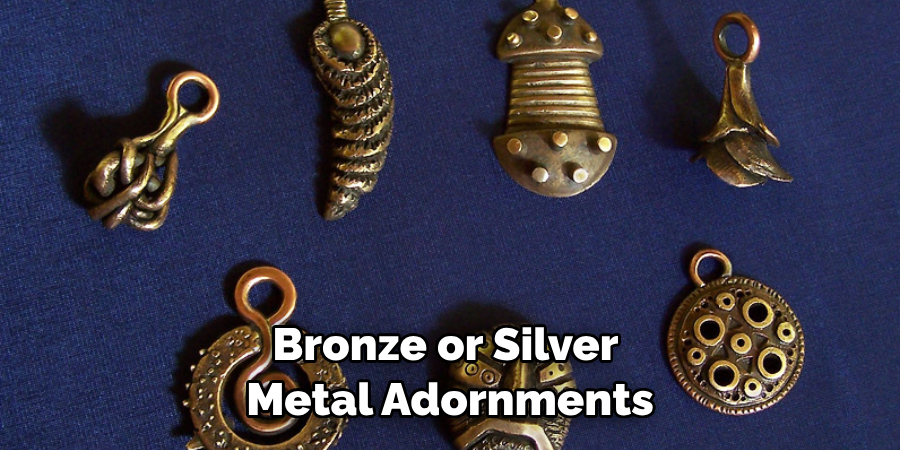
While the war bridle is not as widespread as it once was, there are still some who use them for historical reenactment purposes. The appearance of these bridles can vary greatly depending on the era being portrayed. They are often made of leather, with various buckles and straps to help adjust the fit. Bronze or silver metal adornments can also be added for a more authentic look.
No matter what its purpose may be, one thing remains certain – war bridles have been a part of history since ancient times and will continue to remain so for years to come. Whether for historical reenactment, military training, or simply as a way to honor the horse’s strength and spirit, the war bridle will always have an important place in our culture.
The Craftsmanship and Tradition Associated with War Bridles
Making a war bridle is both an art and a craft. It requires using quality materials, tools, and techniques to make a bridle that will stand the test of time. War bridles are traditionally made with leather, which provides strength and durability in the harshest environment.
The use of metal hardware such as buckles and rings provides additional reinforcement for the bridle. The craftsmanship and attention to detail that goes into making a war bridle ensures that it will last for many years.
In addition, the tradition associated with war bridles is something that has been passed down through generations of horse owners. Many choose to make their own bridles rather than buying them so they can be sure of the quality and workmanship involved in the process. This makes the bridle a symbol of pride in horsemanship and equestrian skills.
When making a war bridle, it is important to ensure that you use quality materials and tools. It is also important to make sure that all the parts are properly secured so that they do not come undone while in use.
Additionally, if any adjustments need to be made, it is important to make sure that these adjustments are done correctly. Taking the time to make sure that everything is right will help ensure that your war bridle lasts and looks great for years to come.
10 Steps How to Make a War Bridle
Step 1: Gather Your Materials and Tools
Before you begin making a war bridle, it’s crucial to have all the necessary materials and tools at hand. Here’s a list of what you’ll need:
Materials:
- Leather: Choose high-quality vegetable-tanned leather in the desired color and thickness.
- Buckles and Hardware: Select sturdy brass or stainless steel buckles, rivets, and snaps.
- Thread: Use waxed nylon thread for stitching.
- Bit: Choose an appropriate bit for your horse’s needs.
- Rein Material: Opt for strong, durable reins that match your bridle’s design.
- Decorative Elements: Optional, but you can include conchos, studs, or tooling for aesthetics.
Tools:
- Cutting Tools: Leather scissors or rotary cutter.
- Punches: Hole punches of various sizes.
- Edge Beveler: To round and smooth edges.
- Stitching Awl: For hand-stitching.
- Stitching Needles: Saddler’s needles for hand-stitching.
- Wing Divider: For measuring and marking leather.
- Pricking Irons: To create evenly spaced stitching holes.
- Mallet or Maul: For setting rivets and snaps.
- Burnishing Tools: To smooth and round edges.
- Ruler or Measuring Tape: For precise measurements.
Step 2: Design Your War Bridle
Before you start cutting and assembling the bridle, create a design plan. Consider the style, decoration, and size of the bridle. You may want a simple, functional design or a more ornate and decorative one. Sketch out your design, including dimensions and measurements, to guide you throughout the process.
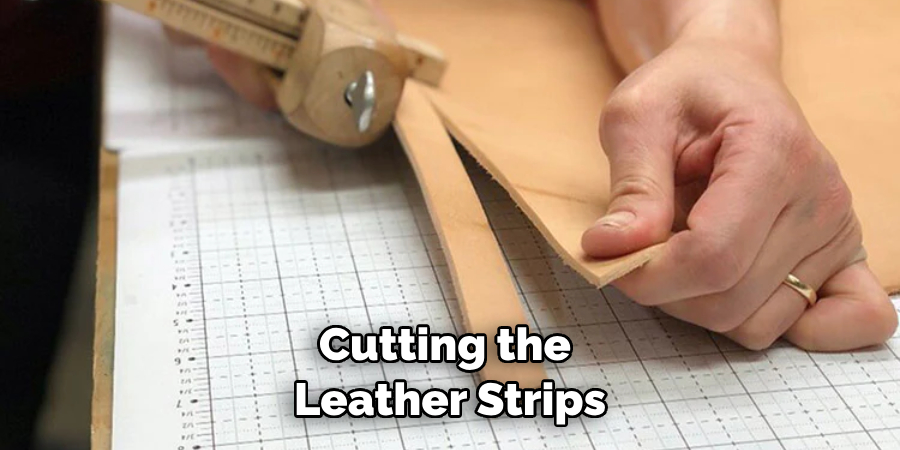
Step 3: Prepare the Leather Strips
Begin by cutting the leather strips according to your design. You’ll need strips for the headstall, cheekpieces, browband, throatlatch, and bit hangers. Use your ruler or wing divider to ensure accurate measurements, and then cut the leather with sharp scissors or a rotary cutter.
Step 4: Shape and Smooth Edges
To give your war bridle a professional finish, use an edge beveler to round and smooth the edges of the leather strips. This step is essential for both aesthetics and comfort, as sharp edges can be uncomfortable for the horse.
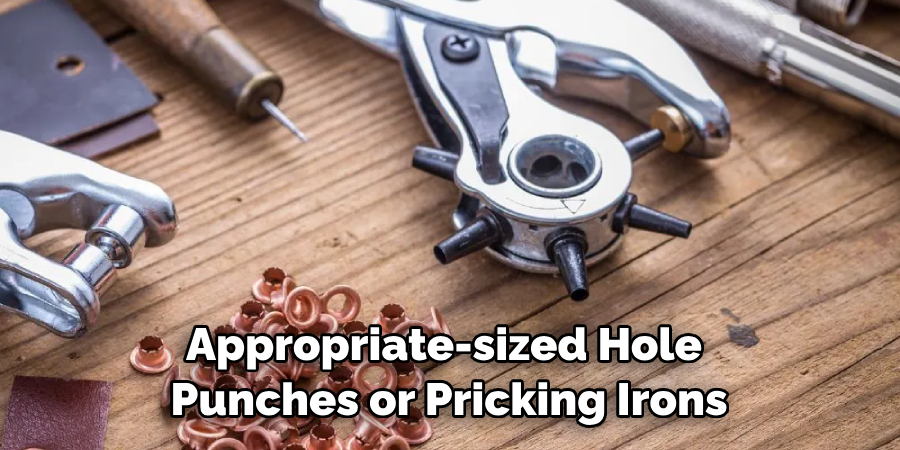
Step 5: Punch Holes
Using appropriate-sized hole punches or pricking irons, create holes along the edges where stitching or hardware will be attached. Ensure the holes are evenly spaced and aligned for a neat appearance and functional assembly.
Step 6: Assemble the Headstall
The headstall is the central part of the bridle that goes around the horse’s head. Assemble it by connecting the crownpiece, browband, cheekpieces, and throatlatch. Use brass or stainless steel buckles to secure these components, making sure they are adjustable to fit your horse comfortably.
Step 7: Attach Bit Hangers
Bit hangers connect the bit to the headstall. Cut leather straps for the bit hangers, punch holes for attachment, and secure them to the bit using rivets or Chicago screws. Ensure that the bit hangers are of equal length and positioned correctly for your horse’s bit.
Step 8: Craft the Rein
The rein is the part of the bridle that you hold onto while riding. Measure and cut the rein material to the desired length. If you’re using multiple rein pieces, attach them using a rein connector or a simple loop.
Step 9: Hand-Stitch and Assemble
Assemble the various components of the bridle, including the headstall, bit hangers, and rein. Hand-stitch these parts together using waxed nylon thread and saddler’s needles. Ensure tight, even stitching for durability.
Step 10: Finish and Decorate
Finally, apply finishing touches to your war bridle. This may include dyeing the leather, adding decorative elements like conchos or studs, and burnishing the edges to a smooth finish. Take your time with these details, as they contribute to the overall look and quality of the bridle.
Things to Consider When Making a War Bridle
When making a war bridle, there are several things to consider. The most important thing is the type of material the bridle is made from. Strong materials such as leather and synthetic fibres are both suitable for use in a war bridle, however leather will be more durable and require less maintenance.
The type of buckles used for your war bridle is also important. Traditional buckles are used for most bridles, however some riders prefer to use quick-release buckles as they can be adjusted quickly and easily. It’s important to choose high quality buckles that won’t rust or corrode over time.
The length of the war bridle should also be taken into account when making your own bridle. Generally, the bridle should be made to fit your horse comfortably and allow enough slack for easy movement of the head. Too much length can cause discomfort and too little can restrict movement.
Finally, it’s important to make sure that all hardware is securely fastened before using a war bridle in riding or competition. Check all buckles and straps for any signs of wear or tear and replace them if necessary. This will ensure that your bridle is safe to use and won’t break while in use.
Conclusion
To wrap it all up, making a war bridle is a skill that any experienced horseman should possess. It may not be something you ever use, but it’s always good to know how this equipment works and how to assemble it properly. With some patience and insight, anyone can make their own war bridle easily and safely.
Now that we’ve reviewed the basics of how to make a war bridle, why not give it a try yourself? Don’t be afraid to get creative and have fun with this project! Even if your first attempt doesn’t turn out perfectly, you can learn from your mistakes and apply them to future attempts. Making your own war bridle can be both challenging and rewarding, so why not give it a go?