Transforming plain bag hardware into eye-catching, personalized accents is a creative endeavor that can elevate your fashion accessories to a whole new level. Whether you’re a seasoned crafter or a novice looking to add a personal touch to your bags, learning how to paint bag hardware opens up a world of possibilities for customization.

From vibrant splashes of color to subtle metallic finishes, the process of painting bag hardware allows you to infuse your unique style into every detail of your accessory. In this comprehensive guide, we will delve into the art of painting bag hardware, exploring the various techniques, materials, and tips to help you achieve professional-looking results.
Whether you’re revamping an old bag, designing your own, or simply seeking to refresh your hardware’s appearance, this article will equip you with the knowledge and inspiration to embark on a creative journey that blends fashion and craftsmanship.
The Importance of Personalization and Customization in Fashion Accessories
Personalization and customization are key elements of fashion accessories, and one of the easiest ways to achieve this is by painting bag hardware. By adding a touch of color or texture to the piece, it can immediately become more unique and suited to your own personal style. Here we will go through some tips on how to paint bag hardware.
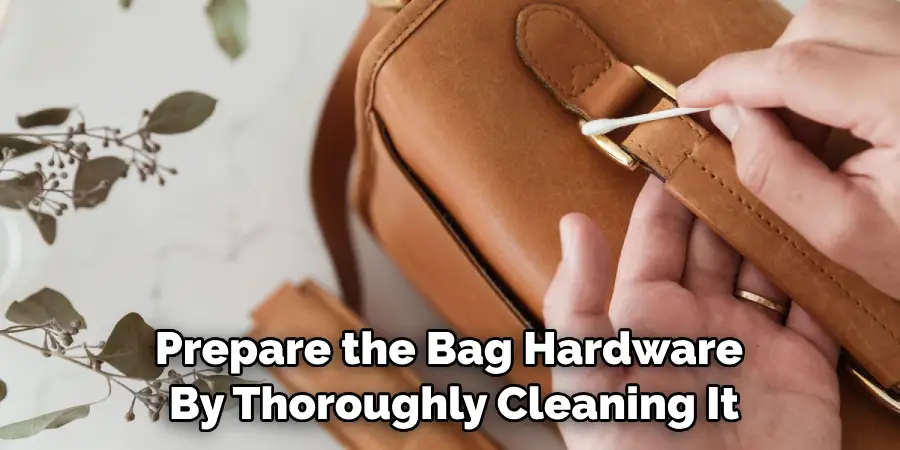
Before you start painting, be sure to prepare the bag hardware by thoroughly cleaning it. This is important for ensuring that the paint adheres properly and looks great when finished. Make sure to use a mild soap and warm water solution, and dry off any excess moisture with a cloth or paper towel before you begin painting.
Next, select your desired color of paint. You can choose from an array of colors from both water-based and oil-based paint. Be sure to look for a paint that is designed specifically for metals or leathers, as these will give you the best results.
What Bag Hardware Is and Its Significance in Accessory Design
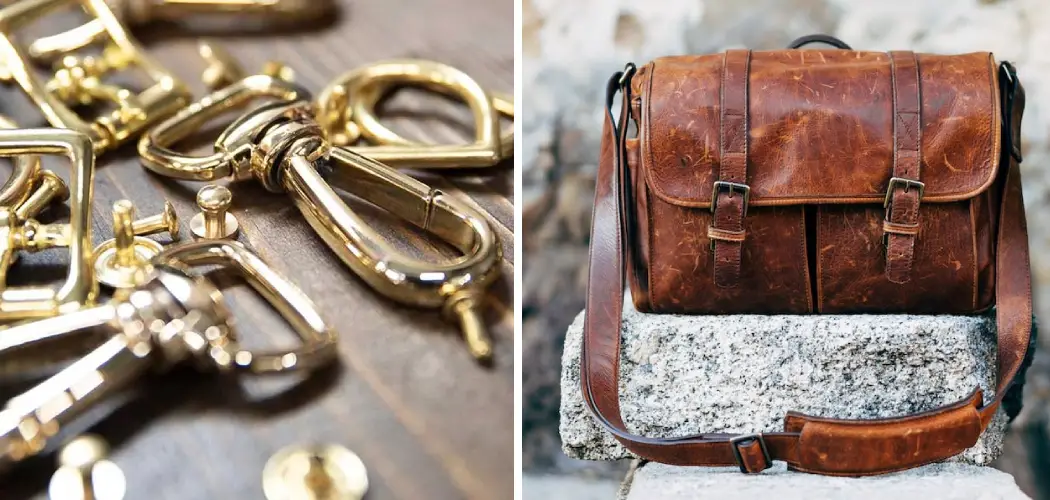
Bag hardware is an important part of the design process when creating any type of purse or accessory. Bag hardware includes the metal or plastic pieces used to assemble or decorate a bag, such as rivets, buckles, clips, hinges and zippers.
It also includes smaller elements like key rings or decoration studs. This type of hardware can help make a bag look professional, provide additional functionality or act as a decorative element.
When painting bag hardware, it is important to use the right type of paint and to prepare the surface properly before applying the paint. Painting bag hardware can involve two different types of techniques: air-dry paints and baked-on finishes.
Air-dry paints are typically used for smaller pieces of hardware and can often be found in the form of aerosol cans or bottles. Baked-on finishes are best used for larger pieces of hardware, as they require a special paint booth and more time to apply.
For both air-dry and baked-on paints, it is important to prepare the surface of the bag hardware before painting. Start by sanding the hardware with fine grit sandpaper and then wiping off any dust or debris.
10 Steps How to Paint Bag Hardware
Step 1: Gather Your Materials and Tools
Before you begin, it’s crucial to have all the necessary materials and tools ready. Here’s a list of what you’ll need:
Materials:
Bag Hardware: This includes items like buckles, clasps, zippers, studs, D-rings, and any other hardware you want to paint.
Primer: Choose a primer suitable for metal or the material of your hardware.
Paint: Depending on your design, select acrylic paint, enamel paint, metallic paint, or specialized paint for metal surfaces.

Paintbrushes: Various brush sizes for different parts of the hardware and painting techniques.
Masking Tape: For masking off areas you don’t want to paint.
Stencils (If desired): For creating intricate patterns or designs.
Sandpaper: Different grits for surface preparation.
Clear Sealant or Varnish: To protect the paint and hardware.
Safety Gear: Gloves, goggles, and a mask to protect yourself during the process.
Tools:
Screwdrivers: To disassemble bag hardware (if necessary).
Pliers: For holding hardware and making any adjustments.
Sandpaper Block: For smoother and more controlled sanding.
Cotton Swabs: Useful for cleaning and touch-up work.
Paint Palette or Disposable Containers: For mixing and holding paint.
Drop Cloth or Newspaper: To protect your work surface.
Step 2: Remove Hardware
If your bag hardware is removable, such as buckles, clasps, or D-rings, carefully disassemble them from the bag. This will make the painting process more manageable and ensure an even finish. Keep track of small parts and screws to avoid losing them.
Step 3: Clean the Hardware
Before painting, it’s essential to clean the hardware thoroughly to remove dirt, oils, and any residue. Use a mild detergent and warm water to scrub the hardware gently. Rinse and dry it completely before proceeding.
Step 4: Sand the Hardware
To promote paint adhesion, lightly sand the surface of the hardware. Use fine-grit sandpaper (around 220 grit) and sand in a circular motion. The goal is not to remove material but to create a slightly rough surface for the primer to grip onto. Once done, wipe off any dust with a clean cloth.
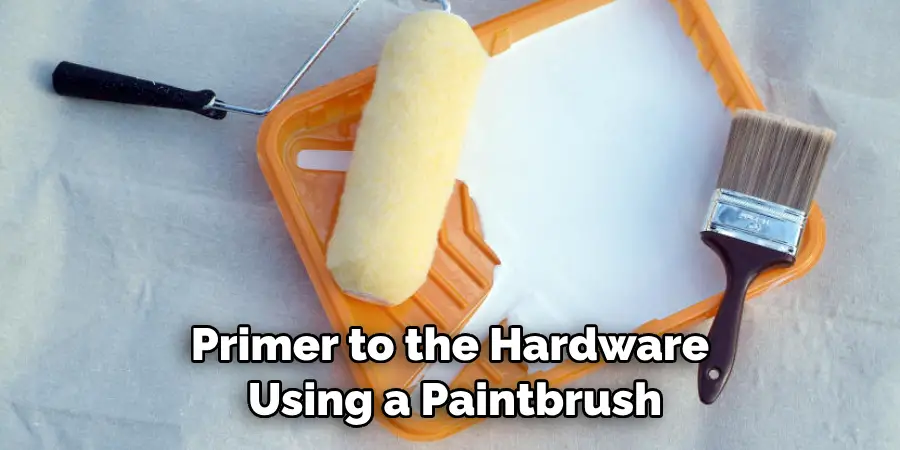
Step 5: Apply Primer
Primer is crucial for ensuring that the paint adheres well and creates a smooth, even finish. Apply a thin coat of primer to the hardware using a paintbrush. Make sure to cover all surfaces evenly. Allow the primer to dry completely according to the manufacturer’s instructions.
Step 6: Plan Your Design
Now it’s time to plan your painting design. Consider the color scheme, style, and patterns you want to achieve. You can go for a single solid color, a two-tone design, metallic accents, or even intricate hand-painted patterns.
Step 7: Start Painting
Once the primer is dry, you can begin painting the hardware. Use a small brush for precise control, and start with light, even strokes. Depending on your design, you may need multiple coats to achieve the desired opacity and finish. Allow each coat to dry before applying the next.
Step 8: Create Patterns or Effects
If you’re looking to add patterns or effects to your hardware, this is the stage to do so. You can use stencils, masking tape, or freehand techniques to achieve your desired look. Be patient and allow each layer to dry before moving on to the next.
Step 9: Seal the Paint
Once you’re satisfied with the painted hardware, it’s time to seal the paint to protect it from wear and tear. Apply a clear sealant or varnish using a clean brush, ensuring even coverage. This step not only protects the paint but also enhances its durability and longevity.
Step 10: Reassemble and Enjoy
After allowing the sealant to dry completely, reassemble the hardware onto your bag. Use the appropriate screws or fasteners to secure each piece. Double-check that everything is aligned correctly and functions as intended.
Some Common Mistakes to Avoid When Painting Bag Hardwire
Painting your bag hardware is a great way to customize the look of your bag and make it stand out. However, if you don’t take the proper precautions or use the right materials, it can quickly become an eyesore! Here are a few common mistakes to avoid when painting your bag hardware:
- Not Using Quality Paint: When choosing paint for your bag hardware, opt for a quality brand that has been designed specifically for metal surfaces. This will ensure the best possible coverage and finish.
- Skipping the Primer: Applying a primer to your bag’s hardwire is essential if you want an even and long-lasting finish! It also helps prevent chipping, wear, and corrosion.
- Not Spending Enough Time Prepping: Taking the time to properly prep your bag hardware is key for achieving a smooth finish. Make sure to thoroughly clean and dry each piece before painting, and use sandpaper or steel wool to remove any rust.
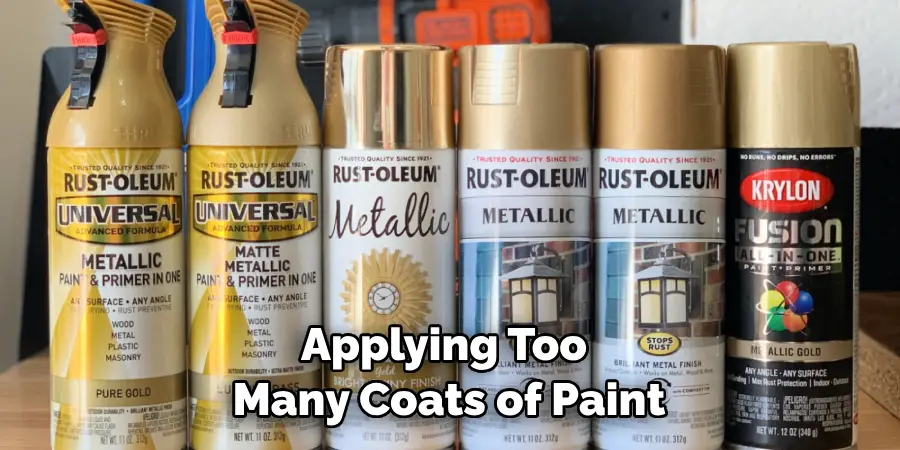
- Applying Too Many Coats of Paint: Don’t be tempted to layer on several coats of paint — one or two is usually enough. Applying too many coats can cause the paint to flake off and give a bumpy finish.
By avoiding these common mistakes, you’ll ensure your bag hardware looks great for years to come!
Conclusion
With the right materials and a bit of patience, painting bag hardware is a project that can be done in just a few hours. The end product is stunning and makes a bold statement, and it’s a great way to breathe fresh life into an otherwise dull bag. If you’re looking for more creative ways to spruce up your accessories, be sure to explore the world of DIY paints and finishes.
From glitter coats to unique designs, there are all kinds of ways to make your bags stand out. Once you master how to paint bag hardware, you can use the same skills on other projects around the house! Plus, the new look can inspire more adventurous outfit choices – Why not give it a try?