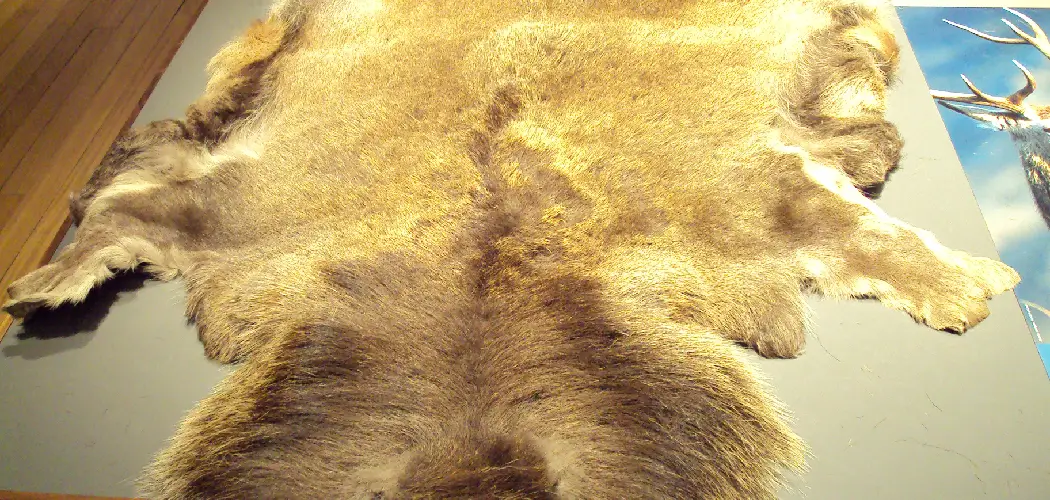
Making deer leather is a great way to create unique and stylish clothing and accessories that stand out. Deer leather offers several benefits over other types of leather, such as being lightweight yet strong, highly durable, and resistant to water and dirt. It also has a luxurious feel that makes it ideal for use in high-end fashion items.

Making deer leather has many advantages. It is a highly durable and strong material that can withstand wear and tear, making it perfect for creating lasting garments and clothing items.
Deer leather is also incredibly lightweight, making it easy to transport and work with when crafting items. Deer leather is available in a variety of colors, providing you with the freedom to choose the perfect hue for your project. You can find step-by-step instructions on how to make deer leather in this blog article.
Tools You Will Need
- De-pairing knife
- Tanning chemicals such as pickles, tannin solutions, and oils
- Hair removal brush
- Acids
- Heavy duty scissors
- Stretching tool or beam
- Air compressor or hair dryer
- Stitching awl or sewing machine
- Finishing spray
- Sandpaper
- Sponge
- Thread
Before embarking on this process, sourcing quality deer hide leather is important.
Step by Step Processes for How to Make Deer Leather
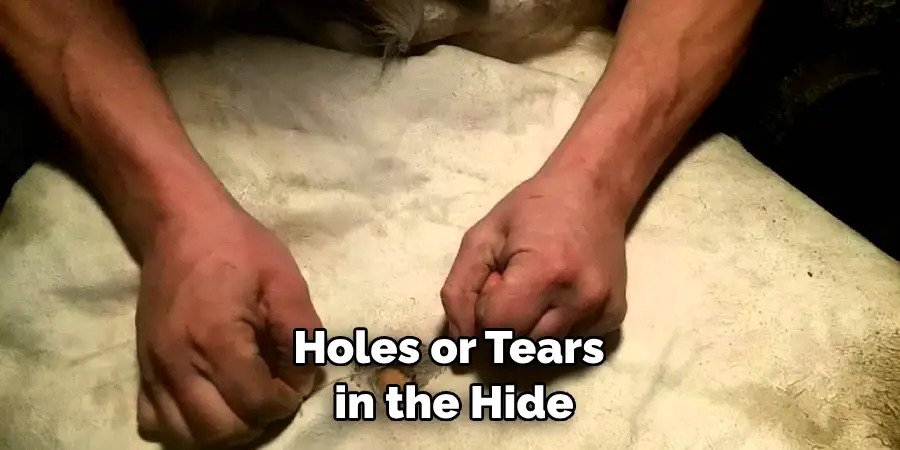
Step 1: Inspect the Hide
Before tanning any deer hide, inspect it for damage and lesions. If there are any holes or tears in the hide, repair them with a needle and thread. Also, if any patches of hair need to be removed, use a sharp blade to scrape them off.
Step 2: Stretch the Hide
After inspecting the hide, stretch it out on a flat surface and use water to dampen it. This will make the hide more pliable and easier to work with when tanning. The next step in making deer leather is tanning. Traditionally, this was done by using animal brains as a tanning agent.
However, modern methods often use chemicals such as chromium sulfate and formic acid. For best results, submerge the hide in the tanning solution for a few days before rinsing it with clean water.
Step 3: Thickening the Hide
After the hide is tanned, it must be thickened to make leather. This process is done by rubbing salt into the hide and then allowing it to dry. Once the hide is dry, it must be scraped with a knife to remove any remaining salt.
After thickening, the hide must be softened before being used for leather. This can be done by rubbing animal fat into the hide and letting it sit overnight. After this process, the hide should be soft and pliable.
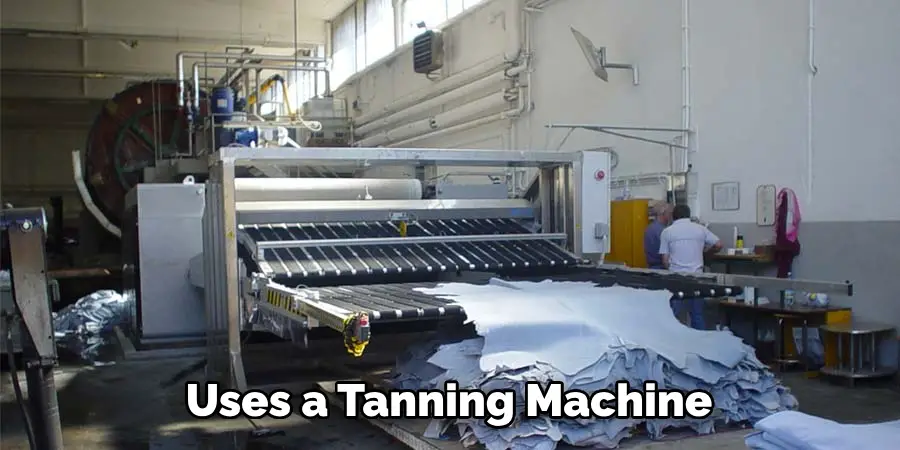
Step 4: Turning the Hide into Leather
This step uses a tanning machine to press the hide between two rollers. This will cause the hide to flatten out and become leather-like in texture. The result should be a thin, flexible piece of material that can be used for various purposes.
Once the leather is made, it can be stained with natural dyes or other tints to give it a unique look. This will also help protect the hide from the elements and make it last longer.
Step 5: Conditioning
After staining, the leather must be conditioned to keep it soft and supple. This is done by rubbing leather conditioner into the hide and then buffing it to a shine. Finally, any remaining imperfections can be fixed with a small amount of wax or oil. This will help seal in the color and give the leather a polished look.
Step 6: Sealing the Leather
The last step in making deer leather is to seal it. This is done by applying a waterproofing agent or coating to the hide. This will help protect the hide from water and other elements while making cleaning easier.
Once all these steps are completed, you should have a beautiful piece of deer leather ready to be used for whatever project you need. Making deer leather is a great way to add a unique touch to any crafting project.
Precautions for How to Make Deer Leather
- Wear protective gear such as gloves, goggles, and a dust mask when handling deer hides.
- Be aware that tanning processes involving chemicals can be hazardous for your health, so always read any directions carefully.
- Have good ventilation where you are working to avoid inhaling harmful fumes from chemical tanning agents.
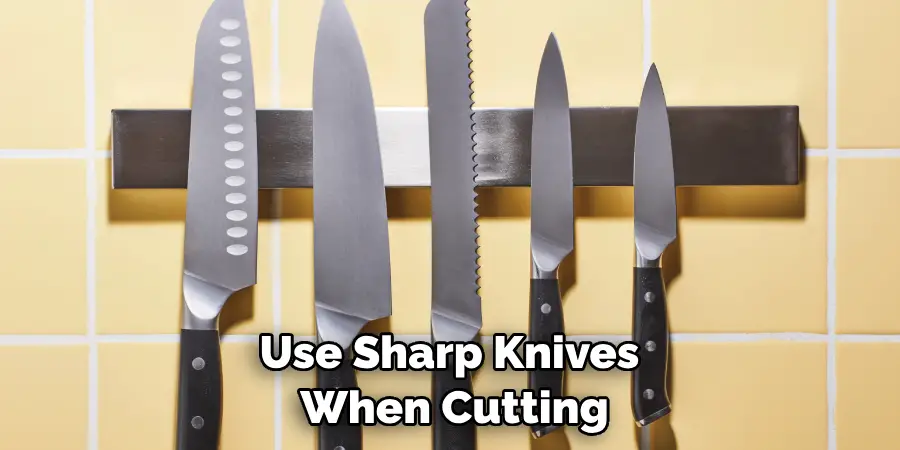
- Always use sharp knives when cutting and scraping deer hides, as dull blades will not work as well and may be more likely to cause accidental injuries.
- Make sure to store and handle chemical tanning agents safely and securely away from children or pets.
- When fleshing out the hide, don’t cut too deeply into the flesh, as this can damage the hide and make it unsuitable for tanning.
- Dispose of any waste from the de-fleshing process appropriately and safely.
These precautions are important to follow when making deer leather, as they will help ensure that you stay safe while working with potentially hazardous materials such as chemical tanning agents.
How Long Does It Take to Cure the Hides Once They Have Been Tanned?
The curing time required for deer leather depends on the type of tanning method used, climate conditions, and temperature. Generally, vegetable-tanned hides must cure for 6 to 8 months in cool, dry conditions for the best results. However, some faster methods, such as Chrome or alum tannage, will require less curing time – usually about a month.
It is important to ensure the temperature and humidity are ideal during curing, as this will affect the drying time and ensure that the leather does not become brittle or smell bad from bacteria. Additionally, it is recommended to use fans or dehumidifiers for extra ventilation to speed up the curing process.
Once your hides have been tanned and cured, they can make various goods such as clothing, upholstery, bags, and more. With proper care and maintenance, deer leather should last for many years and become even softer and more supple with age.
What is the Best Way to Store and Care for Finished Deer Leather Products?
Once you have made deer leather products, storing and caring for them properly is important to ensure their longevity. Store the items in a cool, dry place away from direct sunlight. Keep the products away from moisture and humid conditions, which can cause the leather to become brittle over time.
Cleaning should be done with a soft cloth dampened with warm water. Avoid using chemicals or detergents that may damage the leather, as this will shorten its lifespan. Leather conditioner can be used to keep the material supple and soft.
Storing deer leather products in a dust bag can help protect them from dirt and dust when not in use. To maximize the life of your deer leather product, handle it with care and store it in the proper environment.
With proper care, it can last for many years. In summary, deer leather is ideal for creating beautiful and durable products, but it requires special care to ensure its longevity. Be sure to store and clean your items properly, and use a dust bag whenever possible to protect them from dirt and dust.
How Do You Find Out More Information About Making Deer Leather?
Many resources are available online if you are interested in learning more about making deer leather. A good place to start is by doing a web search for “making deer leather.” This will bring up a variety of websites, articles, and forums discussing the process. You may also want to check out some of the available tanning books.
If you would like to talk to an expert in the field, some leatherworking forums can be found online with members who may have experience in tanning deer hides. Additionally, many local craft shops and taxidermists offer classes or guidance on tanning techniques.
Once you learn to make deer leather, you can start creating beautiful pieces of leather for your use or as gifts. With the right tools, supplies, and knowledge, you can make deer leather items that are both unique and durable.
What Type of Maintenance Do Deer Leather Products Require?
Deer leather is a durable and versatile material for various applications, including clothing and footwear. While deer leather is strong and sturdy, it still requires maintenance to maintain its appearance. The following steps will help keep your deer leather in top condition:
- Cleaning: Use a soft damp cloth to remove dirt or grime from the surface of deer leather. Be sure to avoid using harsh cleaning chemicals or soaps, which can damage the material.
- Conditioning: Apply a quality leather conditioner to the surface of your deer leather product. This will help keep it supple and prevent cracking or drying out over time.
- Protection: If you plan to use your deer leather product in wet or humid conditions, it’s important to apply a waterproofing spray. This will help protect the material from water damage and prevent mold growth.
- Storage: To preserve the life of your deer leather product, keep it stored away from direct sunlight or high temperatures when not in use. It’s best to store it in a cool, dry place such as a closet or drawer.
By following these steps and taking good care of your deer leather products, you can ensure they remain in great condition for years.
Conclusion
In conclusion, making deer leather is no small feat. The process requires much attention to detail and dedication to achieve the desired quality and durability. The tanning process is the most important step, ensuring the leather lasts for years.
You must choose your tanning chemicals carefully, test them on a small patch before committing to larger batches, and work diligently to ensure they are applied correctly.
After the tanning process, you must dry and cure the leather before it can be used for your desired project. Finally, you must finish the leather with either waxes or oils to give it a glossy look and extra protection against water damage. Reading this post has helped you learn how to make deer leather. Make sure the safety precautions are carried out in the order listed.