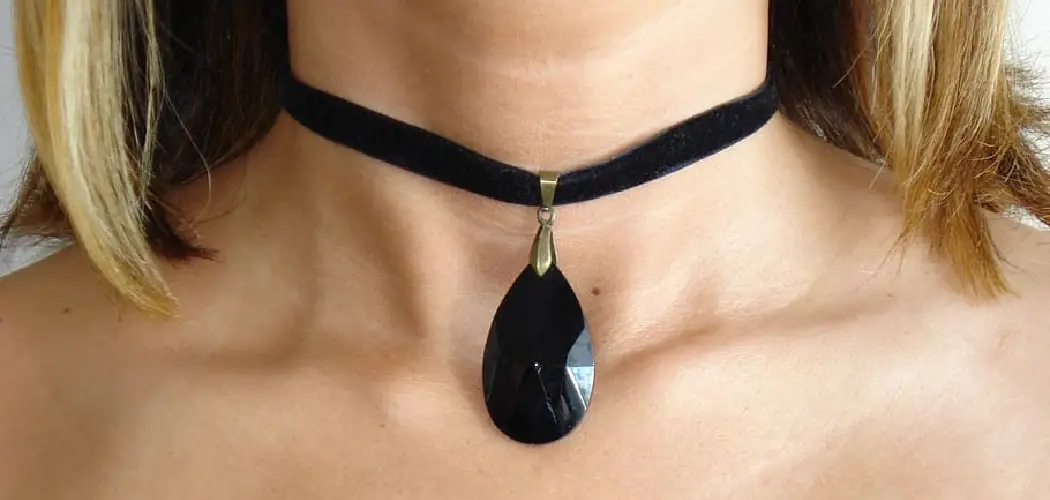
Not only do leather chokers add a unique, chic touch to any outfit, but they are also incredibly durable and versatile. Whether you’re looking for an edgy accessory or something more subtle, leather chokers can be styled in various ways and paired with different outfits.
Making your leather choker is a great way to express creativity and style. It’s also an inexpensive alternative to buying one from a store. Making a leather choker requires minimal supplies and skills, making it easy for anyone to do. You can customize the style of the choker however you like so that it perfectly fits your needs and tastes. In this blog post, You will learn how to make a leather choker in detail.
Tools You Will Need
- Leather lacing
- Scissors
- Jewelry pliers
- Needle and thread (for attaching embellishments)
- Ruler
- Marker or fabric chalk
- Lighter or candle
- Awl or leather hole punch
- Embellishments such as beads, feathers, charms, ribbon
- Jump rings to attach charms
- The clasp of your choosing
- Leather glue (optional)
Once you have all the supplies, it’s time to get started. Begin by measuring the circumference of your neck and cutting a piece of leather lacing in that length.
Step-by-Step Processes for How to Make a Leather Choker
Step 1: Inspect the Leather Material
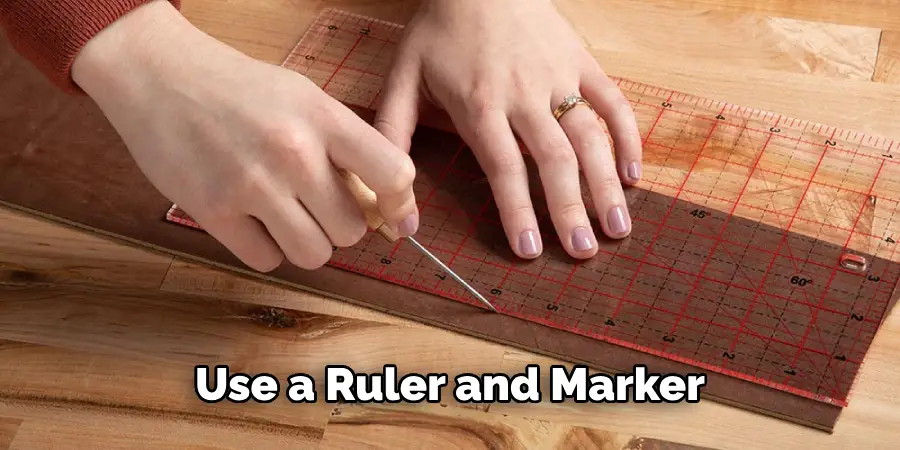
The first step is to inspect the leather material to make a leather choker. Ensure it’s in good condition and free of any tears or holes. Use a ruler and marker to draw out a square, rectangle, or circle that measures about 14 inches by 1 inch (or whatever size you’d like your choker to be). Then, use a leather cutting tool to cut out the piece.
Step 2: Punch Holes in the Leather Piece
Once you cut your shape out, measure 1/2 inch from each side and mark where you want to make holes. Use a leather hole punch tool to create two holes on each side. Measure a long leather cord to make two loops around your neck and tie in the back. Thread one end through each hole in the leather piece. Then, tie the ends together at one side of the choker.
Step 3: Add Embellishments or Charms
If desired, you can add charms or embellishments to the choker. Measure and mark where you’d like them placed, then use a leather hole punch tool to create two holes. Thread through the charm or embellishment, then tie a knot at each end of the cord.
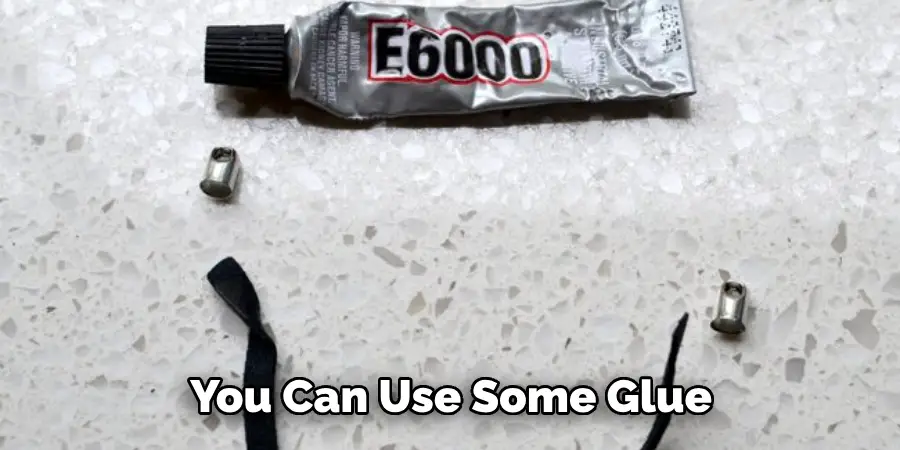
Step 4: Glue Down Charms or Embellishments
If desired, you can use some glue to secure the charms or embellishments further. Make sure you’re using the right kind of glue for leather. To add beads, thread one end of the cord through each set of holes in the leather piece. Then, string your desired beads onto one side, leaving enough space for the clasp. Add a clasp to both sides of the choker, then tie it off at each end.
Step 5: Cut off the Excess Cord
Once you have everything in place, use scissors to cut off any excess cord. Use sandpaper or a file to smooth out any rough edges. To finish off the leather choker, use a leather conditioner or sealant to protect it and keep it from drying out over time.
And that’s how you make a leather choker! With these steps, you can create your unique piece of jewelry that’s perfect for everyday wear or special occasions.
Safety Precautions for How to Make a Leather Choker
- Always ensure you are working in an area that is free of distractions or clutter and has adequate lighting and ventilation. Wear safety goggles when cutting leather or using machinery to protect your eyes from debris.
- When working with leather, wearing clothes that cover as much of your skin as possible is important. Long-sleeved shirts and pants will help protect you from the sharp edges of leather when cutting or punching holes.
- When working with leather, try to avoid using strong solvents, such as acetone or nail polish remover. These can damage the surface of the leather if misused, making it difficult to adhere materials or dye to the leather.
- Always read the instructions and safety warnings on any tools you use before operating them. Power tools can cause serious injuries if misused, so ensure you know how to use them correctly before proceeding with your project.
- Use a sharp knife or blade to ensure a clean cut when cutting leather. Dull blades can tear the leather, making it difficult to assemble your choker.
- Ensure all your tools, such as knives and punches, are stored safely when not in use. This will help protect you from any accidents while grabbing or moving these tools around your workspace.
Creating a custom leather choker can be an exciting and rewarding experience, but it is important to take all necessary safety precautions.
What Type of Leather Should You Use to Make a Choker?
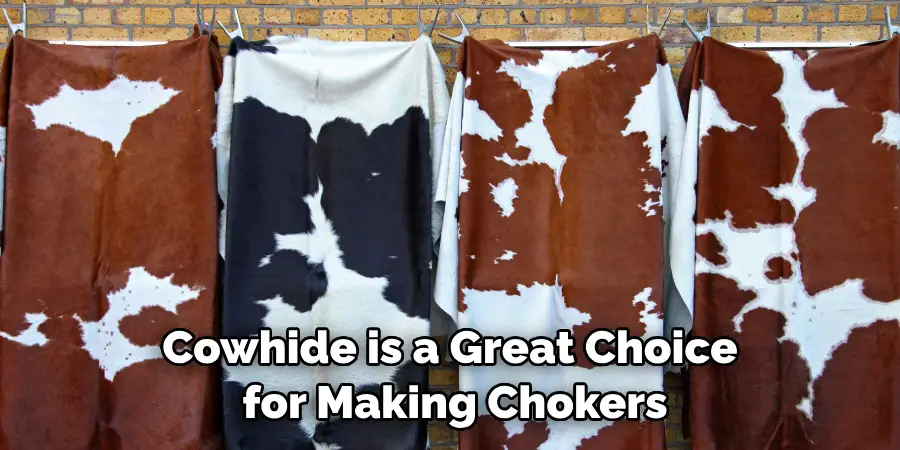
When making a leather choker, choosing the right type of leather is important. You’ll want to pick a durable material that will stand up to wear and tear. Popular types of leather include cowhide, suede, deerskin, and lambskin.
Each type offers its unique advantages and disadvantages, so be sure to consider each option carefully. Cowhide is a great choice for making chokers because it’s solid and can withstand regular wear and tear.
It’s also relatively cheap, so you won’t have to break the bank if you choose this type of leather. Suede is another popular choice for chokers due to its soft feel and attractive look. It’s also very durable and can last for a long time. Deerskin is another excellent option for chokers because it’s incredibly soft and supple. However, deerskin may not be the most durable choice because of its delicate nature.
Is There an Easier Way to Make a Leather Choker Than Manually Stitching It Together?
Certain leatherworking projects require careful stitching and detail-oriented techniques. However, some designs can be done without using a needle and thread. One of these designs is the classic and stylish leather choker.
The easiest way to make a leather choker is to use rivets. Rivets are metal fasteners that come in various sizes and shapes, allowing you to customize the look of your choker.
Cut two leather strips into 4-5 inch lengths to make a riveted leather choker. Next, lay each strip on the counter with its edges overlapping slightly, and mark two holes near the edge of each strip.
After marking your holes, use a drill or punch to create them. Next, place the rivets through both strips and secure them with a hammer or anvil. Add adornments such as beads or charms to your choker for a unique look if desired.
How Can You Make Sure My Choker is Strong and Durable Enough to Last?
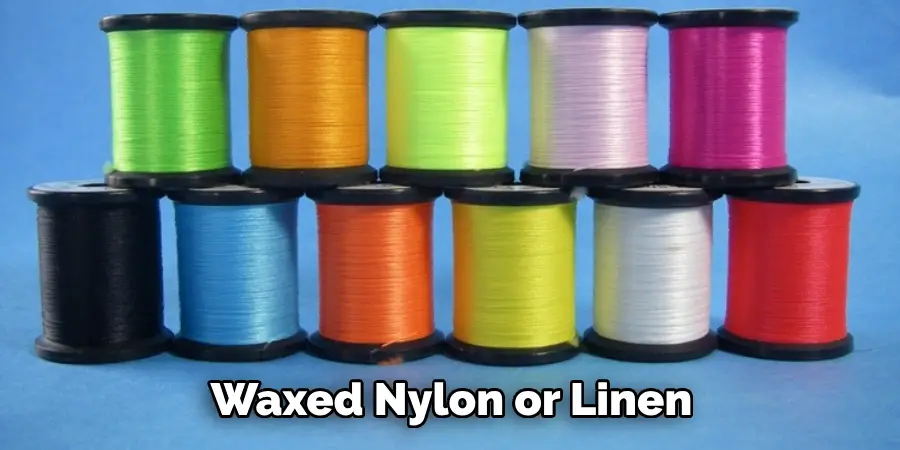
When making a leather choker, it is important to use quality materials. Choose high-quality genuine leather and make sure that the clasps used are reinforced to keep your choker secure. Stitch all pieces together using a strong thread such as waxed nylon or linen.
Also, consider adding a few extra stitches at key points along the choker for extra reinforcement. Finally, it is also important to use a quality sealant on the finished product to help protect the leather from wear and tear. With these tips, you can ensure that your choker will look great and last for years.
Is There Any Special Care You Should Take When Storing Your Leather Choker?
Yes, there are a few steps you should take to ensure that your leather choker is well-protected and lasts for many years:
- Store it in a dry place. Leather tends to be sensitive to humidity and can easily become misshapen if exposed to too much moisture. It’s best to store it in an area with low levels of humidity when not being worn.
- Avoid sunlight. The ultraviolet rays from the sun can cause fading or discoloration to leather, so it’s best to keep it out of direct sunlight when storing.
- Use a soft cloth to clean and polish your choker occasionally. This will help remove any dirt or dust accumulated on the surface and help protect it from further wear.
- If your choker needs to be stored for a longer period, you can wrap it in a soft cloth and slip the wrapped item into an air-tight plastic bag to keep out moisture.
Following these simple guidelines will help maintain the beauty and condition of your leather choker for years to come.
Conclusion
Making a leather choker is not as difficult as it may seem. With the right tools and materials, anyone can make a beautiful choker with minimal effort. While there are many options for designs and styles, the most important thing to remember is to use quality leather-crafting supplies and follow all directions carefully.
Taking your time to create something special will result in an item you can wear with pride for years. Reading this post has helped you learn how to make a leather choker. Make sure the safety precautions are carried out in the order listed.