Do you love the look of leather but don’t want to spend a fortune on it? Or, you’re looking for an animal-friendly alternative.
Fortunately, there are ways to transform fabric into faux leather that looks like the real thing! With some simple steps and creative thinking, you can make fake leather that will give your home decor pieces or wardrobe items an effortlessly chic upgrade without breaking the bank. Whether you’re a DIY enthusiast or want to spruce up your space, follow these tips to make fake leather look real.

In this blog post, we’ll show you how to turn ordinary fabric into convincing and luxurious looking fake leather! So, keep reading to learn more about how to make fake leather look real!
What Will You Need?
Before you begin, you will need a few items to get started. Here is a list of materials:
- The fabric of your choice (cotton, polyester, etc.)
- Liquid leather or faux leather adhesive (available at craft stores)
- Paintbrush
- Iron with the steam setting
- Tacky glue
- Sandpaper or fine-grit sanding block
Once you have these items, you are ready to start!
10 Easy Steps on How to Make Fake Leather Look Real
Step 1: Cut and Prep Fabric
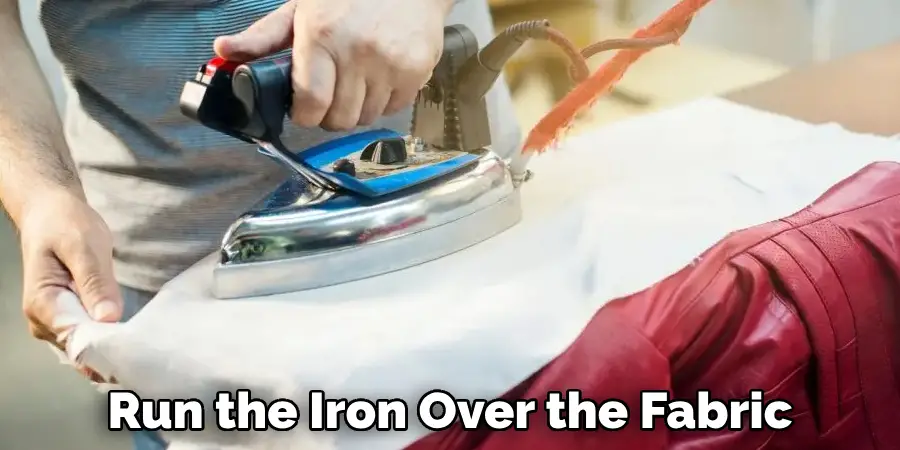
The first step is to cut the fabric into the desired shape. Cut it slightly larger than you need to allow for shrinkage after steaming. Once your fabric is cut, you must pre-shrink and flatten it. This will help ensure your faux leather looks smooth even after applying the adhesive. Run an iron over the fabric at a high heat setting to do this. Also, lightly sand any raised edges or bumps on the fabric with your sandpaper or block.
Step 2: Apply Liquid Leather
Now it’s time to apply your liquid leather or faux leather adhesive. You’ll want to use a paintbrush to spread the adhesive evenly over the fabric, ensuring that each section is completely covered. Once you have applied the adhesive, let it sit for about 10 minutes before moving on to Step 3.
Step 3: Steam
The next step is to use your iron with a steam setting to activate the liquid leather. This will help give your faux leather a realistic look and feel. Run the iron over the fabric for about 3-4 minutes, making sure that all areas of the fabric are steamed thoroughly.
Step 4: Glue on Edges
Once you have steamed the fabric, it’s time to glue on any edges that may be loose and flapping. This is where your tacky glue comes in. Apply a small amount of tacky glue along the edges of your faux leather and press down firmly with your fingers or a tool to hold it in place for several minutes until dry.
Step 5: Dry and Smooth
After applying the glue, letting your faux leather dry completely is crucial. This drying time can vary depending on the type of fabric and adhesive you use, but generally, a few hours should be sufficient. Once it’s dry, take your sandpaper or sanding block and lightly go over the entire surface. This process will help remove any uneven areas, giving your faux leather a smoother and more realistic appearance. Be gentle, as excessive sanding can damage your newly created faux leather. After sanding, wipe off any residue with a clean, dry cloth, and your faux leather is ready for use!
Step 6: Add Finishing Touches
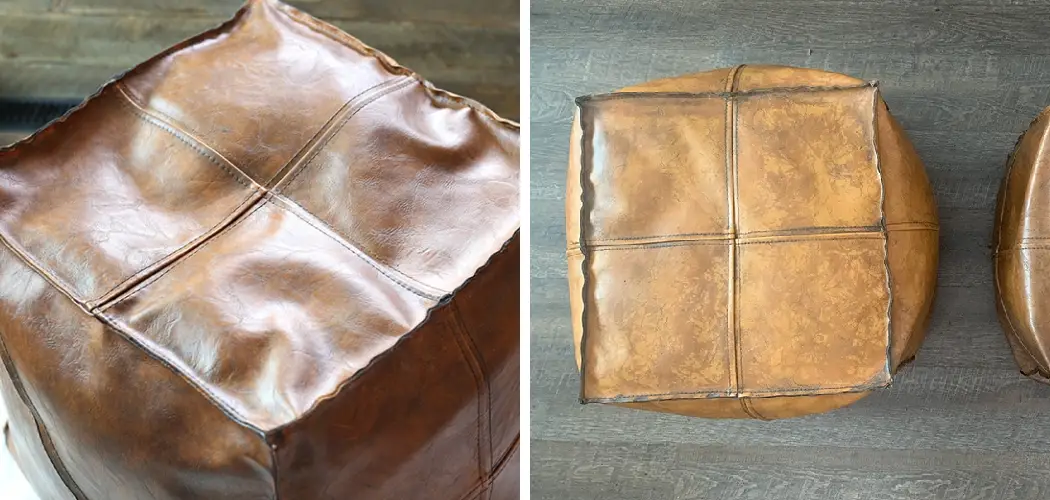
Consider adding some finishing touches to give your faux leather an authentic look. One popular method uses black and brown acrylic paint to create a natural leather color and texture. Thinly apply this mixture to your faux leather using a sponge or a soft rag, and allow it to dry fully. Remember, less is more – you can add another coat if needed. This faux-aging technique can make your faux leather seem worn and well-loved, like real vintage leather.
Step 7: Seal and Protect
The final step involves sealing and protecting your newly created faux leather. This will help maintain its appearance and longevity. For this purpose, you can use a clear acrylic sealer, available at most craft stores. Spray a light coat of the sealer onto your faux leather, making sure to cover all areas.
Allow this to dry thoroughly. Once dry, your faux leather will have an added layer of protection against wear and tear, making it even more comparable to real leather. Now, you can use this faux leather in your crafts, clothing, or home decor confidently, knowing it looks like the real thing and will stand the test of time.
Step 8: Preserve and Care
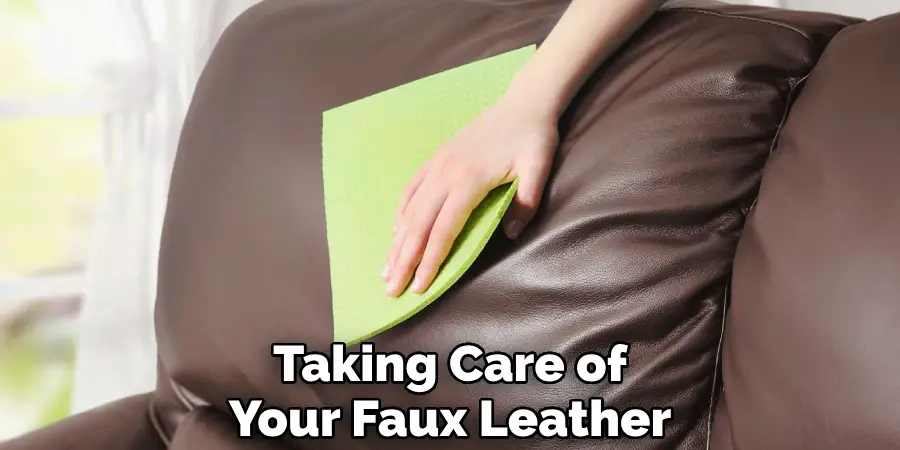
Taking care of your faux leather is as important as creating it. Faux leather should be cleaned with a damp cloth and mild soap, never harsh chemicals or abrasive materials, which can damage the surface. When not in use, store your faux leather items in a cool, dry place away from direct sunlight, as excessive heat and light can cause the faux leather to crack. If your faux leather item gets wet, let it air dry completely.
Step 9: Enjoy Your Faux Leather
Now that you’ve successfully learned to make fake leather look real and created your faux leather, it’s time to enjoy your efforts! Use faux leather in home decor projects, clothing, crafts, and more. Thanks to its durability and convincing aesthetic, your faux leather can be a great substitute for real leather in many applications.
Step 10: Showcase Your Work
After carefully crafting and finessing your faux leather, the final step is showcasing your work! Incorporate your faux leather into fashion accessories, furniture upholstery, or home decor pieces. Share your creations on social media platforms or DIY craft communities to inspire others. Not only have you learned to make fake leather look real, but you’ve also gained a new skill that can be used in myriad ways, once again proving that DIY crafts are both a fun pastime and a practical, creative solution.
By following these ten easy steps, you can make faux leather look as realistic and genuine as the real thing. With just a few tools and materials, you can create high-quality DIY projects that will last many years!
5 Additional Tips and Tricks
- Consider using a leather-like fabric for your projects. Leather-like fabrics offer many of the same properties as genuine leather, including texture and durability, without requiring you to work with real hides.
- Experiment with embossing patterns or stamping on faux leather to add more authenticity to the look.
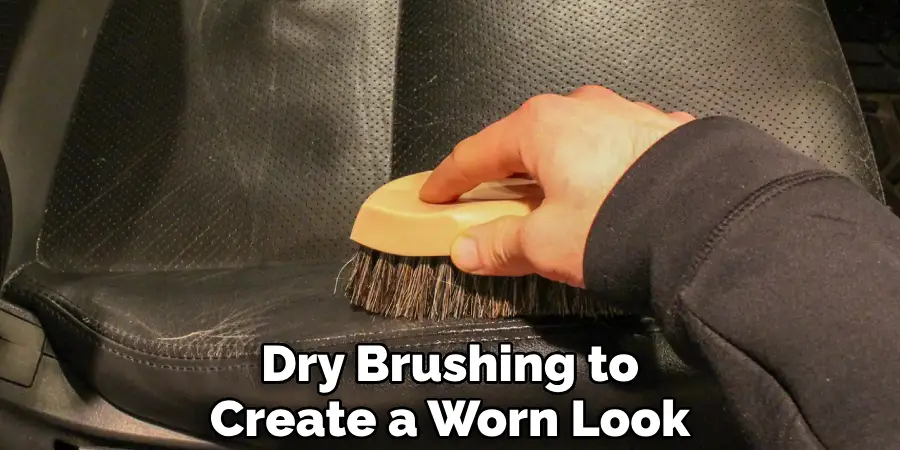
- Use a rubbing or dry brushing to create a ‘worn’ look.
- A dark leather dye or paint can give fake leather an aged appearance.
- For added realism, use real hardware (such as buckles, buttons, and zippers) on projects made with faux leather. This will help bring the piece together and make it look more genuine.
Nobody wants to be stuck with a fake leather project that looks imitation. With the right knowledge and a few extra touches, you can make faux leather look genuine!
5 Things You Should Avoid
- Don’t use a glossy finish on your faux leather. Real leather is never shiny or overly glossy, and this will make it look obviously fake.
- Avoid using too many embellishments or designs that are not commonly found with genuine leather goods.
- Never use harsh chemicals to clean or condition faux leather – instead, opt for products designed specifically for faux leather.
- Avoid using bright and unnatural-looking colors, as these will draw attention to the fact that it’s fake.
- Don’t go overboard with texturizing techniques – while this can make a big difference in how genuine your faux leather looks, too much texture can be just as obvious as not enough!
By keeping these tips in mind and getting the details right, you can make any project made with fake leather look authentically real.
What is the Most Common Fake Leather?
The most common type of fake leather is polyurethane (PU) leather. PU leather is made from a plastic-coated fabric that looks and feels like genuine leather but at a fraction of the cost. It’s often used for upholstery, clothing, bags, and other products around the home.
Another popular faux leather option is leatherette, a heavier material with a more textured finish. While it’s not as pliable or soft as genuine leather, it has some of the same qualities and can be used for many of the same applications.
No matter what type of faux leather you choose to work with, remember that getting the details right and taking advantage of the tips above is key to making it look authentically real. With some creativity and effort, you can create beautiful projects with faux leather that will make your friends convinced that it’s a genuine article!
Conclusion
While numerous options exist for achieving a realistic, lifelike look for faux leather, the most common advice is to utilize cleaners and conditioners designed specifically for fake leather.
Additionally, a few drops of essential oil or lemon juice can be added to water rags to add shine and vibrancy. Finally, ensuring that your faux leather is not exposed to heat, direct sunlight or excessive humidity will ensure that it maintains its quality, so regular maintenance is key. All in all, these tools and resources should provide an ample amount of guidance on the path toward keeping your faux leather looking as real as possible.
By following these steps on how to make fake leather look real, you can keep those beautiful items looking like they’re fresh off the store shelf for much longer than expected. So happy cleaning – you got this!