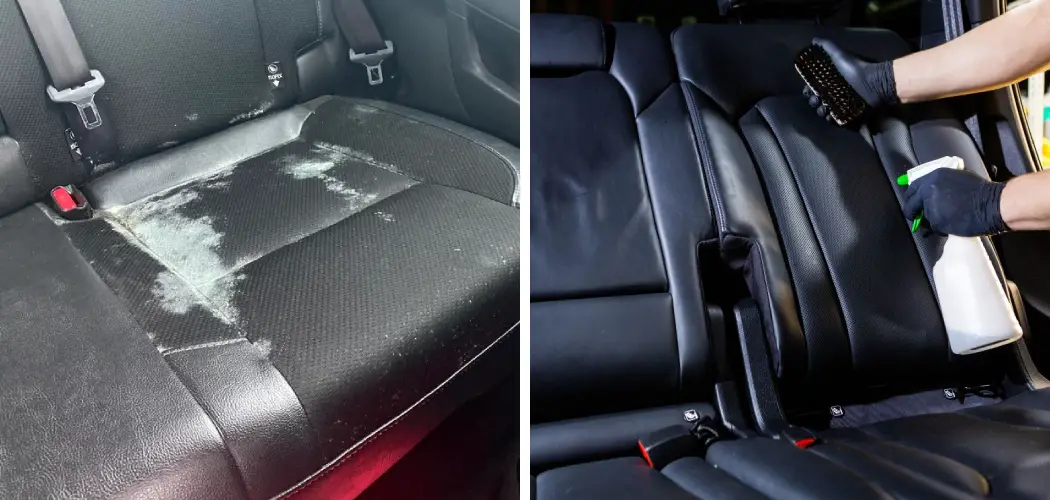
When mold creeps into your vehicle, it can distract from anything else occupying the interior. Not only is it unsightly and potentially damaging to your car’s upholstery, but its musty smell can easily overpower any other pleasant scents in the area—no matter how many air fresheners you hang from your rearview mirror. But don’t despair!

You can take simple steps to remove mold from leather seats safely, effectively, and without much fuss or strong chemicals. If you take the time to clean and protect your car’s interior, you can keep mold from coming back.
In this blog post, we’ll cover everything you need to know about how to remove mold from leather seats!
Is Mold on Leather Permanent?
The first thing to know is that mold on leather is not permanent, and it can be removed with patience and some elbow grease. You can use a few different methods to remove the mildew, so depending on how much time you have available or what supplies you have access to, one method may work better for you than another.
Regular maintenance and preventive care can also help keep your car’s leather clean and free from mold. So you won’t have to constantly worry about it coming back.
What Will You Need?
Before you begin, it’s important to have the right supplies. You’ll need:
- A soft cloth or brush
- Mild detergent
- White vinegar or rubbing alcohol
- Water
- Leather conditioner (optional)
- Steam cleaner (optional)
Once you’ve gathered your supplies, you’ll be ready to start cleaning!
10 Easy Steps on How to Remove Mold From Leather Seats
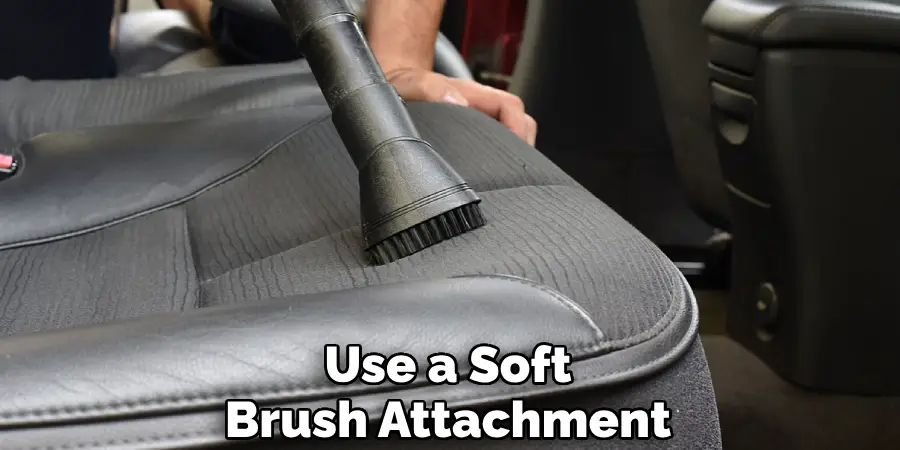
Step 1. Vacuum the Seats:
The first step in removing mold from leather seats is to vacuum the seats to eliminate any loose mold spores. Use a soft brush attachment to avoid scratching the leather. Make sure to vacuum all the nooks and crannies where mold spores could hide. This will also remove any dust or dirt interfering with the cleaning process.
Step 2. Prepare a Mild Detergent Solution:
After vacuuming, prepare a solution using a mild detergent and lukewarm water. When stirred, the solution should have enough detergent to create a few bubbles but not so much that it becomes too soapy. This mild detergent solution will help break down the mold without damaging the leather seats. Always test the solution on a small, inconspicuous part of the seat before applying it all over, just to ensure it doesn’t discolor or damage the leather.
Step 3. Apply the Detergent Solution:
Next, dampen a soft cloth or brush in the detergent solution and gently scrub the moldy areas on the leather seats. Do not oversaturate the leather, as excessive water can cause more damage. Instead, lightly scrub the surface lightly to lift and remove the mold. Once you’ve treated all the moldy areas, use a clean, damp cloth to wipe away the detergent solution along with the lifted mold.
Step 4. Rinse and Dry:
Afterward, rinse the cleaned areas with a cloth dampened in clear, lukewarm water to remove any remaining detergent solution. Again, be careful to keep the leather neat. Once rinsed, pat the areas dry with a clean, soft towel. It’s crucial to remove any excess moisture, as it can encourage mold growth. To speed up the drying process, you can use a hairdryer on the lowest setting, keeping it at a safe distance to prevent overheating and damaging the leather.
Step 5. Apply the Vinegar or Rubbing Alcohol:
If the mold stains persist after the detergent cleaning, you must adopt a stronger approach. White vinegar or rubbing alcohol can be very effective against stubborn mold. Dampen a clean cloth with vinegar or rubbing alcohol and gently wipe the affected areas. Be cautious not to apply too much, as these substances can lighten your leather’s color if used excessively. Allow the vinegar or alcohol to sit on the surface for a few minutes, then use a clean, damp cloth to wipe it off.
Step 6. Dry and Ventilate:
After cleaning, make sure to dry your leather seats thoroughly. A damp environment can encourage mold growth, so removing all moisture is essential. You can use a dry towel to absorb excess moisture and follow up by airing out your vehicle. Leave the doors or windows open for several hours (weather permitting) to allow proper ventilation. This step will not only aid in drying but also help disperse any lingering musty odors.

Step 7. Apply Leather Conditioner:
Once your seats are entirely dry, applying a leather conditioner is highly recommended. This restores the moisture balance in the leather after the cleaning process and forms a protective barrier against future mold growth. To apply, simply dab a small amount of conditioner onto a clean cloth and gently rub it into the leather, following the grain. Let the conditioner absorb into the leather for about 15-30 minutes, then wipe off any excess with a dry cloth.
Step 8. Regular Cleaning and Maintenance:
To prevent mold from reoccurring, cleaning and maintaining your leather seats regularly is crucial. This includes wiping down the seats with a lightly damp cloth every week, using a leather conditioner every 3-6 months, and immediately addressing any spills or stains that occur. Remember to vacuum your car seats every month or so, especially in the winter when snow and mud can accumulate quickly.
Step 9. Consider a Professional Cleaning:
If the mold infestation is extensive or stubborn stains persist after your cleaning efforts, consider a professional cleaning service. Automotive upholstery specialists have the right equipment and expertise to handle severe mold issues without damaging your seats. Try searching online for local services in your area and call to inquire about pricing.
Step 10. Prevention is Better Than Cure:
Lastly, remember that preventing mold growth is much easier (and less costly) than removing it. Keep your car ventilated by cracking windows open when possible, avoid leaving damp items (like gym clothes or towels) in your vehicle, and consider using a dehumidifier in humid climates or during wet seasons to keep your car’s interior dry and mold-free. Remember, a little prevention goes a long way regarding mold on leather seats!

These 10 easy steps will help you remove that pesky mold from your car’s leather seats with minimal effort. Regular cleaning and maintenance allow you to keep mold at bay and enjoy driving in style.
5 Additional Tips and Tricks
- If the mold has been growing for some time, it might have caused discoloration or damaged the leather. If this is the case, you may need to use specialized leather products and cleaners to restore the original color of your seats.
- To prevent mold growth on your leather seats, keeping them dry is important. Use a vacuum cleaner with a brush attachment to remove dirt or debris that could be harboring moisture.
- Leave your leather seats in a dry and well-ventilated area, as this will help reduce the likelihood of mold growth.
- Consider investing in a dehumidifier for your home—this will help keep the air in your house at a comfortable level of humidity and will help reduce the risk of mold growth.
- Regularly using leather conditioners can also help preserve your leather seats by restoring their oils and preventing them from drying out, which is another way to reduce the risk of mold growth.
By following these tips, you should be able to keep your leather car seats looking great and free from mold. With some maintenance, your leather seats should remain in good condition for years to come!
5 Things You Should Avoid
- Never use harsh chemicals or cleaners on leather, as these can discolor and damage the material.
- Don’t leave wet towels, clothes, or other items on your car seats—these can be potential sources of moisture that will encourage mold growth.
- Avoid using steam cleaners on leather seats, as the heat from the steam may affect the material.
- Don’t leave your car parked in direct sunlight for extended periods, as this could dry out the leather and make it more susceptible to mold growth.
- Never use abrasive materials on leather seats, which can damage the surface and cause discoloration or other issues.

Avoiding these mistakes will help ensure your leather car seats stay in top condition for years. With a bit of care and maintenance, you should be able to keep your car looking great!
Conclusion
Now that you’ve been provided with the necessary information for how to remove mold from leather seats, it’s time to get started! Start by using a damp cloth and some all-purpose cleaner to wipe down the surface. If you have mold or mildew infestation, use white vinegar or baking soda and water.
For vinyl and faux leather, mix one vinegar and two parts water in a spray bottle and apply it to the affected areas. Finally, always dry off wet surfaces as soon as possible so your leather material doesn’t start to rot.
With these easy steps in mind, it shouldn’t take long before you safely remove the mold from your beloved car seats!
