
Are you looking for a way to create your unique armor piece but need help figuring out where to start? Making leather armor may be the perfect project for you. Not only is it relatively easy and inexpensive, but with leatherworking techniques such as tooling, dyeing, burning, and lacing together pieces of leather, the sky’s the limit when it comes to creativity.
Whether you’re a beginner or an expert leatherworker, here’s how to make leather armor. Ensure you have the proper tools and materials before beginning any leatherworking project.
In this blog post, we’ll cover all the basics of making your very own leather armor, from selecting materials and preparing them for construction to assembly tips and tricks. So read on if you’re ready to start this exciting new project!
What Will You Need?
Before you get started, here’s what you’ll need to make your leather armor:
- Leather (at least 3 ounces thick or thicker)
- Leather Cutting Tools (including a variety of knives and punches)
- Dyeing Supplies (leather paints or dyes, brushes, sponges)
- Finishing Supplies (finishing oil, beeswax, leather conditioner)
- Lacing Materials (leather lacing, buckles, and clasps)
- Stamping Tools (hammer and stamps for tooling designs on the leather)
- Sewing Supplies (thread, needles, awl for punching holes in the leather).
- A Thick Working Surface to protect your table while working with leather tools
Once you’ve gathered your materials, it’s time to start prepping your leather for construction.
10 Easy Steps on How to Make Leather Armor
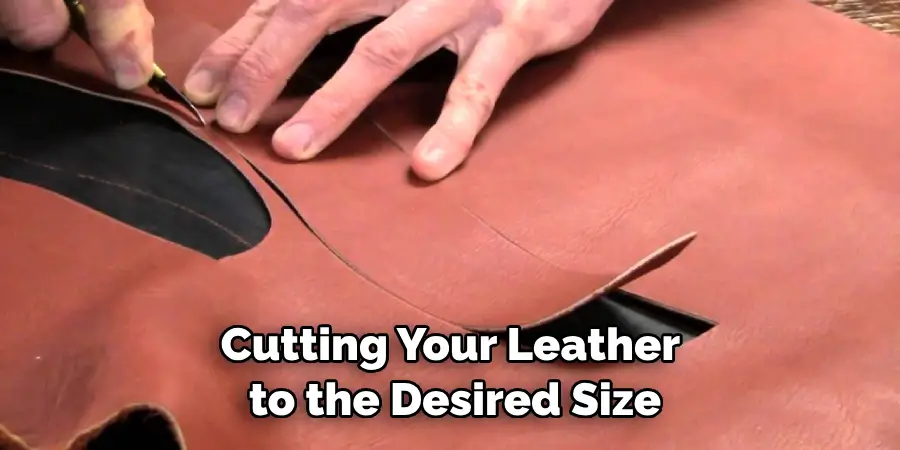
Step 1. Preparing the Material:
Begin by cutting your leather to the desired size and shape. Remember, the thicker the leather, the more durable it will be. If you’re using more than one piece of leather, make sure they are all the same size and shape.
Step 2. Tooling:
Using a hammer and stamps of your choice, create patterns or designs in the leather using various tooling techniques such as embossing and stamping. Be careful to work on the leather or it may weaken.
Step 3. Dyeing:
Choose from one of several methods of dyeing the leather, such as airbrush painting, sponges, or hand-painting with acrylic paints or dyes. This step is optional but adds a unique element to your armor piece. If you’re using paints or dyes, use a sealer to protect the colors from fading.
Step 4. Finishing:
Apply beeswax or finishing oil with a clean cloth or brush to protect and seal your armor piece. Allow the leather to dry, and then condition it with a leather conditioner. Be careful not to over-condition, as this may cause the leather to become soft and brittle.
Step 5. Lacing:
Using leather lacing, sew or lace together individual armor pieces in the desired pattern. Add buckles or clasps for easy on-and-off access later. As with the other steps, take your time and be patient so that the lacing is even and secure.
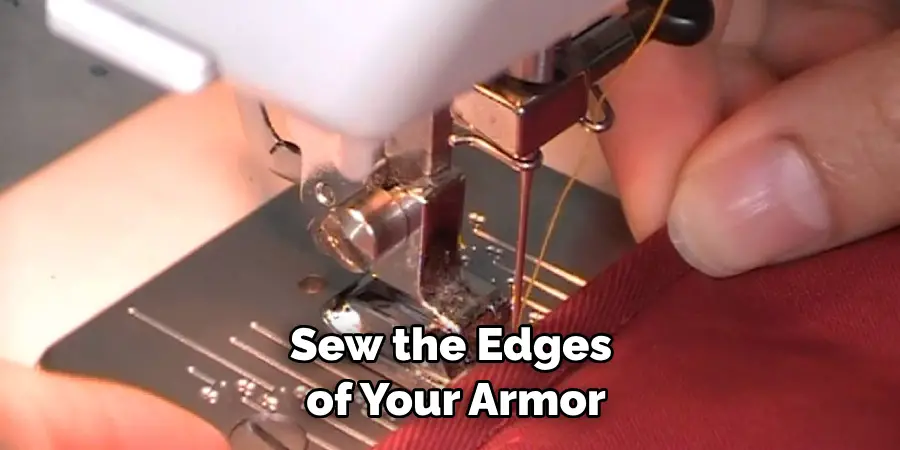
Step 6. Sewing Seams:
Sew the edges of your armor together with thread, using a variety of stitches as desired to create decorative patterns or seams in your piece. You can also use an awl to punch holes in thicker pieces of leather if needed for reinforcement stitching or extra thread strength around curved areas of the piece. Another option is to use rivets or snaps for extra reinforcement.
Step 7. Finishing Touches:
Once you’ve finished assembling your armor, add any additional details or finishing touches, such as decorative rivets, buckles, buttons, or stones. Ensure that all pieces of the armor are securely fastened. Otherwise, wear and tear will quickly cause it to come apart.
Step 8. Adding Straps and Shoulder Pads:
For added protection and comfort while wearing the piece, attach straps to hold it in place and shoulder pads for extra cushioning. It will also make removing the armor easier when not in use. You can also add an adjustable waist strap for additional support and comfort.
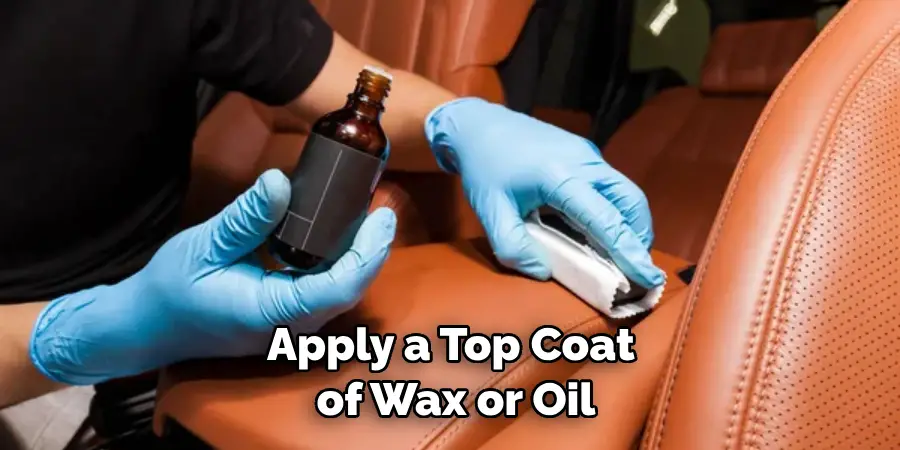
Step 9. A Final Finishing Touch:
Once your leather armor is complete, you may apply a top coat of wax or oil over the entire piece to give it a polished look and protect it from dirt and water damage. Remember that this may darken the leather slightly, so always test a small area of the piece beforehand.
Step 10. Enjoy Your Handcrafted Leather Armor:
Now that your project is complete, all that’s left to do is enjoy your custom-made leather armor piece! Remember, with the right tools and techniques, you can create armor for any occasion and in any style. So don’t be afraid to experiment and have fun with it!
Making leather armor can be fun and rewarding, so don’t hesitate to try it. With the right tools and materials, you’ll have no trouble creating an amazing piece of armor that will last for years to come.
5 Additional Tips and Tricks
1. Always use good quality leather. Investing in high-quality hides is better if you want your armor to last.
2. Make sure the leather is properly treated. This means applying wax to ensure that it is waterproof and dyed correctly.
3. Create a pattern for your armor pieces before you begin cutting. Making a paper prototype of the pieces will help you make sure everything fits together correctly.
4. When sewing leather, use thick thread or heavy-duty sinew when possible. If not, use an awl to punch holes in the leather for added strength and durability.
5. After completing assembly, Use rivets to attach buckles, straps, and other fasteners onto the armor. Rivets provide strong reinforcement and will last much longer than if sewn on with thread or sinew alone.
By following these steps, you’ll be able to make a piece of leather armor that will last you for years. You can even create more elaborate pieces with intricate detailing with some skill and practice.
5 Things You Should Avoid
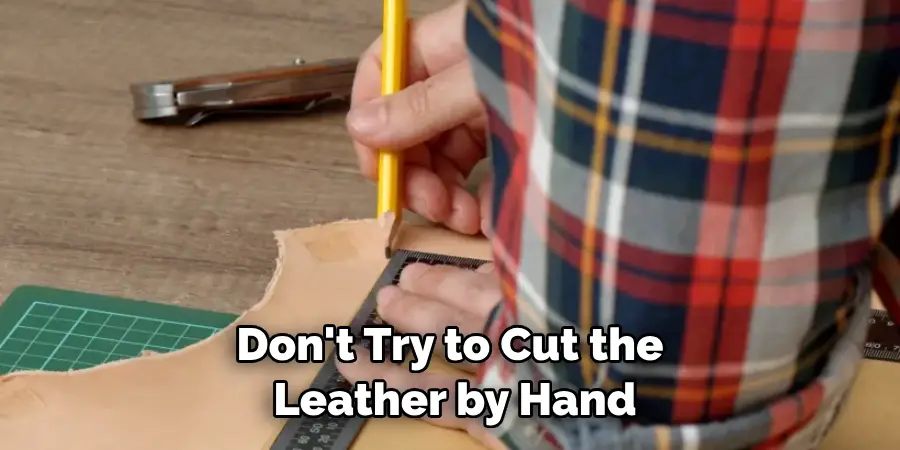
1. Don’t try to cut the leather by hand. This will lead to uneven edges and poor results.
2. Don’t use regular thread for sewing leather – it won’t hold up in the long run.
3. Avoid using glue or other adhesives for assembly, as these won’t provide a secure connection between pieces.
4. Never attempt to dye wet leather – this can damage the hide beyond repair.
5. Make sure to pay attention to quality when it comes to buying supplies; investing in high-quality materials will yield better results and last longer than cheaper alternatives. With proper care and maintenance, your armor will serve you well!
By taking into account these tips and tricks, you’ll have a better chance at making your leather armor successfully. With a little patience and practice, you can create amazing pieces that will last you for years.
What Kind of Leather Is Used to Make Armor?
The type of leather used to make armor is usually heavy-duty, full-grain hides. Full-grain leather is the highest quality and most durable type available, as it is made from the outermost layer of the hide, which has been left intact.
It also contains natural oils that strengthen it, making it ideal for armor. Depending on what kind of armor you are making, you may also be able to use vegetable-tanned leather, which is less expensive but still quite strong.
No matter what type of leather you choose, it should always be treated and waxed for waterproofing purposes before being dyed or assembled into your armor pieces. That way, it will last for years and look its best!
What are the Use Cases for Leather Armor?
Leather armor is perfect for a wide range of uses. It can be used in theatrical performances, reenactments, or as part of a costume. It’s also popular with hunters and hikers who need reliable protection from the elements while in the wild.
On top of that, some warriors even use leather armor in actual combat due to its light weight and maneuverability. No matter what you’re using it for, leather armor provides dependable protection and durability for whatever task you tackle!
So if you’re looking to make your own leather armor, just remember these tips and tricks: invest in high-quality materials, treat the leather properly, and use rivets and sinew/thread for assembly.
Conclusion
How to make leather armor is a wonderful way to express your creativity while also learning practical skills. Not only does armoring yourself in leather allow you to defend against any danger, but the experience and craftsmanship alone will be invaluable.
Remember to take good care of your leather armor to ensure it retains its rich look and strong protection for years. As an added precaution, make sure you follow all safety precautions while crafting – you don’t want to hurt yourself in pursuit of protecting yourself! Although constructing quality leather armor is never easy, you can make your amazing labor of love with some skill, patience, and dedication.
With your new leather armor in hand, take pride in knowing that not only have you just made something beautiful—but also something that can truly protect you and serve its purpose fully.