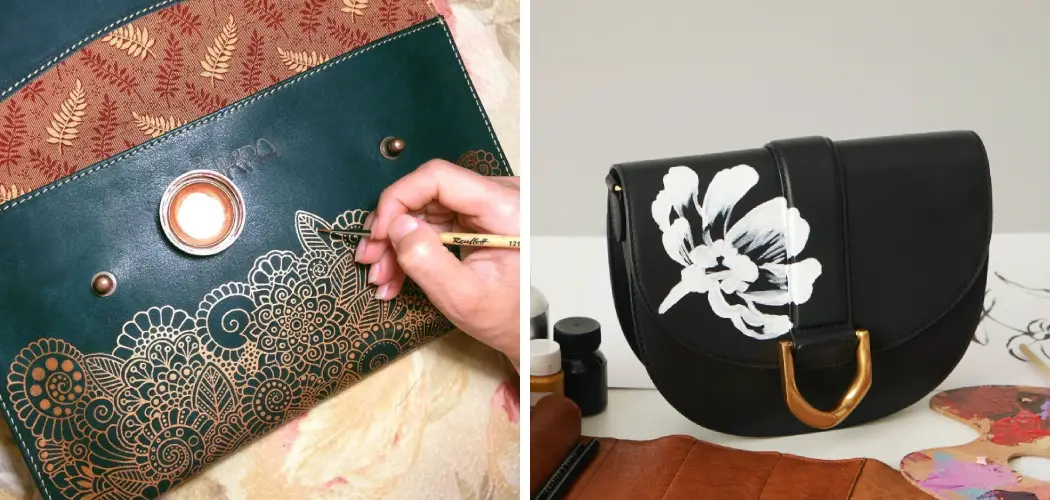
Do you have an old leather bag in your closet that you’ve been thinking of sprucing up? Or perhaps you love the artisan look of painted and personalized bags but thought it would be too difficult or costly to do yourself.
Well, we’re here to tell you that painting a leather bag is actually surprisingly simple—all it takes are a few basic materials and tools, some time, and a bit of creativity!

In this blog post on how to paint leather bag, we’ll provide step-by-step instructions on how to paint a leather bag with stunning results. So grab your supplies, channel your inner artiste, and let’s get started!
Why Do You Need to Paint a Leather Bag?
Painting a leather bag isn’t just about making a fashion statement and showing off your creativity. It can also be an effective way to repair or add protection to the leather itself.
By painting a layer of sealer over the bag before adding any color, you can protect it from water damage, scratches, and normal wear and tear. This is especially helpful if you’re using an old or vintage leather bag since it will help keep the bag in good condition for years to come.
Plus, if your bag already has some wear and tear that you want to camouflage or cover up, painting over it can do just that. Just make sure to read through all of our instructions on how to paint leather bag thoroughly so you know exactly what to do!
What Supplies and Tools Do You Need?
Before you get started, it’s important to make sure you have all the supplies and tools necessary for painting a leather bag. Here’s a list of what we recommend gathering up first:
- A Leather Bag (Obviously!)
- Leather Cleaner
- Nylon Brushes
- Leather Dye
- Clear Acrylic Sealant (Optional)
- Sponge or Cloth
- Masking Tape (Optional)
Once you have all your supplies, it’s time to start painting! Make sure you read through the instructions thoroughly and take the necessary
Step-by-step Guidelines on How to Paint Leather Bag
Step 1: Clean the Bag
Before you paint, it’s important to make sure the surface is clean and free of dirt or grime. Use a leather cleaner specifically designed for the type of leather you are using, then allow it to dry completely before moving on. It’s important to make sure the surface is totally clean and dry before you start painting.

Step 2: Prep the Leather
Once the bag is clean, you’ll want to prep it by sanding down any rough spots or damaged areas. Use fine-grit sandpaper and be careful not to over-sand as this can damage the leather. But if there are any rough spots, you’ll want to make sure those get sanded down so that the paint will stick properly. Whether you’re painting a smooth surface or a distressed look, prepping the leather is essential for achieving good results.
Step 3: Apply a Basecoat
Once the bag is prepped and ready, it’s time to apply a base coat. This will help prevent any unevenness or blotching with the paint. Use a nylon brush to apply your base coat and make sure to cover all areas evenly. But don’t worry if the base coat isn’t perfect, as it will be covered up by the color you choose later. You can also use a clear acrylic sealant if you want to add an extra layer of protection.
Step 4: Paint the Leather Bag
Now you can start painting! Use a nylon brush to apply your chosen paint color, making sure to cover all spots evenly. If you’re after a more creative look, feel free to mix different colors or use stencils with masking tape. It’s also a good idea to practice on scrap leather first to get the hang of it.
Once you’ve finished painting, allow the paint to dry overnight before continuing. It’s important to give the paint enough time to cure and set properly.
Step 5: Seal the Color
Once you’re done painting, it’s time to seal in the color. You can do this by applying a clear acrylic sealant with a sponge or cloth. Allow it to dry completely before moving on. However, if you’re using a distressed look or multiple colors, you may want to skip this step as it can make the painting appear too uniform.
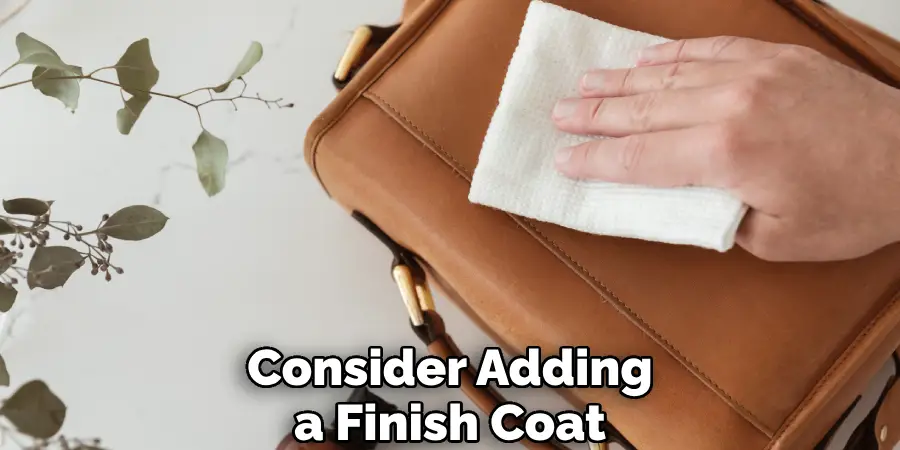
Step 6: Add a Finish Coat (Optional)
If you want to further protect and add shine to the bag, consider adding a finish coat. This is optional but highly recommended if you want to ensure your bag stays in pristine condition. But before you do this, check the instructions on your finish coat to make sure it’s compatible with the leather you are using. It’s always better to be safe than sorry.
Step 7: Allow it to Dry
Allow the finish coat, and any other layers of paint/sealant that you added to dry completely before moving on. This can take anywhere from an hour to several hours, depending on the product and weather conditions. It is an important step so make sure you don’t skip it! You can use a fan or hair dryer to speed up the process if needed. But just make sure not to use too much heat as this can damage the leather.
Step 8: Buff the Bag
Once everything is dry, gently buff the bag with a clean cloth or buffer to bring out the shine and make it look brand new. You can also use a soft brush to dust off any excess paint or particles. But don’t be too vigorous as this can damage the leather. If you’re using a distressed look, you may want to skip this step as buffing can make it too uniform.
Step 9: Test Out Your Creation
Now’s the fun part—try out your creation! Put on some of your favorite accessories, head outside, and give your new paint job a test run. Although it may be tempting to show off your bag right away, we recommend waiting a week or two before you do so. This will give the paint enough time to fully cure and set properly.
Step 10: Clean and Store Properly
When you’re finished using the bag for the day, make sure to clean it properly with leather cleaner and store it in a cool, dry place. This will help ensure your bag stays looking good for years to come! If you live in a humid climate, consider using a leather conditioner to help protect it from moisture damage.
Step 11: Enjoy!
And there you have it—a newly painted leather bag that’s ready to take on the world. So enjoy your masterpiece, and don’t be afraid to show it off! Always remember to take proper care of your bag and it will last you for years. It’s also a good idea to reapply the sealant every couple of months to ensure your bag stays looking as good as new.

Following these steps on how to paint leather bag will help you create a beautiful, unique bag that you can be proud of. With just a little bit of time and effort, you can transform an ordinary leather bag into something extraordinary! So don’t be afraid to experiment with different colors and techniques—the possibilities are endless!
Frequently Asked Questions
Q1: Will Painting My Bag Damage It?
A1: Not necessarily. As long as you’re using the right supplies and following all of our instructions, your bag should stay in good condition. It’s important to make sure you properly seal the bag after painting it, and to clean and store it properly.
Q2: Can I Paint a Different Material?
A2: Yes, you can paint different materials such as canvas or vinyl. However, the method for doing so may differ from what is outlined in this blog post; be sure to research and use the appropriate supplies specific to each material.
Q3: What Happens if I Don’t Like the Results?
A3: If you’re not happy with the results, don’t fret! You can always paint over it again or try a different color. Just make sure to follow all of our instructions carefully and take your time as you go. This way, you’ll be sure to get the results you want in the end!
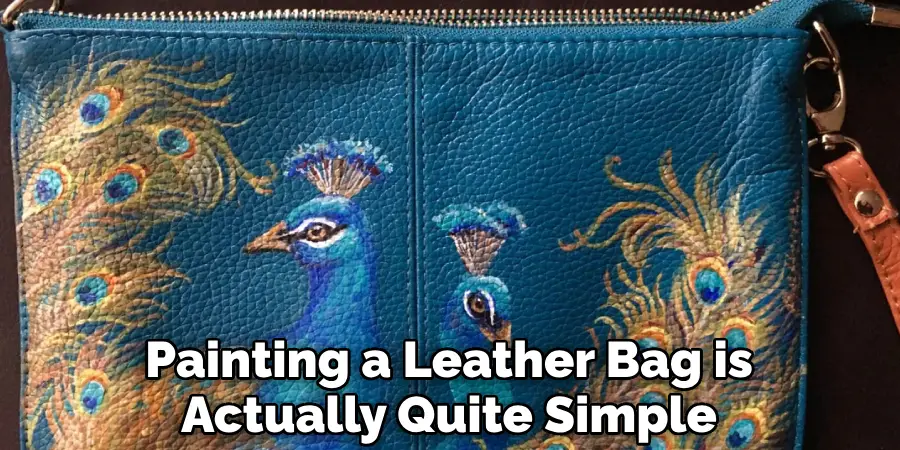
Q4: Is Painting a Leather Bag Difficult?
A4: Not at all! Painting a leather bag is actually quite simple, as long as you have the necessary supplies and follow our step-by-step instructions. So go ahead and give it a try—you might be surprised by how easy it is!
Now that you’ve read through our step-by-step guide on how to paint a leather bag, you’re ready to create your own one-of-a-kind masterpiece. Don’t forget to take pictures of your finished product and share them with us on social media—we can’t wait to see what you come up with!
Conclusion
With a few supplies and some patience, you can give your bag a makeover that will keep it looking stylish for years to come. From selecting the right leather paint to ensuring you have all the essential tools, the steps outlined above on how to paint leather bag ensure that your painting process will go smoothly. Painting a leather bag is an endeavor that allows you to create something both beautiful and unique. It is an appropriate outlet for those who are creative, as well as anyone with an eye for fashion and self-expression.
The results of this labor of love will be worth all the effort involved! If it all seems too much for you, there are always professionals or custom painters who can help. Whichever route you decide to take, remember to protect your leather from wear by following the advice provided in this article – and enjoy wearing your new work of art!