Are you in need of some guidance on how to ensure your saddle pad stays clean, comfortable and odor-free? Cleaning your saddle pad is an important part of horse ownership that should not be overlooked. Not only does a well-maintained saddle pad look aesthetically pleasing but also having a clean one will help give your horse more comfort and protect their skin from moisture build-up.

In this article, we’ll show you how to wash a saddle Pad so it can stay its best for as long as possible. Get ready to learn the tricks and tips our equestrian experts have put together about washing, drying and caring for those precious Saddle pads!
What is Saddle Pad?
A saddle pad is an important piece of your equestrian equipment. It helps to cushion the horse’s back from pressure and impact due to riding and also offers a layer of protection against sweat and moisture build-up. Saddle pads come in all shapes, sizes, thicknesses, and levels of padding so it’s important to choose one suited to your horse’s needs.
Necessary Materials
Given below is a list of materials that you’ll need in order to wash your saddle Pad.
- A Bucket or Sink
- Mild Detergent for Handwashing
- A Soft Brush (One Specifically Made for Washing Delicate Fabrics)
- Clean, Cold Water
- Towels/clean Cloths
- Hangers
9 Step-by-step Guidelines on How to Wash a Saddle Pad
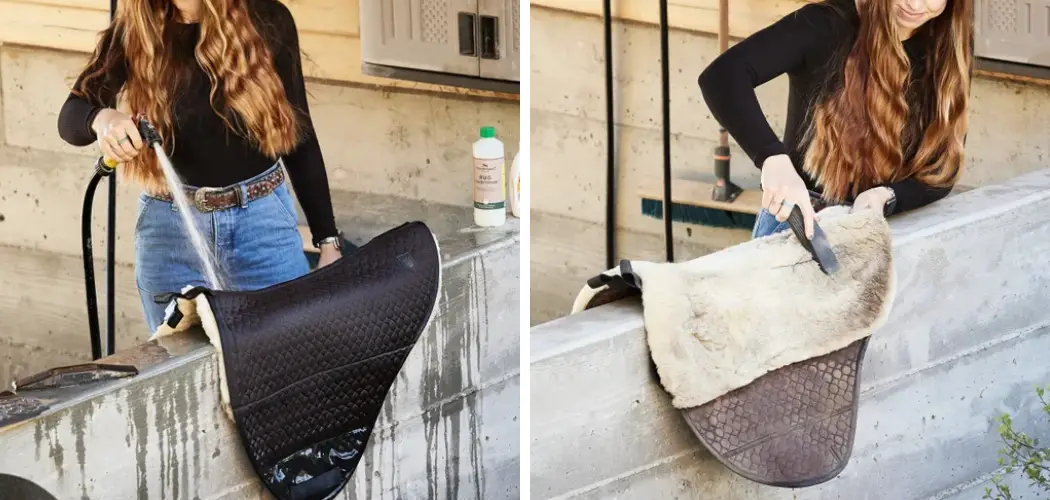
Step 1: Clean Off the Saddle Pad
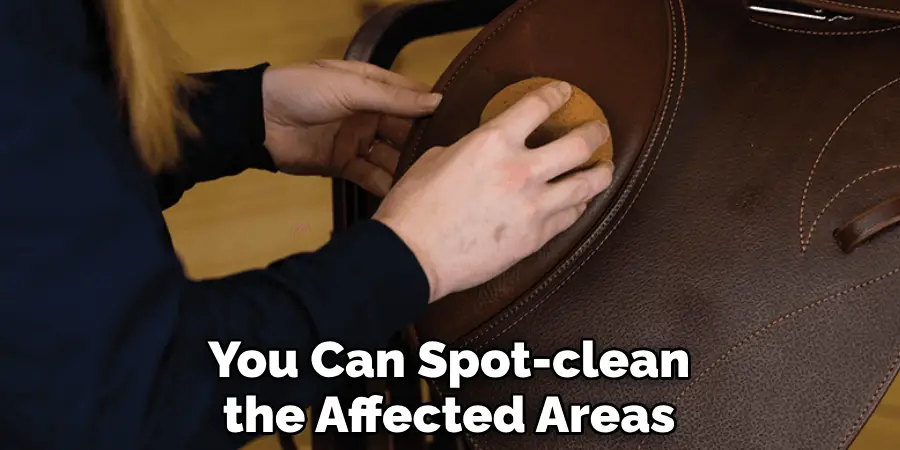
Before you start washing your saddle pad, use a brush or cloth to remove any dirt. This will help prevent the dirt from getting into the material and causing discoloration or other issues during the washing process. It’s important to use a soft brush as scrubbing too hard can damage the saddle pad. If it’s especially dirty, you can spot-clean the affected areas with a damp cloth and some mild detergent.
Step 2: Make a Cleaning Solution
Fill either a bucket or sink with cold water and add a small amount of mild detergent. Make sure to avoid any harsh chemicals, bleach or fabric softener as these can damage the saddle pad material. This is also a good time to spot-clean any specific areas that require extra attention. It is best to use a detergent that is specifically made for saddle pads.
Step 3: Soak the Saddle Pad in the Cleaning Solution
Soak your saddle pad in the cleaning solution for 15-20 minutes. Make sure to gently swish it around in the water every few minutes. This will help get rid of any built-up dirt and sweat that may have accumulated on the saddle pad. You can also use a soft brush to help remove any stubborn dirt or spots. But be careful not to scrub too hard as this can damage the fabric.
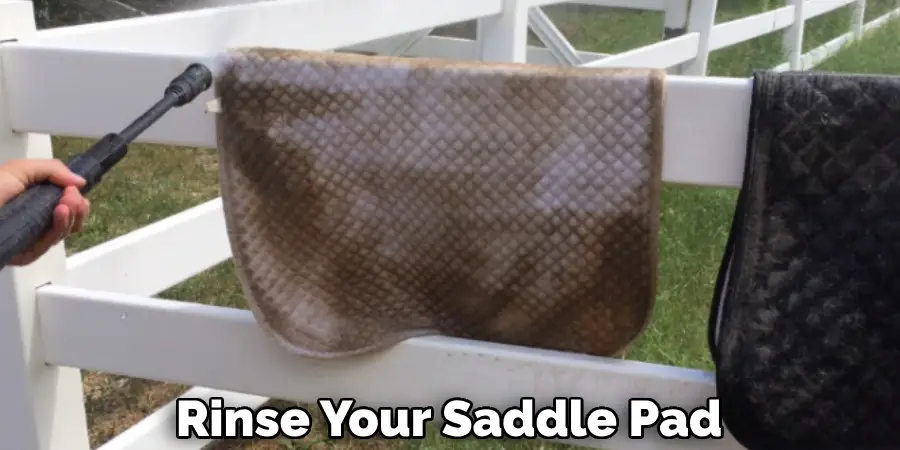
Step 4: Rinse Your Saddle Pad
Once you’ve let your saddle pad soak, take it out of the cleaning solution and rinse it thoroughly. Make sure that all of the detergent is removed. It’s important to use cold water when rinsing, as hot water can cause the colors in the fabric to fade. However, if you have a heavily soiled saddle pad or one with particularly tough stains, you can use warm water for a more thorough clean.
Step 5: Gently Scrub the Saddle Pad
Using a soft-bristled brush or cloth, gently scrub the saddle pad to help remove any remaining dirt and sweat. Focus on areas that may be extra dirty as well as spots that are prone to sweat build-up. You may also want to use a pre-treating spray or stain remover on any particularly stubborn stains.
Step 6: Rinse Your Saddle Pad Again
Rinse the saddle pad once more to make sure that all dirt and detergent is removed. Be sure to squeeze out any excess water as you go. It’s important to use cold water for the rinse as well, as hot water can cause the colors in the fabric to fade. This step is very important as detergent residue can cause irritation and skin problems on your horse.
Step 7: Hang Dry Your Saddle Pad
Hang your saddle pad on a hanger or drying rack in an area with good airflow. This will help the saddle pad dry faster and is especially important if you live in an area with high humidity levels. You can also lay the saddle pad out on a flat surface to dry. Be sure to avoid putting it in direct sunlight as this can cause the fabric to fade.
Step 8: Brush Your Saddle Pad
Once your saddle pad is completely dry, use a soft-bristled brush to brush away any excess dirt or hair. This will help keep the saddle pad soft and comfortable for your horse. However, take care not to brush too hard as this can cause the fabric to break down over time. It’s also important to note that some fabrics may require a special type of brush. This will depend on the type of material your saddle pad is made of.
Step 9: Enjoy Your Clean Saddle Pad!
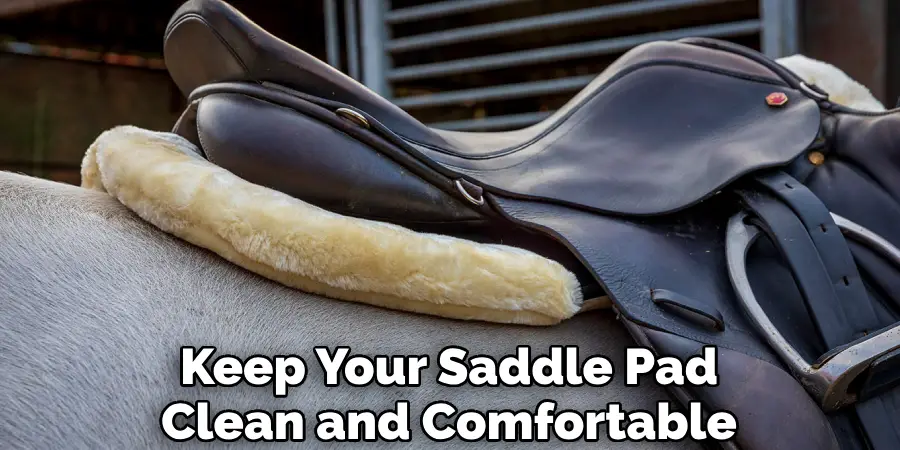
Once you’ve completed all of the steps above, you can enjoy your freshly cleaned saddle pad! With proper care and maintenance, a well-taken care of a saddle pad can last for many years to come. Always be sure to check your saddle pad regularly for any signs of wear and tear. If you notice any rips or tears in the fabric, be sure to replace them right away.
By following these simple steps on how to wash a saddle pad, you’ll be able to keep your saddle pad clean and comfortable. Taking the time to properly care for your Saddle Pad will help ensure it lasts a long time and can provide your horse with comfort and protection during even the longest rides. So don’t wait any longer – get started washing your saddle pad today!
Do You Need to Use Professionals?
If you don’t feel comfortable cleaning your saddle pad on your own, or if the job is too big for you to handle, it might be a good idea to call in the professionals. A reputable equestrian shop should be able to give you advice and help with any specific needs that arise during the cleaning process.
No matter how you decide to clean your saddle pad, the most important thing is that you take the time to do it right. With a little bit of effort and attention, your saddle pad will stay in tip-top condition for years to come!
How Much Could It Cost?
The cost of having your saddle pad professionally cleaned will vary depending on where you take it and the type of material that your saddle pad is made out of. It’s important to research potential shops before taking in your saddle pad as some could charge more than others. To save money, you can also try cleaning your saddle pad yourself using the steps outlined above!
Tips for Proper Care and Maintenance of Your Saddle Pad
Now that you know how to wash a saddle pad, it’s important to always remember these tips in order to properly care for your equipment:
- Always Store Your Saddle Pad in a Clean, Dry Environment.
- Don’t Use Harsh Chemicals or Detergents on the Saddle Pad.
- If possible, Hang Your Saddle Pad Outside in the Sun After Each Use for a Few Hours to Help Air It Out and Remove Any Sweat or Moisture Buildup. This Will Also Help Keep It Free From Mold and Mildew Growth.
- Regularly Inspect Your Saddle Pad for Signs of Wear and Tear. Replace It if Necessary to Avoid Any Potential Injuries or Discomfort for Your Horse.
- Avoid Folding the Saddle Pad as This Can Cause Creases That Can Make It Uncomfortable for Your Horse.

Conclusion
Now you are ready to saddle up and hit the trail with a clean and sanitary saddle pad! Washing your saddle pad is an essential part of keeping your gear in tip-top condition. Not only will washing help your gear look its best, but it will also keep bacteria particles from lingering on the fabric. The simple steps to washing your pad are to first, brush off any debris, second, wet and scrub the pad thoroughly, then rinse away soap suds. Once you’ve dried out your saddle pad before storage, never forget that you should also whip down your leather after every ride.
Doing so with water and a sponge or damp cloth will add years of life to your gear set! Preparing and caring for a saddle pad doesn’t have to be a tedious task; just make sure it’s done consistently. With these easy tips in hand on how to wash a saddle pad, you can ensure that everyone rides in comfort — and style!
