Painting leather furniture is a creative and cost-effective way to transform the look of your home decor. Whether you want to give your worn-out leather sofa a fresh color or update the style of your leather chairs, painting leather furniture can breathe new life into your interior design.

However, painting leather requires careful preparation and the use of suitable techniques and materials to ensure a long-lasting and beautiful finish. In this article, we will guide you through the process of how to paint leather furniture, providing step-by-step instructions and valuable tips.
From preparing the leather surface to choosing the right paint and applying the coats, we will cover all aspects of painting leather furniture. So, if you’re ready to embark on a creative project and revitalize your leather furniture, let’s delve into the world of leather furniture painting and unleash your inner artist.
The Appeal of Painted Leather Furniture
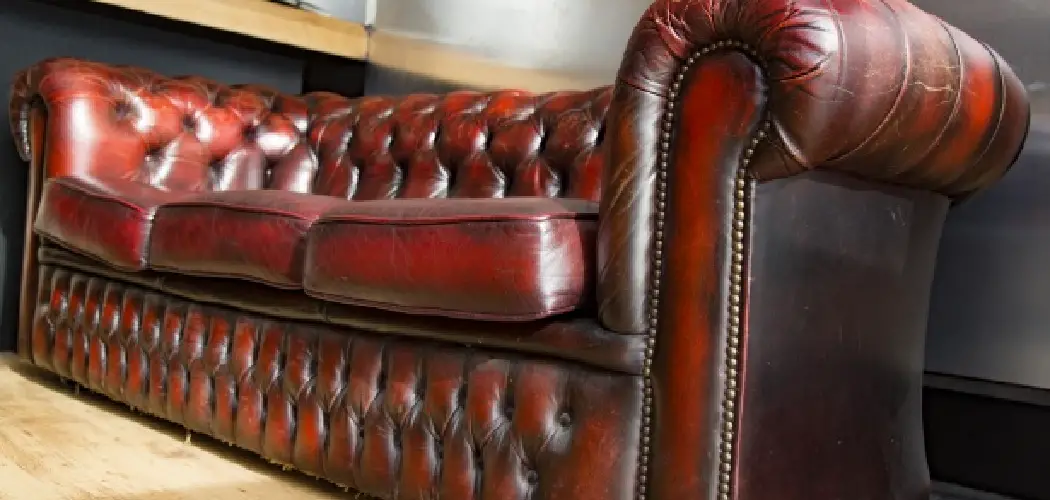
Painting leather furniture has become increasingly popular in recent years. Leather furniture is known for its timeless beauty and superior durability, making it a great choice for furniture pieces that will last a long time. But painting leather gives it an entirely new look, allowing you to give your space an updated feel without having to buy all new furniture.
Painted leather furniture can have a modern edge or be given more vintage charm depending on the style of paint and finishes chosen. It also adds texture and dimension to any room, providing visual interest and an eye-catching focal point in the space.

When considering painting leather furniture, there are several things to take into consideration before getting started. It’s important to choose the right type of paint, prepare the surface of the leather properly to ensure a smooth finish and select the right primer and top coat for added protection. With proper preparation and care, you can give your leather furniture an entirely new look that will last for years to come.
Does Painting Leather Furniture Really Work?
Painting leather furniture is becoming increasingly popular, but it’s important to remember that painting leather isn’t an easy task. It’s not as simple as just slapping some paint onto the leather and hoping for the best. For a successful result, there are certain steps that need to be taken and certain techniques that should be used.
The first thing to keep in mind is that leather is a difficult material to work with, so it’s important to use the right type of materials when painting it. A good quality leather primer should always be applied before any other painting products are used. This will create a barrier between the paint and the leather, protecting the surface from becoming overly dry or damaged from the paint’s chemicals.
When applying your chosen color of paint to the leather furniture, it’s important not to overdo it and apply too much at once. Too much paint can be difficult to work with and can also cause cracking or bubbling of the leather. For best results, it’s best to apply several thin layers of paint, allowing each layer to dry completely before adding the next.
10 Methods on How to Paint Leather Furniture
Method 1: Cleaning and Preparing the Leather Surface
Before painting, it is essential to clean and prepare the leather surface. Remove any dust, dirt, or grime using a soft cloth and a mild leather cleaner. Gently rub the cleaner onto the surface and wipe it off with a clean cloth.
Allow the leather to dry completely before proceeding to the next step. Although it is important to clean the leather, do not use too much cleaner as this could damage or discolor the surface. Make sure that the leather is completely dry before continuing to the next step.
Method 2: Sanding the Leather
Using fine-grit sandpaper or a sanding sponge, lightly sand the leather surface. This step helps to roughen the surface slightly, allowing the paint to adhere better. Be gentle and avoid applying too much pressure to prevent damaging the leather.
After sanding, use a cloth to wipe away any dust particles and clean the surface.
Once you’ve prepared the leather for painting, you can begin applying primer. Apply a thin layer of high-quality, acrylic latex or leather primer using a paintbrush or roller. Allow the primer to dry completely before proceeding.
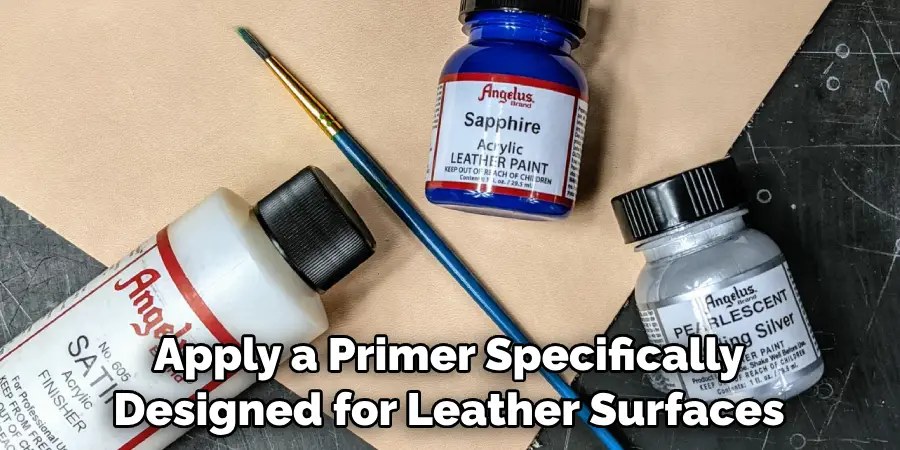
Method 3: Applying a Primer
To ensure proper paint adhesion, apply a primer specifically designed for leather surfaces. Use a foam brush or a soft cloth to apply an even layer of primer to the leather. Allow the primer to dry completely before moving on to the next step.
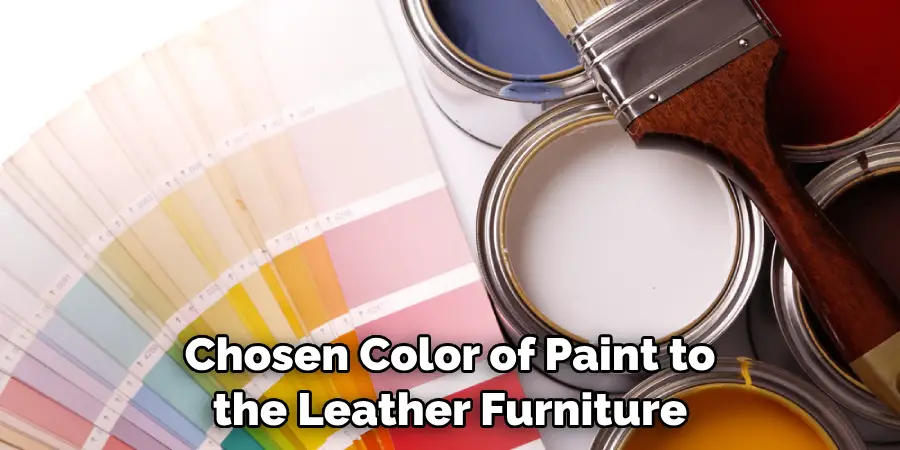
Method 4: Choosing the Right Paint
Select a paint type suitable for leather furniture, such as acrylic or leather paint. Consider the desired finish and durability when choosing the paint. Test the paint on a small, inconspicuous area of the furniture to ensure compatibility and desired results.
To apply the paint, use a soft brush, such as a foam brush, and apply several thin layers of paint. Allow each coat to dry completely before applying the next layer. After the painting is completed, it’s important to seal the leather furniture with a protective finish such as a sealant or varnish. This will help to protect the furniture from dirt, dust and other potential damage.
Method 5: Applying the Base Coat
Start by applying a thin and even base coat of paint using a foam brush or a spray gun designed for paint application on leather. Allow the base coat to dry completely before applying additional coats.
You may need to apply several thin coats in order to achieve an even and consistent look. Take your time with each coat and be sure that the entire surface is evenly covered. Allow the paint to dry completely between each coat and lightly sand the surface of the leather in-between coats with a fine-
Method 6: Building Up the Layers
Apply multiple thin coats of paint, allowing each coat to dry completely before applying the next one. Building up the layers gradually helps achieve an even and professional finish. Use light and even strokes to avoid drips or uneven patches.
To cover any remaining imperfections, use a fine-grit sandpaper to lightly smooth out the surface. Finally, apply a thin coat of leather sealer to protect the furniture and help the paint adhere properly.
Method 7: Adding Texture or Pattern
If desired, create texture or add a pattern to the painted leather surface using techniques like sponge painting, stenciling, or faux finishes. These techniques can add depth and visual interest to the furniture.
To sponge paint, create a two-color base coat on the leather surface and allow it to dry before starting. Use a large kitchen sponge and a separate paint color to dab on the surface in random patterns. This technique can also be used with fabric paints or dyes.
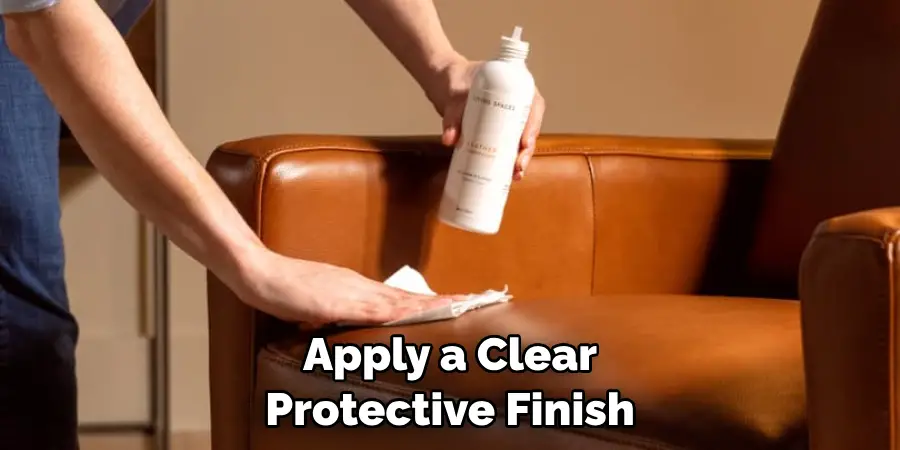
Method 8: Applying a Clear Protective Finish
Once the paint has fully dried, apply a clear protective finish specifically designed for painted leather surfaces. This protective layer helps seal the paint and provides durability and resistance to wear and tear. Apply the protective finish liberally, making sure to cover all areas of the furniture. Allow the protective coat to dry completely before using the furniture.
Method 9: Allowing for Proper Curing Time
After completing the painting process, allow the furniture to cure and dry for the recommended time specified by the paint manufacturer. This step ensures that the paint fully sets and hardens, enhancing its longevity.
This curing time will vary depending on the type of paint used, so be sure to read the instructions carefully. Additionally, leave your newly-painted leather furniture untouched for at least 48 hours before using it.
Method 10: Proper Maintenance and Care
After painting your leather furniture, it’s important to follow proper maintenance and care practices to preserve the paint’s integrity. Avoid harsh cleaners or solvents, and use a soft, damp cloth for regular cleaning.
Additionally, protect the painted surface from direct sunlight and excessive heat, as these can fade or damage the paint over time. However, be sure to keep your leather furniture moisturized; use a small amount of leather conditioning cream every 6-12 months to provide nourishment and moisture.
Conclusion
To sum up, painting leather furniture can be a great way to spruce up your home without replacing the piece entirely. Whether you want to update the color of your favorite chair or mimick the style of a popular trend, knowledgeable preparation and careful application of product go a long way in achieving an even and beautiful finish.
By following these steps, you can paint your leather furniture with confidence and ease knowing that you are well on your way to enjoying a stunning new addition to your living space. For those seeking more information on how to paint leather furniture, visit My DIY Furniture for detailed tutorials and tips on how to make sure that your painting project not only looks polished but also lasts for a lifetime.