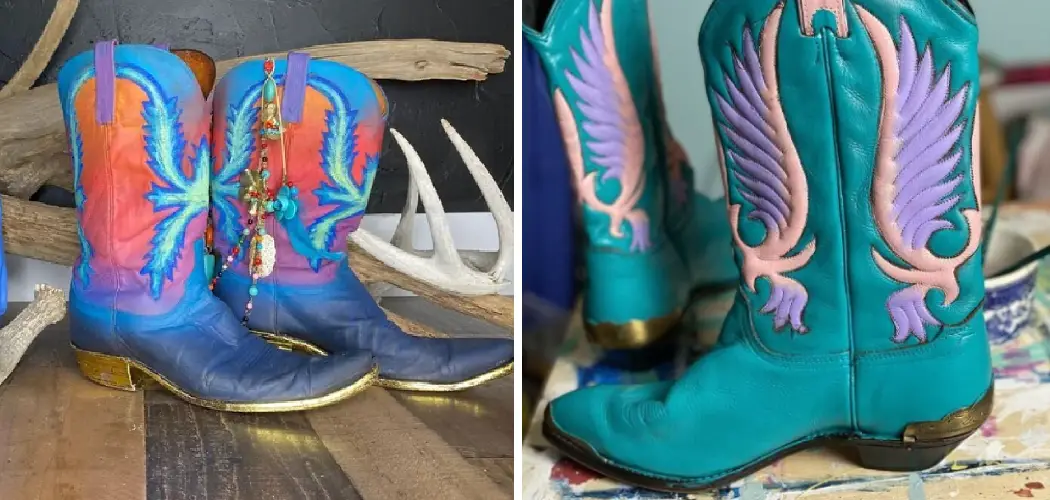
If you’re someone who loves to experiment with your wardrobe and add a touch of personalization to your clothing, then learning to paint stitching on boots is definitely worth it. Not only does it allow you to give your old boots a new lease of life, but it also gives you the freedom to create unique designs that reflect your personal style.
The main advantage of painting stitching on boots is the ability to transform old and worn-out footwear into stylish and personalized fashion statements. By adding color and design to the existing stitching, you can easily give your boots a new look without having to spend money on buying a new pair. In this blog post, You will learn in detail how to paint stitching on boots.
Step-by-step Instructions for How to Paint Stitching on Boots
Step 1: Inspect the Boots
The first step is to inspect the boots and take note of any damages or stains that need to be fixed before painting. It’s important to have a clean and smooth surface for the paint to adhere properly.
Step 2: Choose Your Paint
There are various types of paints that can be used on leather, such as acrylic, leather dye, or fabric paint. Choose a high-quality paint that is specifically made for leather to ensure long-lasting results. Before painting, it’s important to clean the boots with a damp cloth and let them dry completely. Use rubbing alcohol or acetone to remove any excess dirt or oils from the surface of the boots.

Step 3: Protect the Soles
To avoid getting paint on the soles of the boots, cover them with painter’s tape or masking tape. This will also make it easier to paint along the edges of the sole without making a mess. Start by painting thin layers of your chosen color onto the stitching using a small brush. This will help prevent any clumping or dripping of paint on the boots. Repeat this process until you achieve your desired level of color intensity.
Step 4: Allow Paint to Dry
Once you have finished painting, let the boots dry for at least 24 hours before wearing them. This will ensure that the paint has properly adhered and dried onto the surface. If you want a more vibrant color, you can add a second or even third coat of paint to the stitching. Just make sure to let each coat dry completely before applying the next one.
Step 5: Detailing with Paint Markers (Optional)
For a more intricate and detailed design, you can use paint markers to add patterns or designs onto the boots. This is a great way to add a personal touch and make your boots stand out. After the paint has dried completely, remove the tape from the soles of the boots. You can then use a leather sealant or waterproof spray to protect the paint and make it more durable.
Congratulations, you have successfully painted the stitching on your boots and given them a whole new look. Now it’s time to show them off and enjoy your unique and stylish footwear.
Safety Tips for How to Paint Stitching on Boots
- Always wear gloves and a mask to protect yourself from inhaling paint fumes or getting paint on your skin.
- Work in a well-ventilated area to avoid breathing in toxic fumes and allow the paint to dry properly.
- Prepare your work area by covering surfaces with newspapers or plastic sheets to prevent accidental spills and stains.
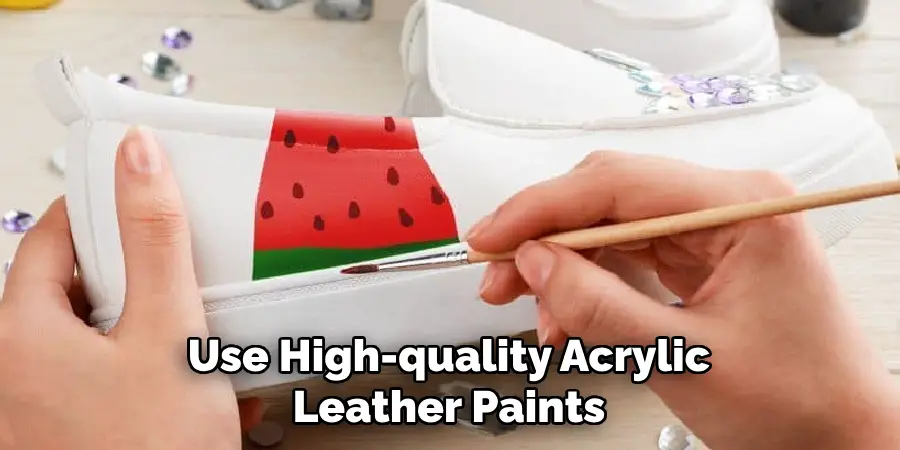
- Use high-quality acrylic leather paints that are designed specifically for painting on leather. These paints are more durable and have better adhesion to the surface.
- Test the paint on a small, inconspicuous area of the boot first to ensure that you are happy with the color and coverage before proceeding with the rest of the boot.
- Use fine detail brushes to carefully paint over the stitching lines. It may be helpful to use a magnifying glass for precision.
- Let the paint dry completely before handling or wearing the boots. This could take several hours or even overnight, depending on the type of paint used.
By following these safety tips, you can ensure a successful and safe process for painting stitching on your beloved boots. Remember to always read the instructions carefully and use caution when working with paint and chemicals.
Benefits of Knowing How to Paint Stitching on Boots
- Personalization: Painting the stitching on your boots allows you to customize and personalize them according to your taste and style.
- Restoration: If your boots are looking worn out or have scratches, painting over the stitching can help restore their appearance and give them a fresh new look.
- Cost-effective: Instead of buying a new pair of boots, painting the stitching can be a more affordable option to update or change the look of your existing ones.
- Unique design: You can experiment with different colors and designs to create a unique look for your boots that sets them apart from others.
- Creativity outlet: Painting stitching on boots can be a fun and creative activity, allowing you to express yourself and unleash your artistic side.
- Extended lifespan: By painting over the stitching, you can protect it from wear and tear, potentially extending the lifespan of your boots.
By learning to paint stitching on boots, you not only have a cost-effective way to update and personalize your boots but also gain a new skill that can be applied to other leather items.
What is the Best Way to Outline the Stitching?
When painting stitching on boots, it is important to first outline the stitching with paint before filling in the rest of the design. This will help give a clean and defined look to your work. There are several methods for outlining stitching on boots, but here are some of the most effective ways:
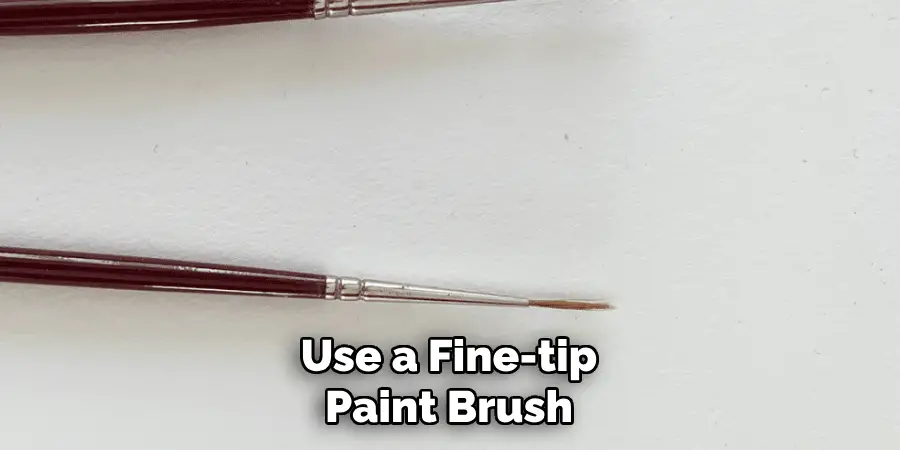
1. Use a Fine-Tip Paint Brush
One way to outline stitching is to use a fine-tip paint brush. This method works best if you are using a fabric paint or an acrylic paint that is specifically designed for painting on fabric. Dip the tip of the brush in your chosen paint and carefully trace along the stitching lines, making sure to stay as close to the edges as possible. This may take some practice to get right, but it will give you the most precise and cleanest results.
2. Use a Fabric Marker
Another option is to use a fabric marker to outline the stitching. Fabric markers are designed specifically for writing and drawing on fabric, so they will easily glide along the stitching lines without bleeding or smudging. This method may be easier for beginners as it requires less precision compared to using a paint brush. However, keep in mind that fabric markers can sometimes fade or bleed over time if not heat set properly.
3. Use Fabric Paint Pens
If you are looking for a quicker and easier method, consider using fabric paint pens to outline the stitching on your boots. These pens have fine tips that are perfect for tracing along stitching lines, and they come in a variety of colors to match your design. Just make sure to test the pen on a small area before using it on your boots, as some colors may appear different once they dry.
No matter which method you choose, make sure to take your time and have a steady hand when outlining the stitching. This is an important step that sets the foundation for your painting and can greatly affect the final result.
What Kind of Paint Should You Use?
When it comes to painting stitching on boots, the type of paint you use is crucial in achieving a successful outcome. Here are some factors to consider when choosing the right paint for outlining your stitching:
1. Fabric Paint
This is the most commonly used type of paint for fabric projects, including painting on boots. Fabric paint is specifically formulated to adhere and dry well on fabric, and it comes in a variety of colors and finishes. Make sure to choose a high-quality fabric paint for best results.
2. Acrylic Paint
While not specifically made for fabric, acrylic paint can also be used to outline stitching on boots. However, make sure to mix the paint with a fabric medium before applying it to your boots, as this will help the paint adhere better and prevent cracking.
3. Fabric Markers
As mentioned before, fabric markers are another option for outlining stitching. These are perfect if you want more control and precision in your outlining, as they have fine tips that allow for detailed work. Make sure to choose a marker specifically made for fabric.
4. Paint Pens
Similar to fabric markers, paint pens are an easy and convenient option for outlining stitching. They come in a variety of colors and are perfect for beginners or those with less experience in painting on fabric.
Ultimately, the best type of paint to use will depend on your personal preference and the specific design you are trying to achieve. Some artists may even combine different types of paint for different parts of their project.
Conclusion
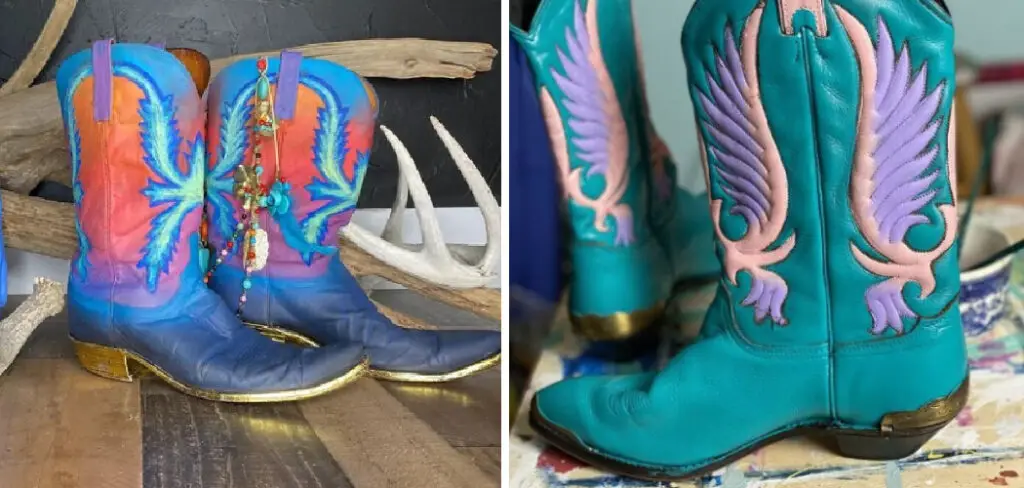
In conclusion, we hope that this blog has provided you with a comprehensive guide on painting stitching on boots. Whether you want to add some color to your old boots or create a unique design, painting the stitching can bring new life to your footwear.
We have covered all the essential steps and tips for achieving a professional-looking result. From choosing the right materials and preparing your boots to applying the paint and finishing off with a protective coating, each step is crucial for achieving a successful outcome.
Remember to take your time and be patient throughout the process. Rushing can lead to mistakes and a sloppy result. Don’t be afraid to experiment with different colors and designs, but always test them on a small area first before committing to the entire boot. I hope this article has been beneficial for learning how to paint stitching on boots. Make Sure the precautionary measures are followed chronologically.