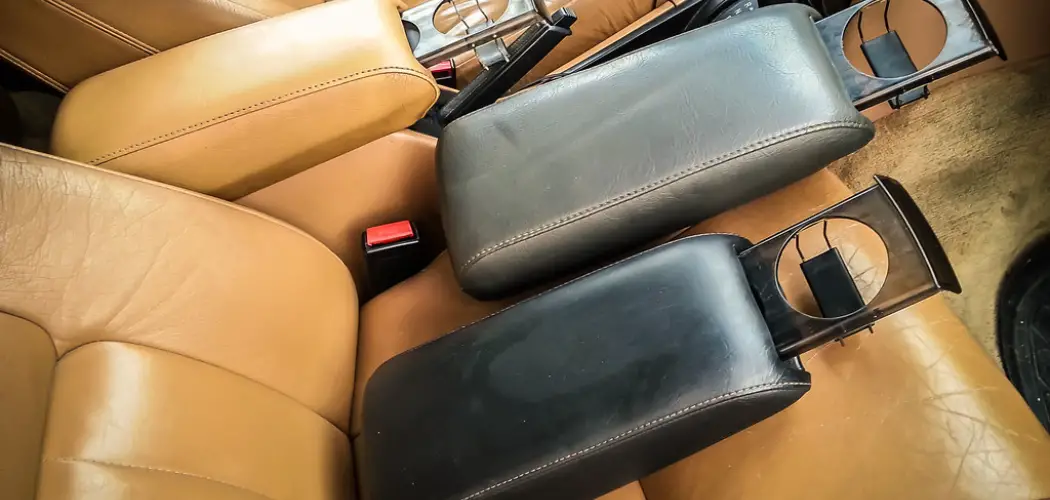
If you drive a vehicle with leather-covered armrests, then you know how nice it is to rest your arm on them after a long day of driving. But when the leather starts to wear and tear due to heavy use, not only can it make your car interior look drab, but it can also be an uncomfortable and even dangerous experience.

Fortunately, repairing these broken leather armrests doesn’t have to be an expensive or complicated task – all you need are some simple tools and supplies that we will explain in detail in this blog post.
So if your car is starting to show its age because of cracked or torn upholstery, keep reading as we guide you through how to repair leather armrest in car, from identifying the problem area and common causes of damage all the way through cleaning up spills and applying repairs using affordable methods.
Can Torn Leather Be Repaired?
Yes, torn leather on car armrests can be repaired. Depending on the severity of the tear, you may be able to repair it with a simple patch or adhesive. If the tear is more extensive, however, you may need to replace the affected area with a new piece of leather. In either case, repairing leather in your car armrests is a relatively easy process that can save you money and keep your car looking great.
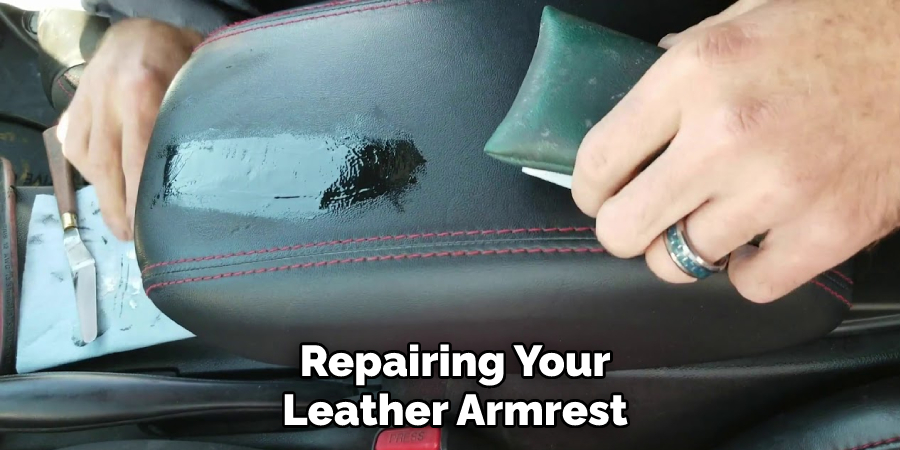
To patch a tear, first clean the area with leather cleaner. Then, apply a thin layer of adhesive to the back side of the patch and affix it over the tear. Use a damp cloth to smooth out any air bubbles beneath the patch and press it firmly into place.
Once dry, use an upholstery tool or spatula to lightly trim off excess material from around the patch. Finally, apply a leather conditioner to protect the repaired area and restore its original shine.
For more extensive tears that require the replacement of part or all of the armrest leather panel, remove any existing screwed-on hardware before carefully cutting away the damaged material. Be sure to leave enough of an overhang to allow for a secure fit when attaching the new leather panel.
Once the replacement piece is ready, apply adhesive to both sides of its edges and press it firmly into place. Use an upholstery tool or spatula to smooth out any air bubbles before trimming away any excess material from the edges. Finally, reattach any hardware and apply a coat of leather conditioner for protection.
These methods make repairing a torn armrest in your car relatively straightforward. Whether you’re patching or replacing the damaged area, taking the time to repair your car’s leather armrest will not only keep it looking great but also save you money in the long run.
10 Steps How to Repair Leather Armrest in Car
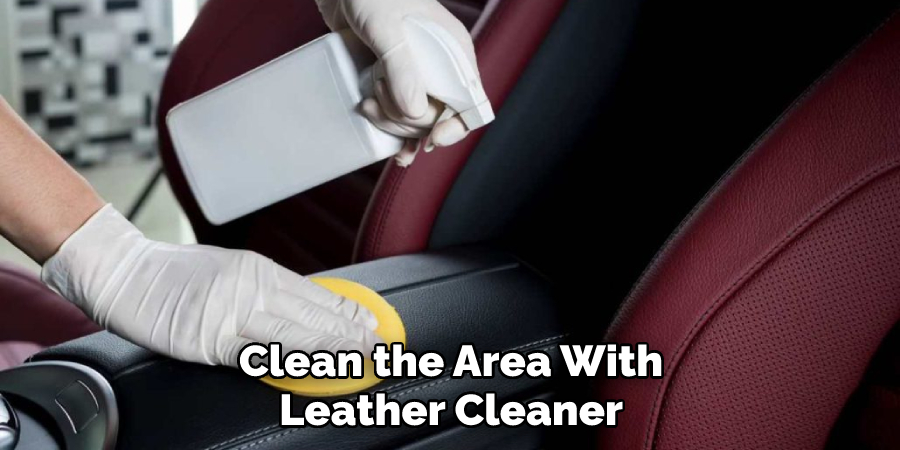
Step: 1. Use a Leather Cleaner.
The first step in repairing your leather armrest is to clean it with a leather cleaner. This will remove any dirt or debris that may be on the surface of the armrest and will also help to prepare the leather for repair. To clean the armrest, use a soft cloth and an approved leather cleaner.
Gently wipe down the surface of the armrest to remove any dirt or debris. Once the armrest is clean, allow it to dry completely before proceeding to the next step. Also, make sure that the cleaner you are using is specifically designed for leather to ensure it does not damage the material in any way.
Step: 2. Apply a Leather Conditioner.
After you have cleaned the armrest, you will need to apply a leather conditioner. This will help protect the leather from cracking, fading, and other damage. It is important to use a quality product that is specifically designed for automotive leather.
Start by squeezing a small amount of the leather conditioner onto a cloth. Gently rub it into the armrest in a circular motion, making sure you cover the entire surface. Let it sit for a few minutes and then wipe off any excess product with a clean cloth.
Step: 3. Use a Leather Patch Kit.
If you have a small hole or tear in your armrest, you can use a leather patch kit to repair it. These kits come with everything you need to patch the hole, including adhesive and instructions. Follow the instructions provided in the kit to repair the hole or tear.
Be sure to apply pressure to ensure that the patch sticks securely to the leather. Once the patch is in place, you can use a leather sealer to protect it from further damage. Allow the sealer to dry completely before using the armrest.
Step: 4. Use a Leather Filler.
If you have a larger hole or tear in your armrest, you may need to use a leather filler. This is a putty-like substance that can be used to fill in holes and tears in the leather. To apply it, first, clean the area around the hole or tear with a damp cloth to remove any dirt or debris.

Then apply the filler to the area, using a putty knife or other tool to press it into and around the hole or tear. Allow the filler to dry completely before moving on to the next step.
Step: 5. Use an Upholstery Needle and Thread.
If you have a small tear in your armrest, you may be able to repair it with an upholstery needle and thread. Start by threading the needle with a piece of matching thread. Then, tie a knot at the end of the thread to keep it secure. Next, push the needle through one side of the tear and then out the other side.
Pull the needle tightly so that both sides of the tear come together. Make sure to use small, tight stitches so that the repair holds up over time. Once you have completed the stitching, cut off any excess thread and tie a knot on the other side of the tear. Your armrest is now repaired and ready for use!
Step: 6. Use an Upholstery Adhesive.
If you have a large tear in your armrest, you will likely need to use an upholstery adhesive to repair it. This type of adhesive is designed for bonding fabric and can be found at most hardware stores. To use the adhesive, simply apply it to both sides of the tear and press it together firmly. Allow the adhesive to dry completely before using the armrest.
One important thing to remember when using an upholstery adhesive is that it can be difficult to remove if you make a mistake. Therefore, it’s best to be very careful and precise when applying it. Once the armrest has been repaired, you should also consider applying a leather conditioner to prevent future damage.
Step: 7. Use Heat-Activated Tape.
If you have a hole or tear in your armrest that is too large for an adhesive or filler, you may be able to repair it with heat-activated tape. This tape can be applied to the underside of the armrest and will form a tight bond when heated. To apply the tape, use an iron set on low heat to heat up the underside of the armrest.
Then, while it is still warm, place the heat-activated tape over the hole or tear and press firmly with your hand or a cloth. Allow the tape to cool and it should have formed a tight bond with the armrest. If necessary, you can use additional adhesive or filler to cover any exposed edges of the tape.
Step: 8. Use a Leather Repair Kit.
If the hole or tear in your armrest is too large for an adhesive, filler, or tape, you may need to use a leather repair kit. These kits come with a variety of tools and materials that can be used to repair larger holes and tears in leather armrests.
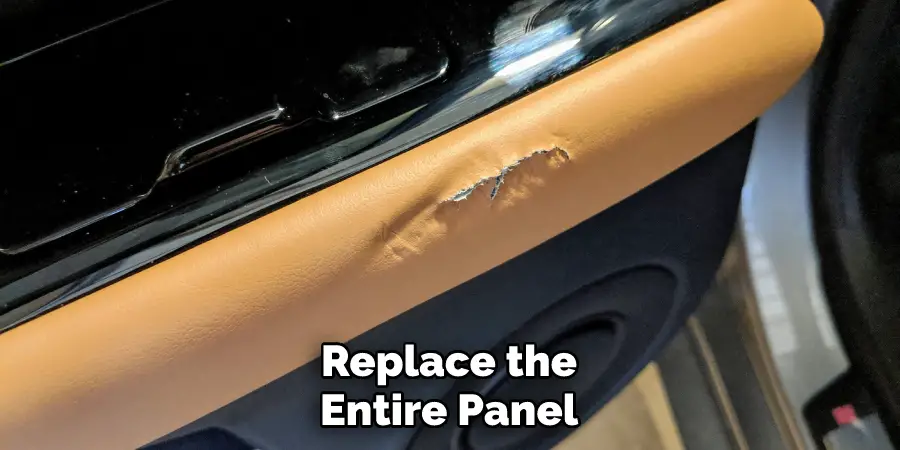
Step: 9. Replace the Armrest Leather Panel.
If the damage to your armrest is too extensive for any of these methods, you may need to replace the entire panel. This should only be done if absolutely necessary, as it will require removing any hardware from the armrest before cutting away the damaged material.
Step: 10. Apply Finishing Touches.
Once the repairs have been made and the armrest is looking like new, finishing touches can be added to protect against future damage. Consider applying a leather conditioner or wax to the armrest to help preserve it.
This will also give it a nice shine that will blend in with the rest of the car’s interior. Alternatively, if you are using a patch to repair the armrest, you may want to secure it with some leather adhesive. Be sure to follow the instructions on the product packaging so that you get the best results.
Conclusion
In conclusion, leather armrest repair doesn’t have to be a daunting task. With the right information and materials, you can successfully restore your armrest in no time. Before you start any work, make sure that you inspect the armrest for damage. If the damage is too extensive or complicated to repair yourself, don’t hesitate to ask a professional for help. Thanks for reading, and we hope this has given you some inspiration on how to repair leather armrest in car!
