Have you ever been frustrated when your favorite bag starts to show signs of wear and tear? Whether it’s the hardware that is starting to lose its shine or the leather beginning to crease in places, restoring the look of a worn-out bag can seem like an impossible feat.
But don’t despair! Here, we’ll walk through each step on how to restore hardware on bags with simple tips and tricks that will make the process quick and easy!
With some simple supplies and tools found at any craft store, you can learn how to restore any type of handles, straps and decorations on bags without spending too much money or time. In this blog post, we will guide you through every step in restoring your bag’s hardware from start to finish. So if you are ready for some crafting fun that produces satisfying results — let’s get started!
Why May You Want to Restore Hardware on Bags?
1 . To Improve Aesthetics
The metal pieces of your bag often get dull, tarnished, and scratched over time. This can make the whole look of your bag appear much less appealing and professional. By restoring the metal hardware you’re able to give it a like-new shine which drastically improves its overall appearance.
2 . To Increase Durability
Another great reason to restore your bag hardware is to make it much more durable. When you’re regularly using your bag, the hardware can become worn out or corroded. This reduces its strength and can disrupt the functionality of the bag. By restoring the metal pieces, you can ensure that they are strong and resilient enough to handle any task that comes their way.
3 . To Save Money
The last reason why you may want to restore your bag hardware is to save money. Replacing the hardware on a bag can be very expensive, and in many cases, not even financially feasible. By restoring it instead, you’re able to give new life to an accessory without spending a significant amount of money.

How to Restore Hardware on Bags in 6 Easy Steps
Step 1: Gather the Materials
You’ll need a few materials to get started. This includes:
- A small screwdriver set
- Nylon washers
- Screws of compatible size for the hardware you have
- Pliers
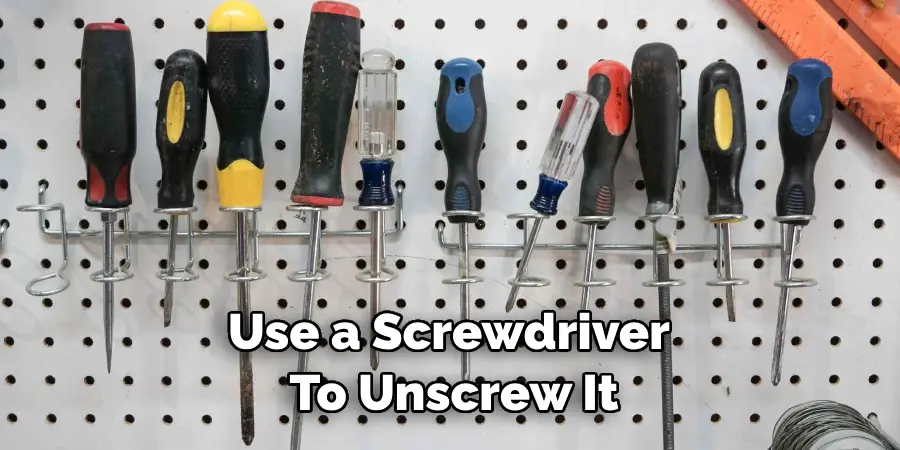
Step 2: Remove the Hardware from Your Bag
Using your screwdriver, carefully remove all the hardware that’s attached to your bag. Be sure to save all of the screws and keep them in a safe place.
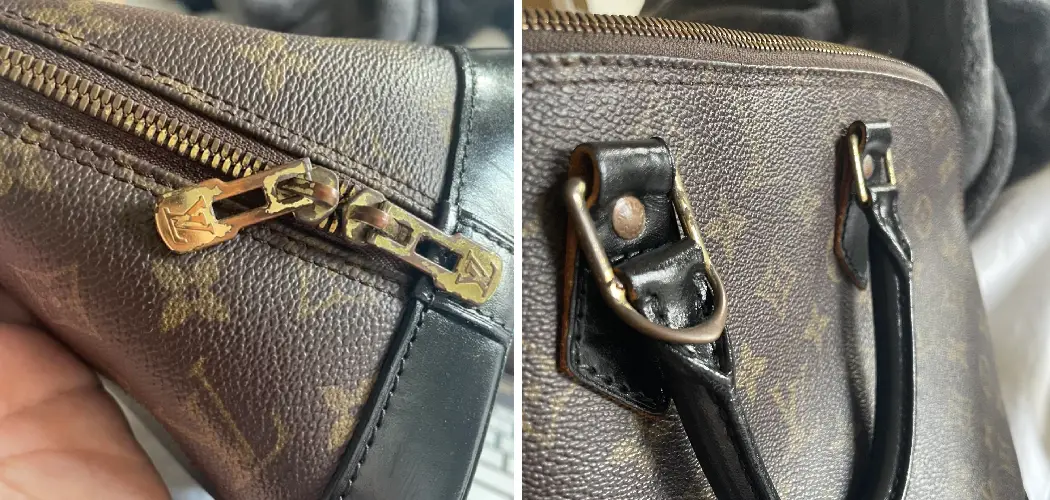
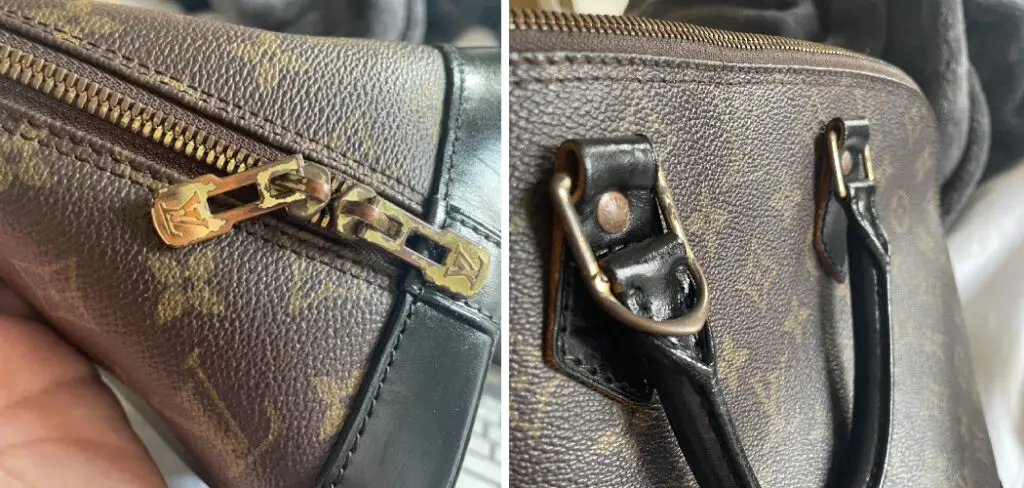
Step 3: Examine the Hardware
Once you have removed all the existing hardware, take a look at it closely. Check for any signs of damage or wear and tear that may need to be addressed. If necessary, you can take the hardware to a specialty shop to get it repaired or buy replacements.
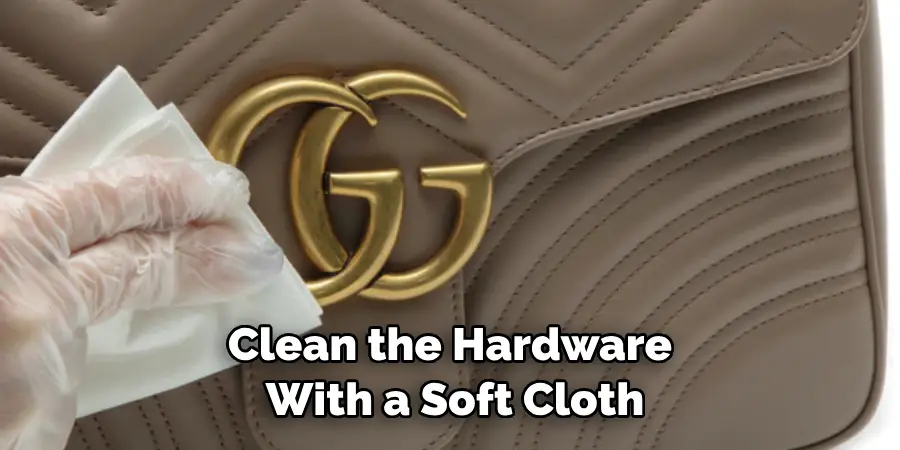
Step 4: Clean the Hardware
Clean the hardware with a soft cloth and some warm soapy water. Rinse off with clean water afterward. Allow the hardware to dry completely before proceeding. Also, be sure to clean the area where the hardware will be reattached.
Step 5: Reattach the Hardware
Using your screwdriver, carefully reinsert the screws into the holes and thread them in. Place a nylon washer between each screw and bag before tightening. Use pliers to firmly tighten all of the screws but avoid over-tightening.
Step 6: Enjoy Your Newly Restored Bag
You’re all done! Enjoy your newly restored bag and the satisfaction of having completed a successful DIY project. Don’t forget to save any extra hardware or screws you have left over for future use. Now it’s time to show off your handy work!
Some Extra Tips to Restore Hardware on Bags
1 . Clean with Soap and Water
Before you start restoring the hardware on your bag, it is important to give the hardware a good cleaning. This can be done easily with some warm soapy water. Make sure to rinse the hardware thoroughly afterward.
2 . Use Paint or Lacquer Thinner
After giving the hardware a thorough cleaning, use paint thinner or lacquer thinner to remove any remaining dirt or grime. Make sure to use the chemical safely and in a well-ventilated area.
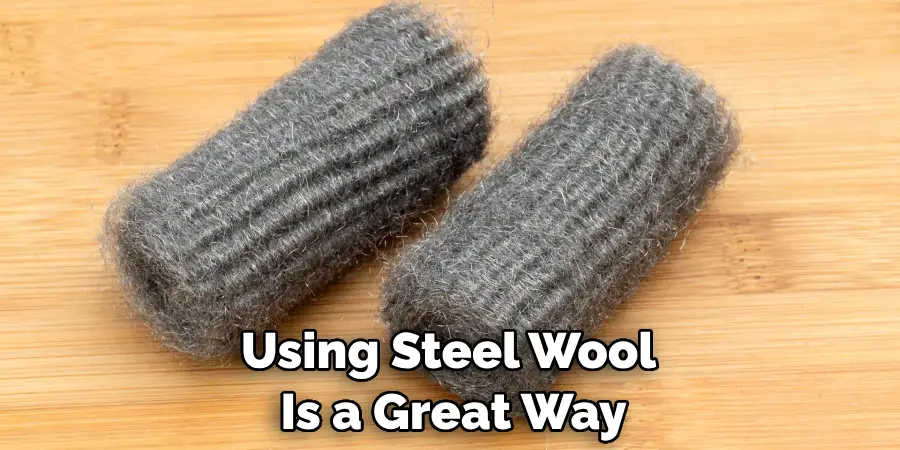
3 . Use Steel Wool
Once you have given the hardware a thorough cleaning and used paint or lacquer thinner, using steel wool is a great way to polish up the surface of the metal hardware. This will make the hardware look like new and help it last longer.
4 . Wax or Seal
To help keep your metal hardware looking great, you may want to wax or seal the surface of the metal with a clear coat. This will help protect it from rusting in the future. Make sure to use products that are specifically designed for use on metal surfaces to ensure the best results.
5 . Be gentle when Restoring Hardware
When restoring hardware, it is important to be gentle and go slowly. Aggressive polishing or scrubbing can cause scratches on the metal surfaces which can damage the hardware permanently. Take your time and be sure to use the proper tools and chemicals to restore your hardware safely.
6 . Consider Replacements
In some cases, the hardware on your bag may be severely damaged and no longer in working condition. In this case, it is best to replace the hardware with new pieces that are designed for the specific bag. This will ensure that your bag looks and functions properly for many years to come.
Frequently Asked Questions
What Precautions Should I Take When Restoring Hardware on Bags?
When restoring hardware on bags, it’s important to be very careful. It is recommended that you use the proper tools and techniques for the job. If done improperly, it could cause damage to the bag or its hardware. Before you start, make sure that all of your tools are in good condition and that you have the necessary supplies.
It’s also important to wear gloves and protective eyewear when restoring hardware on bags. This will help prevent any potential damage from occurring. Additionally, be sure to work in a well-ventilated area away from any open flames or other sources of heat. Finally, remember to always follow the instructions provided by the manufacturer for the best results.
What Materials are Needed to Restore Hardware on Bags?
When it comes to restoring hardware on bags, there are a few materials you will need:
- Teflon tape or thread sealant
- A screwdriver
- A hammer and punch
- Pliers or vise grip pliers
- Sandpaper or steel wool
- Replacement hardware such as screws, rivets, and bolts
- A sealant to prevent rusting
How Do I Remove Old Hardware from a Bag?
Removing old hardware from a bag can be a tricky process. First, you’ll need to use the proper tools for the job. If the hardware is screwed in, use a screwdriver to unscrew it. If the hardware is riveted or bolted on, use a hammer and punch to remove it. Once the old hardware has been removed, you’ll need to clean up any residue left behind with sandpaper or steel wool.
How Do I Attach New Hardware to a Bag?
Before you attach new hardware to a bag, make sure that the area is clean and free from any debris. Then, apply Teflon tape or thread sealant to the threads on the bolts or screws to help prevent rusting. Next, use pliers or vise grip pliers to carefully place the new hardware into position.
Finally, use a screwdriver or hammer and punch to secure it in place. Once the new hardware has been attached, you may want to apply a sealant over the area to further protect it from rusting. This will also help ensure that the hardware remains securely in place.
Can I Do This Myself?
Yes! Restoring hardware on bags is definitely something that can be done by a DIY enthusiast. With the proper tools and materials, as well as a little bit of patience, anyone can successfully restore hardware on their bag.
Just remember to always take the necessary safety precautions when working with sharp tools or handling heavy items. Additionally, make sure you follow the instructions provided by the manufacturer for the best results.
Conclusion
Restoring hardware on bags can seem like a daunting task however with the right tools and techniques, it is possible. Whether you decide to repair your purse yourself or seek professional help, all that matters is that you take the appropriate steps to get the job done.
You can go about restoring hardware in various ways but keep in mind that if done incorrectly you could end up costing yourself more money. Consider your options carefully and determine which course of action will be the most beneficial for you and your bag.
Now you know how to restore hardware on bags! Nonetheless, don’t be afraid to experiment and try something new! Whether it’s using stronger glue or finding replacements online, it’s always fun to explore new ideas. With all that said, hopefully this article has helped to give insight into what goes into the restoration process of a beloved bag – good luck out there!