
Do you need help fixing a tear or split in your fabric? Are you looking for an easy and reliable way to repair your fabrics without going to the tailor? Look no further than Speedy Stitcher, an incredible tool created specifically to mend fabric tears quickly and effectively.
With its simple yet effective design, the Speedy Stitcher is perfect for achieving strong lasting stitches with minimal effort. Not only will be able to fix any fabric-related problems effortlessly, but it also make sewing projects a breeze! In this blog post on how to use Speedy Stitcher, we’ll explore how using the Speedy Stitcher can make life much easier when facing any tough attire-related issues.
What is Speedy Stitcher?
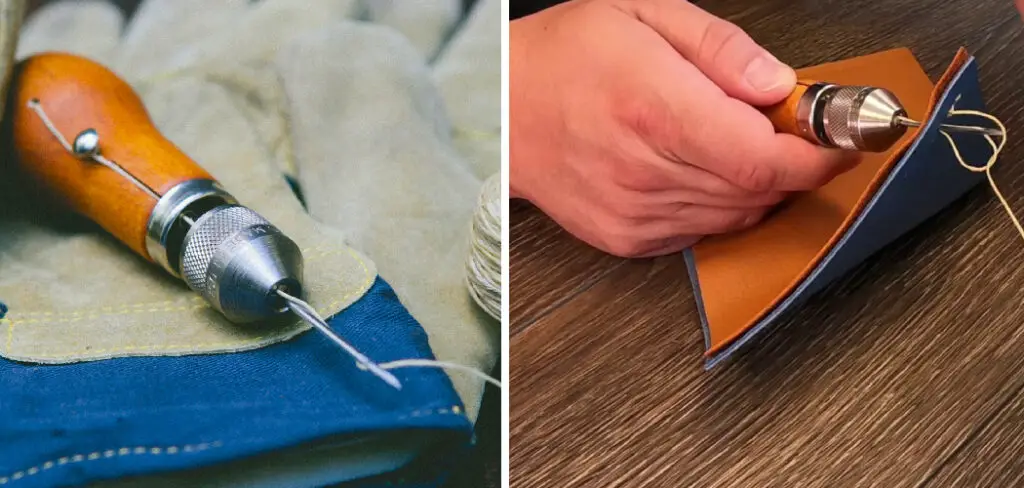
Before we dive into the details of how to use Speedy Stitcher, let’s first understand what exactly it is. The Speedy Stitcher is a hand-held sewing awl that was initially designed for use on sails and other heavy canvas-based materials.
However, its versatile nature allows it to be used on any fabric, from delicate silks to thick denim. The Speedy Stitcher consists of a needle, a bobbin, and a handle that allows you to stitch through any fabric with ease. It’s compact and portable design makes it convenient to carry with you on the go.
Why Choose Speedy Stitcher?
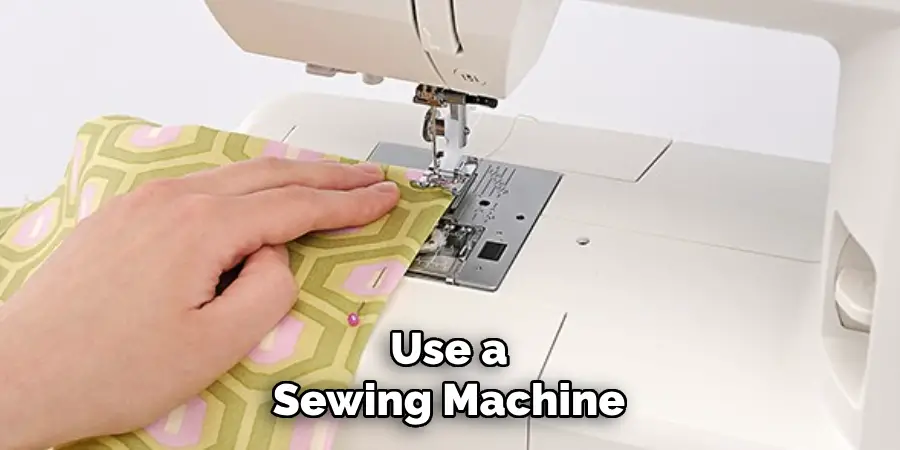
The benefits of using Speedy Stitcher are numerous. Firstly, it allows you to mend fabric tears and rips seamlessly without having to remove the fabric or use a sewing machine. This not only saves time but also makes it a perfect tool for on-the-go repairs.
Additionally, the stitches created by the Speedy Stitcher are strong and durable, ensuring your fabric stays intact for a long time. With the Speedy Stitcher, you can easily mend any fabric-related problem without having to rely on expensive tailor services.
10 Simple Step-by-step Guidelines on How to Use Speedy Stitcher
Step 1: Unpack
Remove the Speedy Stitcher from its packaging and make sure all the parts are included. It should come with the needle, bobbin, and handle. But if any part is missing or damaged, contact the manufacturer immediately.
You don’t want to be stuck in the middle of a project with a missing piece. The Speedy Stitcher also comes with a detailed instruction manual, so make sure to give it a read before you start.
Step 2: Load the Bobbin
The bobbin holds the thread that will be used to create stitches. To load the bobbin, turn the Speedy Stitcher upside down and release the bobbin cover by unscrewing it. Place the bobbin inside with the thread end sticking out.
Replace the cover and tighten it back up. It’s essential to ensure the thread is not tangled or twisted, as it could cause issues while stitching. But if you do encounter any problems, simply re-thread the bobbin.
Step 3: Thread the Needle
The needle is what will create the stitches on your fabric. To thread it, start by pulling some of the thread from the bobbin and threading it through the eye of the needle. Push the needle into its holder until it clicks into place.
If done correctly, the needle should be securely positioned and ready for stitching. You can adjust the tension of the thread by turning the knob on top of the needle holder.
Step 4: Choose your Stitch
The Speedy Stitcher allows you to create two different types of stitches – a lock stitch and a saddle stitch. A lock stitch is ideal for fabrics that require extra strength, while a saddle stitch is perfect for mending delicate fabrics.
To choose your stitch, simply rotate the bobbin cover to the desired stitch option. This will adjust the position of the bobbin and create different types of stitches.
Step 5: Prepare your Fabric
Before starting to stitch, make sure your fabric is clean and clear of any obstructions. Place it on a flat surface with the tear or rip facing up. It’s helpful to use pins to hold the fabric in place while stitching. This will prevent any movement and ensure even stitches. You can also use a ruler or measuring tape to mark the area you need to stitch for more precision.

Step 6: Start Stitching
Hold the Speedy Stitcher handle in your dominant hand and the fabric in your other hand. Position the needle at one end of the tear and push it through both sides of the fabric. Pull until there is a short tail on the non-dominant side of the fabric. Then, push the needle back through to create a loop and pull it tight. This will create your first stitch. Continue stitching in this manner until you reach the other end of the tear.
Step 7: Lock-in Stitch
Once you reach the end of your tear, make sure to lock in your stitches for added durability. To do this, stitch a few more stitches back and forth in the same spot. This will create a small knot at the end of your stitching, ensuring it doesn’t come undone. But if you do want to remove the stitches, simply cut off the knot with scissors. You can also add a drop of fabric glue to secure the knot further.
Step 8: Trim Excess Thread
After you’ve locked in your stitches, trim off any excess thread from both ends. This will give your repair a neat and finished look. You can use scissors or a thread cutter for this step, depending on what’s convenient for you. However, make sure not to cut any of your stitches in the process. It’s always better to leave a little extra thread than to cut off your stitches.
Step 9: Practice Makes Perfect
If you’re new to using the Speedy Stitcher, it’s normal to make mistakes or have uneven stitches in the beginning. But with practice, you’ll get the hang of it and create perfect stitches every time. Don’t be afraid to experiment with different fabrics and techniques to master your stitching skills. You also try using different types of threads to see which works best for you.
Step 10: Maintenance and Storage
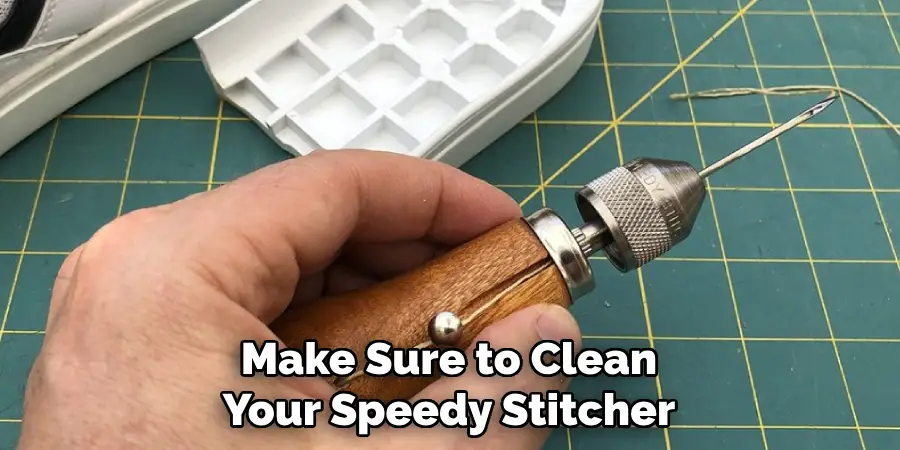
After use, make sure to clean your Speedy Stitcher thoroughly. Remove any excess thread or fabric pieces that may be stuck in the bobbin or needle. You can also oil the moving parts occasionally to ensure smooth stitching.
When storing, keep the Speedy Stitcher in its original packaging, or wrap it up in a cloth to prevent any damage. With proper maintenance and storage, your Speedy Stitcher will last for years to come. So make sure to take care of this handy tool.
Following these simple steps on how to use speedy stitcher, you can easily and efficiently use your Speedy Stitcher to mend any fabric tears or rips. Whether it’s a quick fix on the go or a more significant repair project, the Speedy Stitcher will come in handy for all your stitching needs. So why rely on expensive tailor services when you can DIY with this nifty tool? Give it a try, and you’ll be amazed at the results! Happy stitching!
Frequently Asked Questions
Q: Is the Speedy Stitcher Suitable for All Types of Fabrics?
A: Yes, the Speedy Stitcher can be used on a variety of fabrics, from delicate materials to heavy canvas and leather. It’s essential to adjust the tension and stitch type according to the fabric for optimal results.
Q: Can I Replace the Needle on My Speedy Stitcher?
A: Yes, you can replace the needle on your Speedy Stitcher if it becomes dull or damaged. It’s always a good idea to keep an extra needle handy for quick replacements during stitching projects. This will ensure your stitches are always neat and precise.
Q: Is the Speedy Stitcher Portable?
A: Yes, the Speedy Stitcher is a compact and lightweight tool that can be easily carried around in a bag or toolbox. It’s perfect for on-the-go repairs, especially if you’re traveling and need a quick fix for your clothes or other fabric items. So, you can take it with you wherever you go.
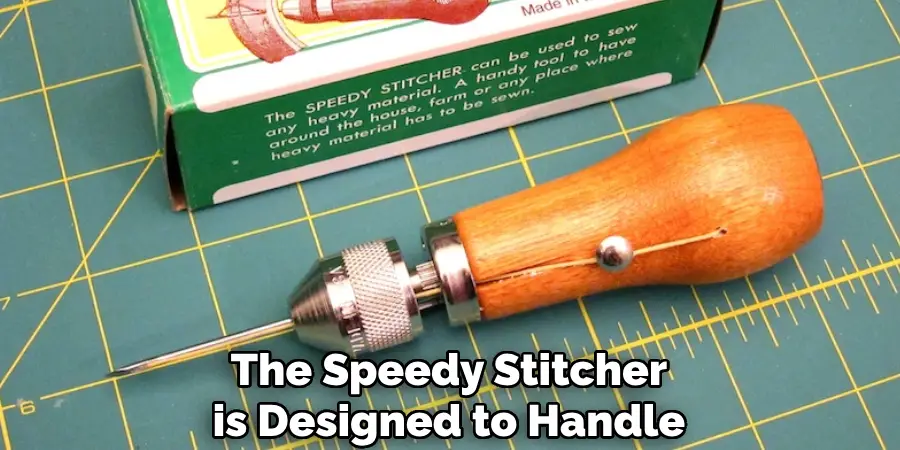
Q: Can the Speedy Stitcher Be Used for Heavy-Duty Repairs?
A: Absolutely! The Speedy Stitcher is designed to handle heavy-duty repairs with ease. It’s perfect for mending tents, sails, backpacks, and other outdoor gear. With its lock stitch option and durable construction, the Speedy Stitcher can handle even the toughest fabric repairs.
Conclusion
To summarize, the Speedy Stitcher sewing awl is a great tool to have on hand for any sewing needs. It can make quick and easy work of a wide variety of fabrics and materials. Even if you don’t consider yourself an experienced sewer, the Speedy Stitcher offers enough guidance and instruction on how to use speedy stitcher to get you up and running in no time.
With this helpful tool, you will be able to tackle any upholstery or leather repair project that comes your way with ease. So what are you waiting for? Get your own Speedy Stitcher today, and start creating beautiful clothing designs, repairs patches, decorations, and more!