
Are you ready to learn how to reupholster your motorcycle seat? Many motorcycle owners want the sleek look of a newly upholstered seat but don’t know where to start. The good news is, with the right materials and tools, it’s surprisingly easy!
In this blog post on how to reupholster motorcycle seat, we’ll break down each step involved in reupholstering a motorcycle seat so that you have all the information you need to give your bike seat an exciting makeover.
11 Step-by-step Instructions on How to Reupholster Motorcycle Seat
Step 1: Gather the Necessary Materials
You will need:
- Upholstery Fabric
- Fo Padding
- Spray Adhesive or Upholstery Glue
- Sewing Machine and Thread
- Needle and Thread
- Fabric Scissors
- Marker or Tailor’s Chalk
- Measuring Tape
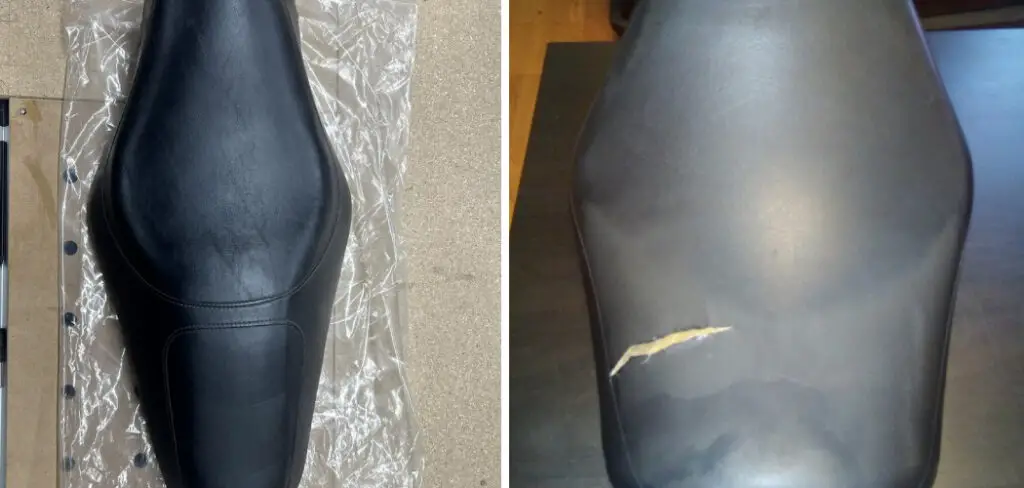
Step 2: Remove the Existing Upholstery from the Seat
Using a flathead screwdriver, carefully remove all of the staples and screws that are securing the existing upholstery to the seat. Pull off all fabric pieces, foam padding, and other material from the seat.

Discard these materials. It’s important to be careful when removing the existing upholstery so that you don’t damage the seat frame. If the seat frame is damaged, it may need to be replaced before you can begin reupholstering.
Step 3: Measure & Cut New Upholstery Fabric
Carefully measure each side of your motorcycle seat with a measuring tape. Transfer these measurements onto your upholstery fabric using a marker or tailor’s chalk and cut it out using scissors. Make sure you leave at least 1 inch extra on each side for seams allowances.
But don’t worry, you can always trim it down later if necessary. Although, it is better to leave a bit of extra fabric if you can. If you’re using a patterned fabric, make sure to align the pattern so it looks even on both sides of the seat.
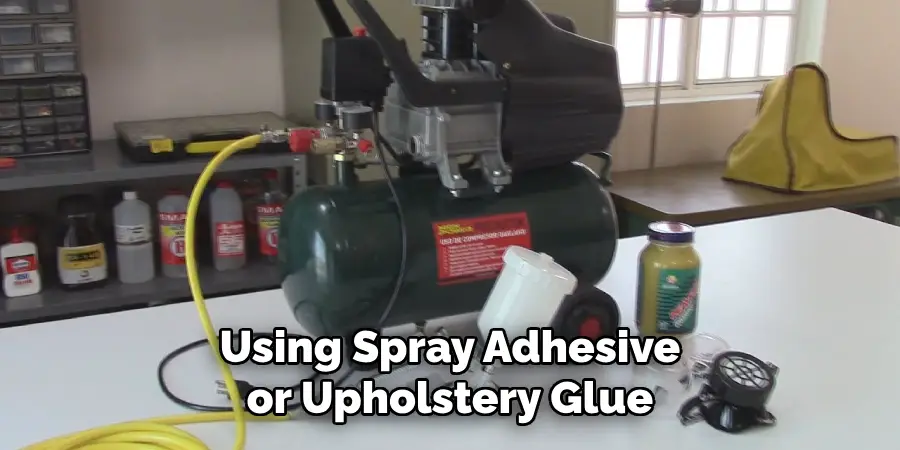
Step 4: Attach the New Fabric to the Seat
Using either spray adhesive or upholstery glue, attach the new fabric to the seat. Make sure it is securely attached before moving on to the next step. It’s important to use glue so that the fabric adheres to the seat properly and doesn’t come loose. But be sure to use enough glue that it doesn’t seep through the fabric and onto your clothes or skin.
It’s also a good idea to do a test run on scrap fabric before applying the glue directly to your seat. However, if you are using spray adhesive for this step, make sure to do it in a well-ventilated area.
Step 5: Sew Seams Allowance
Place two pieces of fabric (with wrong sides facing each other) together and sew along all edges with a sewing machine. Fold over 1-inch seams allowance and press with an iron. It’s important to make sure that the seams are properly pressed and secured.
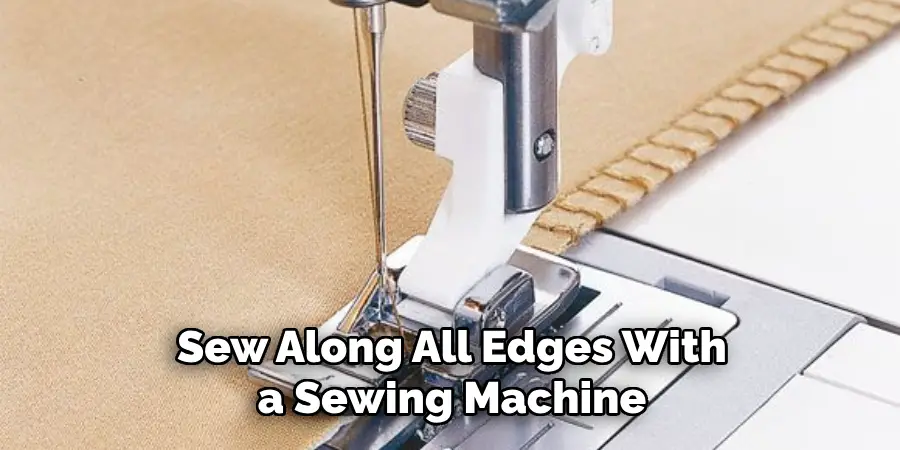
This will ensure that your upholstery job looks professional and lasts longer. But be sure not to press too hard or else you can damage the fabric. This step may take some time and effort, but the end result is worth it! It’s also important to use a strong thread for this step so that your seams are secure.
Step 6: Cut Foam Padding
Cut your foam padding into pieces that fit snugly around your seat. Ensure there are no gaps between pieces of foam padding for a smooth finish. If necessary, use scissors to trim the edges of the foam so that they fit perfectly. Make sure you leave at least 1 inch around all edges for a seamless look.
Otherwise, your upholstery job won’t look as professional. It’s important to use high-quality foam padding for this step so that your seat is comfortable to sit on.
Step 7: Attach Foam Padding To The Seat
Using spray adhesive or upholstery glue, attach the foam padding to the seat. Make sure that it is securely attached before moving on to the next step. It’s important to use glue so that the foam padding adheres to the seat properly and doesn’t come loose.
But be sure not to use too much glue or else it will seep through the fabric and onto your clothes or skin. It’s also a good idea to do a test run on scrap fabric before applying the glue directly to your seat. This step may take some time and effort, but the end result will be worth it!
Step 8: Sew The Upholstery Fabric To The Foam Padding
Place two pieces of fabric (with wrong sides facing each other) together and sew along all edges with a sewing machine. Fold over 1-inch seams allowance and press with an iron.
This step may take some time and effort, but the end result is worth it! Make sure you use a strong thread for this step so that your seams are secure. Otherwise, your upholstery job won’t last very long. It’s also important to use a quality upholstery fabric for this step so that it looks neat and professional.
Step 9: Attach The New Upholstery To The Seat
Using either spray adhesive or upholstery glue, attach the new upholstered fabric to the seat. Make sure it is securely attached before moving on to the next step. However, if you are using spray adhesive for this step, make sure to do it in a well-ventilated area.
It’s important to use glue so that the fabric adheres to the seat properly and doesn’t come loose. But be sure not to use too much glue or else it will seep through the fabric and onto your clothes or skin. This step may take some time and effort, but the end result will be worth it!
Step 10: Secure the Upholstery
Using a staple gun, securely attach the upholstered fabric to the seat. Make sure that it is firmly secured before moving on to the next step. It’s important to use a staple gun so that the fabric adheres to the seat properly and doesn’t come loose.
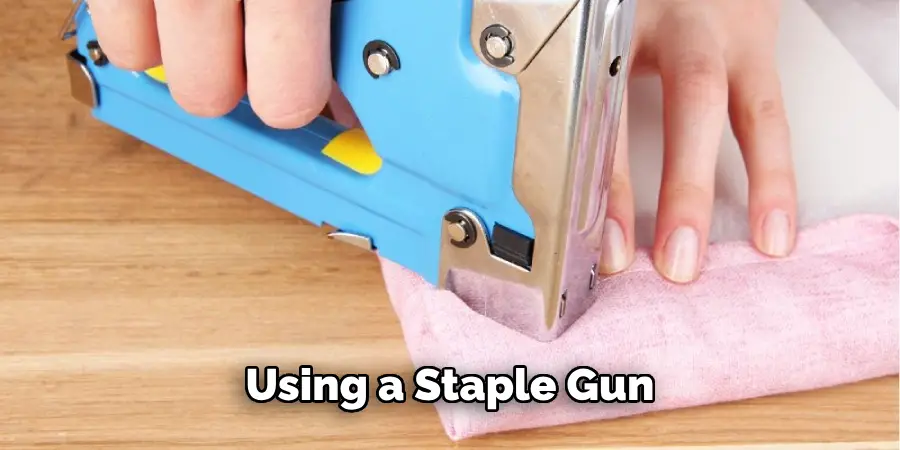
But be sure not to use too many staples or else it will damage the fabric. It’s also a good idea to do a test run on scrap fabric before applying the staples directly to your seat. That way you can adjust the staple length accordingly. But be sure to use strong staples so that your upholstery job is secure and lasts a long time.
Step 11: Enjoy Your New Bike Seat!
Once your new bike seat is complete, you can enjoy your newly restored motorcycle seat and show it off proudly! Always remember that reupholstering your bike seat is a bit of an investment, but it’s also a great way to give your bike a facelift and make it look like new again. Good luck, and happy riding! It’s time to hit the road! This is a great way to customize your bike and make it stand out from the crowd.
We hope this guide on how to reupholster motorcycle seat has been helpful. Have fun working on your project and happy riding!
Frequently Asked Questions
Q: How Long Does It Take to Reupholster a Motorcycle Seat?
A: Depending on the size and complexity of your project, it can take anywhere from a few hours to several days to reupholster a motorcycle seat. Make sure you have ample time and patience when starting this project!
Q: What Tools Do I Need for Reupholstering a Motorcycle Seat?
A: The tools you need for reupholstering a motorcycle seat include upholstery fabric, foam padding, spray adhesive or upholstery glue, sewing machine and thread, needle and thread, fabric scissors, marker or tailor’s chalk, and measuring tape.
Q: Are There Places That Will Reupholster a Motorcycle Seat for Me?
A: Yes, there are professional upholstery shops that can reupholster a motorcycle seat for you. However, this tends to be more expensive than doing it yourself with the right materials and tools.
Q: Can I Reupholster a Seat with Leather?
A: Yes, you can reupholster a seat with leather. However, it is important to make sure that the leather is of good quality and that it is properly treated for protection against weather damage. Additionally, you should apply a waterproof sealant to the leather to protect against water damage.
Conclusion
After reading through this guide on how to reupholster motorcycle seat, you should now have all the necessary tools and knowledge to successfully reupholster your motorcycle seat.
Don’t be overwhelmed by the number of steps and information provided in this blog post! With proper preparation, research, and supplies, you can safely and quickly complete your project.
You’ll find that the end result will be well worth the effort you put into it – not only will you have a beautiful and customized aftermarket look for your bike, but also a comfortable ride as you travel down the road.
So don’t wait any longer – start looking for fabric selections, gather up your tools and supplies, then get ready to enjoy the satisfaction of transforming your bike with brand-new upholstery. Your friends won’t believe their eyes when they discover what a great job you did!