Are you looking for a way to give your motorcycle some added style and character? Or maybe you just want to spruce up the look of a vintage motorbike that needs some extra TLC? Then consider adding one of the oldest, most timeless materials there is: leather.

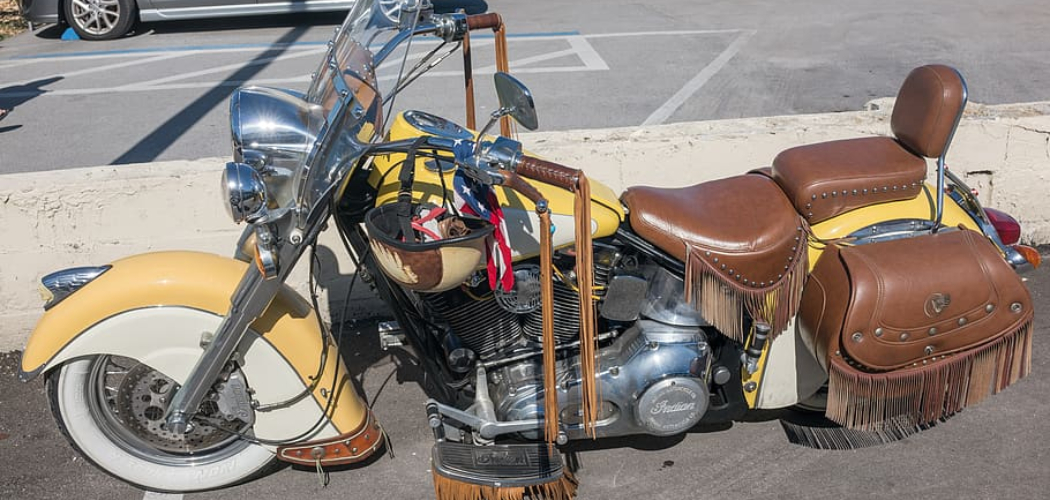
With its classic texture and natural patina, leather can be used to cover everything from car seats to helmets—yet it’s especially perfect for making custom motorcycle seats. Whether you’re looking for something utilitarian or want an eye-catching seat with unique handcrafted details, this guide on how to make a leather motorcycle seat will help get you started on creating a personalized new look that will breathe life into any ride.
The Benefits of Making a Leather Motorcycle Seat
1. Add Style
The most obvious benefit of making a leather motorcycle seat is the look. Leather has a style and character all its own that won’t fade or wear out over time—which makes it perfect for riders who want an eye-catching, timeless aesthetic. But there are practical benefits to using leather as well.
2. Durability
Leather is highly durable, meaning it won’t easily tear or wear out due to exposure to the elements. This makes it ideal for riders who like to take their bikes out on long rides and don’t want to worry about their seat holding up. Furthermore, leather is water resistant, so you won’t have to worry about rain or other weather wreaking havoc on your new seat.
3. Comfort
When properly treated, leather is incredibly soft and comfortable—making it the perfect material for a long ride. With a custom-made leather motorcycle seat, you can be sure that your passengers will be able to enjoy a comfortable ride for miles and miles.
Now that you know the benefits of making a leather motorcycle seat, it’s time to learn how to actually make one! The process is relatively simple and straightforward, but it does require some basic knowledge of leatherworking tools and techniques.
Tools Needed For Making a Leather Motorcycle Seat
1. Leather scraps- You’ll need leather scraps in order to cover your seat. Try to find pieces that are large enough to cover the entire surface area of the seat and any additional padding you may want to add.
2. Staple gun- A staple gun is essential for attaching the leather to your seat. If you’re using foam padding, make sure to use staples that are specifically designed for leather in order to ensure a secure hold.
3. Leather punch- This tool is used to make holes in the leather so you can attach it securely with rivets or buckles.
4. Rivets and buckles- These will be used to attach the leather to your seat securely.
5. Leather conditioner- After you’ve finished making your seat, use a leather conditioner to help keep it looking new and supple for years to come.
Now that you have all the necessary tools and materials let’s get started! Follow these steps to create a beautiful custom leather motorcycle seat in no time.
10 Steps on How to Make a Leather Motorcycle Seat
Step 1: Cut the Leather Scraps
Using scissors or a rotary cutter, cut your leather scraps into pieces that are large enough to cover the entire surface area of your seat, plus any additional padding you plan on adding. Make sure to leave a few inches of extra material around the edges in order to account for any shrinkage that may occur.
Step 2: Attach the Leather Scraps
Using your staple gun, attach the leather pieces to your seat, making sure to pull tight and keep everything securely in place. If you plan on adding foam padding, make sure to use staples that are specifically designed for leather in order to ensure a secure hold.
Step 3: Punch Holes
Using your leather punch, make holes along the edges of the leather where you plan on attaching rivets or buckles. Make sure the holes are evenly spaced and large enough for the hardware to fit through comfortably.
Step 4: Attach the Hardware
Now it’s time to attach the rivets or buckles to your seat. Place a rivet through each of the holes you punched in step 3, and secure them in place with a hammer or mallet. You may also want to use a buckle in certain places for an extra layer of security.
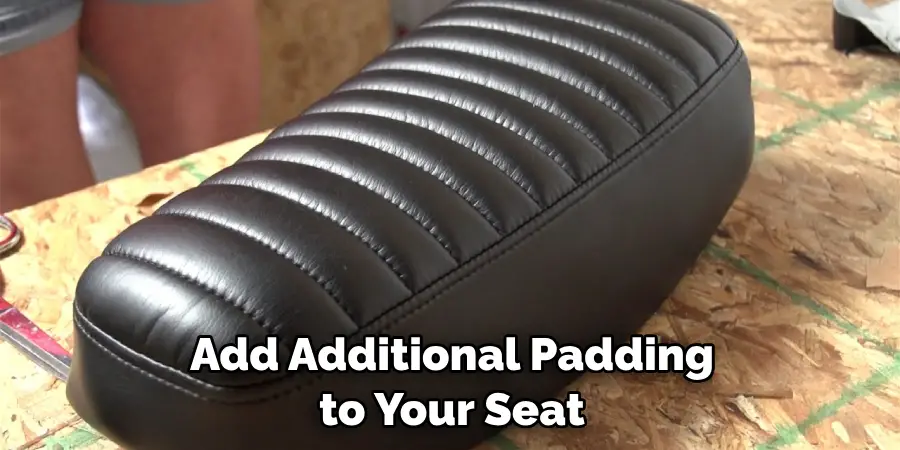
Step 5: Add Additional Padding
If desired, you can add additional padding to your seat for extra comfort and support. Foam or memory foam works best, as they conform easily to the shape of the seat and won’t shift around during long rides. Make sure to secure it in place with your staple gun.
Step 6: Sew the Edges
Using a leather needle and thread, sew the edges of the leather together to create a professional-looking finish. This will help keep everything securely in place and make sure that no sharp edges are exposed.
Step 7: Clean and Condition
Now it’s time to clean and condition your seat. Use a soft cloth and leather cleaner to remove any dirt or debris from the surface, then follow up with a leather conditioner to help keep it looking new and supple for years to come.
Step 8: Let the Leather Cure
Finally, leave your newly made seat in a cool, dry place to let the leather cure for at least 24 hours. This will help ensure that all of your hard work pays off and your seat lasts for many years to come.
Step 9: Install Your Seat
Once the leather has cured, it’s time to install your new seat onto your motorcycle! Make sure you follow all instructions provided by the manufacturer when installing your seat, as improper installation can lead to serious damage or injury.
Step 10: Enjoy!
You’re done! Now all that’s left to do is take your bike out for a spin and enjoy the comfort and style of your custom-made leather motorcycle seat. With proper care and maintenance, your seat will last for many years to come. Enjoy the ride!
You have now learned how to make a leather motorcycle seat and are ready to create your own custom design. With the right tools and materials, it’s easy to create a beautiful and functional seat that will look great on any bike.
7 Safety Precautions to Follow When Making a Leather Motorcycle Seat
Making a leather motorcycle seat can be a rewarding and practical experience. However, it is important to take safety precautions when working with leather and tools. Here are some steps you should follow to help ensure your safety while creating a custom leather motorcycle seat:
1. Wear protective clothing, such as safety glasses, gloves, and a dust mask. This will help protect your eyes, skin, and lungs from flying debris or hazardous material that may be present. Protective wear should also be used when sanding, cutting or otherwise handling the leather.
2. Make sure you’re working in a well-ventilated area to prevent inhalation of hazardous chemicals present in the leather dye or other materials used in the process. Ventilation is also important for proper drying of the leather.
3. Read the instructions on any tools or materials you are using to ensure safe and effective performance. It is also important to follow all safety precautions listed for each product.
4. Make sure the tools and machinery you are using are functioning properly. Don’t attempt to use malfunctioning or damaged equipment, as this could lead to serious injury or damage to your material.
5. Take care when handling sharp objects, such as scissors, knives, or needles, to avoid cuts or punctures. Securely cover your working area with a mat or other surface protector when using these tools.
6. Use the appropriate leather dye for your leather seat and follow all safety instructions carefully. Wear gloves and protective glasses when using any type of chemical cleaner, conditioner, or dye on leather materials.
7. Keep non-essential items away from your work area. These could include flammable materials, wires or cords that may be a tripping hazard, or other objects that could interfere with the safe construction of your motorcycle seat.
Following these safety precautions when making a leather motorcycle seat can help ensure you have a productive and safe experience.
Conclusion
Congratulations! You’ve made it to the end of this in-depth guide If you followed our steps, you now have a beautiful, custom-made seat ready for your next adventure. We hope that this blog post was helpful and gave you not only the skills necessary to create your own seat but also provided you with some insight into the craftsmanship process associated with making this item.
Crafting has the potential to give an expression of pride and accomplishment, so be sure to express your creativity further by bringing new ideas or even items into existence through sewing and assembly. Best of luck with all your future projects! Follow these steps on how to make a leather motorcycle seat, and you’ll be sure to create a seat that can take on any ride.