
Leather is a beautiful and durable material that can be used for a variety of projects, like bags, belts, and wallets. But when it comes to sewing leather, it can be challenging, especially if you’re new to it. Unlike regular fabric, leather is thicker and tougher and requires different techniques and tools to sew it properly.
However, with the right approach and practice, you can sew leather with a sewing machine like a pro. In this blog post, we’ve compiled a comprehensive guide on how to sew leather with a sewing machine, including everything you need to know, from choosing the right needle to adjusting your machine’s settings.
Can You Sew Leather with A Sewing Machine?
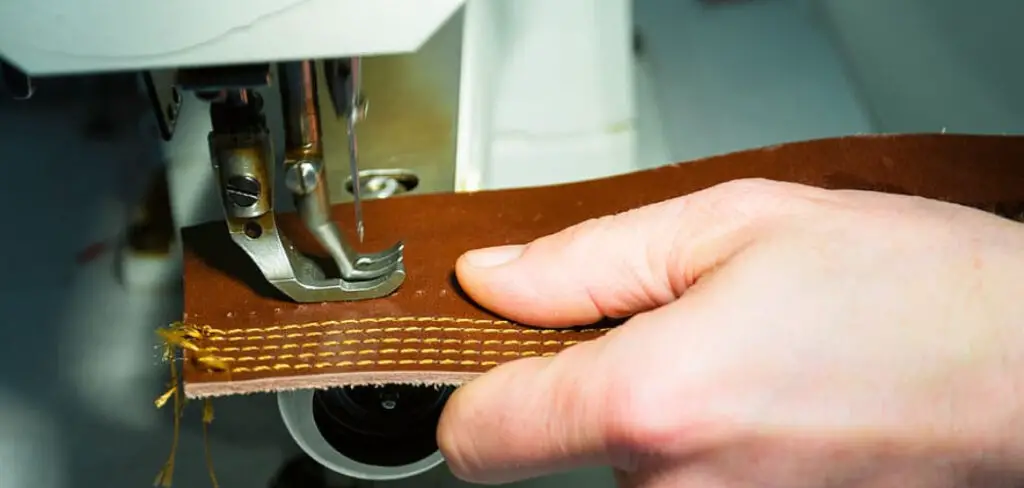
One of the most common questions that people ask is whether it is possible to sew leather with a sewing machine. Well, the simple answer is yes! With the right tools, equipment, and techniques, you can easily sew leather using a sewing machine. Leather is a bit thicker and more durable than other fabrics, making it a bit challenging to sew with a regular sewing machine.
However, with some practice, you can learn how to sew through leather without any hassle using your machine. Whether you’re looking to create a custom leather jacket or a beautiful leather purse, using a sewing machine can make the task quicker and easier. Just ensure that you have the right needles, presser foot, and tension settings to avoid damaging your leather.
Why Should You Sew Leather with A Sewing Machine?
Leather is a timeless material that has been used for centuries to create everything from clothing to accessories. While sewing leather by hand is certainly possible, it can be a tedious and time-consuming process requiring much skill and patience. That’s why more and more people are turning to sewing machines to streamline the process and make it more efficient.
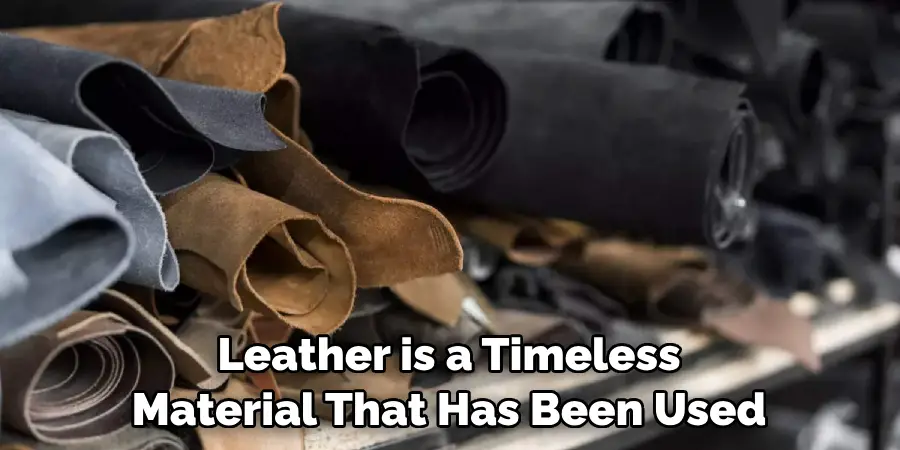
A good sewing machine designed for leather can easily handle the thick, durable material, allowing you to create beautiful pieces that will last for years. Whether you’re a seasoned pro or just starting out, investing in a quality sewing machine is a smart move if you want to take your leather crafting to the next level.
The Ultimate Guide on How to Sew Leather with a Sewing Machine
Step 1. Choose the Right Needle
Selecting the right needle is the first and most crucial step in sewing leather. Leather is a dense material requiring a needle with a sharp point and a larger eye to accommodate thicker threads. A standard universal needle won’t work effectively on leather and may cause the thread to break or skip stitches.
Instead, you need to use a leather needle in various sizes ranging from 80/12 to 110/18. The right needle size depends on the thickness of the leather you’re using. As a rule of thumb, choose a needle size that is about 40% larger than the thread you’re using.
Step 2. Prepare Your Machine
Before you begin sewing leather, you must make a few adjustments to your sewing machine to ensure optimal performance. Install the leather needle into the machine and adjust the thread tension by loosening it slightly. Leather is less elastic than fabric, so it requires less tension to prevent puckering or distortion.
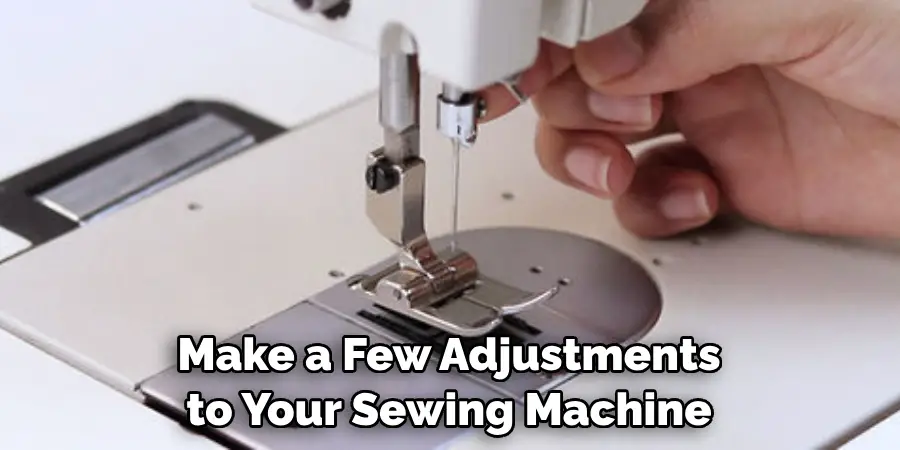
Next, switch to a heavier thread, preferably a nylon or polyester thread that is strong enough to handle the weight of the leather. Finally, adjust your stitch length and width to suit the thickness of your leather. A longer stitch length is ideal for thicker leather, while a shorter stitch length works best on thinner leather.
Step 3. Practice on Scrap Pieces
Sewing leather can be tricky, and even experienced sewers may encounter challenges. It’s best to practice scrap leather pieces before starting your project to minimize mistakes and errors.
This way, you can adjust your machine’s settings, experiment with different stitching techniques, and familiarize yourself with the behavior of the leather. It’s also a great opportunity to test your thread tension, needle size, and stitch length before sewing the final product.
Step 4. Use the Right Seam Allowance
The seam allowance is the distance between the stitch line and the raw edge of the fabric. The seam allowance should be wider in leather sewing than in regular fabric sewing to ensure a strong and durable seam.
A seam allowance of ½ inch to ¾ inch is ideal for most leather projects. To help you sew straight and accurate seams, you can use a leather guide or seam tape that helps you mark the seam allowance on the leather.
Step 5. Work Slowly and Carefully
Next, when sewing leather, working slowly and carefully is essential. Leather is an expensive and precious material, and you don’t want to make any irreversible mistakes. Take your time, and don’t rush the process.
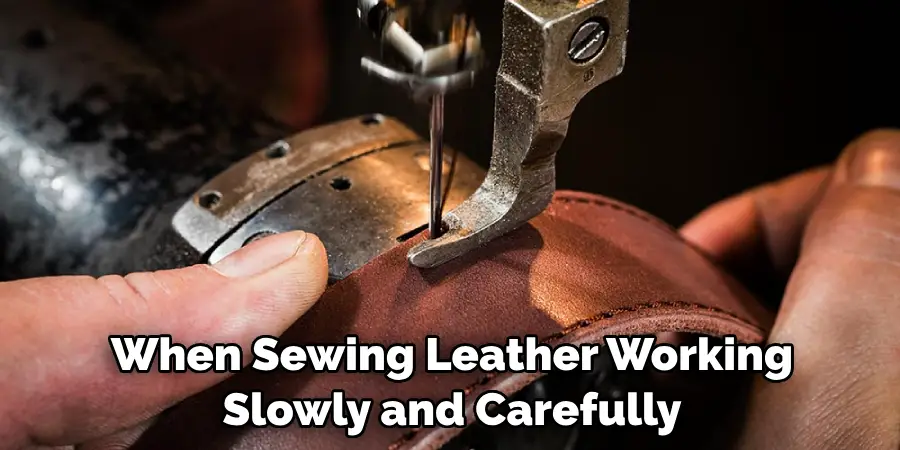
Use your hands to guide the leather through the machine and avoid pulling or pushing the fabric, as this may cause uneven or stretched stitching. Be patient, and don’t be discouraged if you don’t get it right the first time. Sewing leather requires skill and practice, and with time, you’ll become more confident and proficient in leather sewing.
Step 6. Finish the Seam
Once you’ve finished the seam, use a rotary cutter to trim any excess leather from the edges. As a final step, go over the seam with an awl or bone folder to make sure that all stitches are properly secured and secure any loose threads. This will help ensure your seams are durable and will stand the test of time.
Step 7. Test and Enjoy Your Creation
Finally, once you’ve finished your leather project, it’s time to test it out and enjoy your creation! Put on your leather garment or use your leather accessory and take a few steps to make sure everything looks as it should. If all looks good, congratulations — you’ve just completed your first leather project! With practice and patience, you can master leather sewing in no time.
Now that you know how to sew leather with a sewing machine, you can create beautiful and durable projects that will last for years to come. So try some of these tips — we wish you luck in your leather sewing journey!
5 Considerations Things When You Need to Sew Leather with A Sewing Machine
1. Type of Leather
There are many different types of leather, and each one sews differently. You’ll need to consider the leather’s thickness, grain, and stretch to choose the right sewing machine needle and thread.
2. Prepping the Leather
Before you sew leather, you’ll need to prep it by cleaning it with a mild soap and water solution. You may also need to condition the leather to keep it from drying out and cracking.
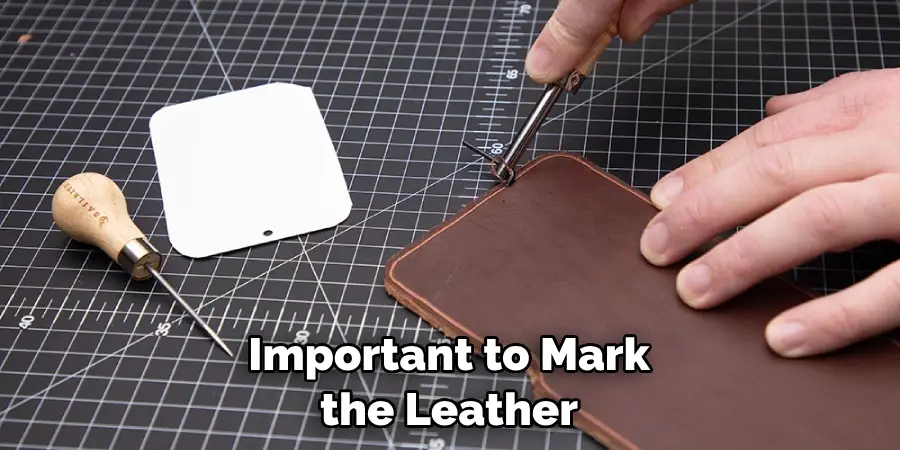
3. Marking the Leather
It’s important to mark the leather before you start sewing so that you know where to sew and how much seam allowance to use. You can use chalk or a pencil to mark the leather.
4. Sewing Machine Needles
You’ll need to use a heavier needle when sewing leather than you would for other fabrics. A size 14 or 16 needle is a good choice for most types of leather. You may also need to use a special walking foot on your sewing machine to prevent the leather from slipping.
5. Thread
You’ll need to use a heavy-duty thread when sewing leather so that it doesn’t break during stitching. Polyester or nylon thread is a good choice for most projects. You may also need to wax the thread to help it move smoothly through the leather.
Finally, you’ll need to pay close attention when stitching leather and make sure that your seams are even and tight. Taking your time will ensure a professional-looking result!
With these five considerations in mind, sewing leather with a machine can be an enjoyable and rewarding experience. Get started today, and you’ll soon be able to create beautiful leather projects!
Benefits of Sew Leather with A Sewing Machine
Sewing leather may seem intimidating, but with the right techniques and tools, it can be a satisfying and enjoyable experience. One major benefit of using a sewing machine to sew leather is the speed and efficiency it provides. Hand-sewing can be tedious and time-consuming, while a sewing machine can easily stitch through multiple layers of leather.
Additionally, using a sewing machine can provide more consistent and even stitching, resulting in a cleaner and more professional-looking finished product. It’s also worth noting that a sewing machine can handle a wider variety of thread and needle sizes, allowing for greater customization and personalization of your leather projects. So why not give it a try and see the many benefits of sewing leather with a sewing machine for yourself?
Conclusion
Sewing leather with a sewing machine is a rewarding and exciting experience that allows you to create beautiful and durable products. However, it requires patience, practice, and knowledge of the right techniques and tools.
In this blog post, we’ve covered the most critical aspects of sewing leather, from choosing the right needle to working slowly and carefully. Remember that the key to successfully sewing leather is to take your time, practice on scrap pieces, and not be discouraged by mistakes. With these tips and tricks, you’ll be sewing leather like a pro in no time! Thanks for reading our post about how to sew leather with a sewing machine.